The Plan
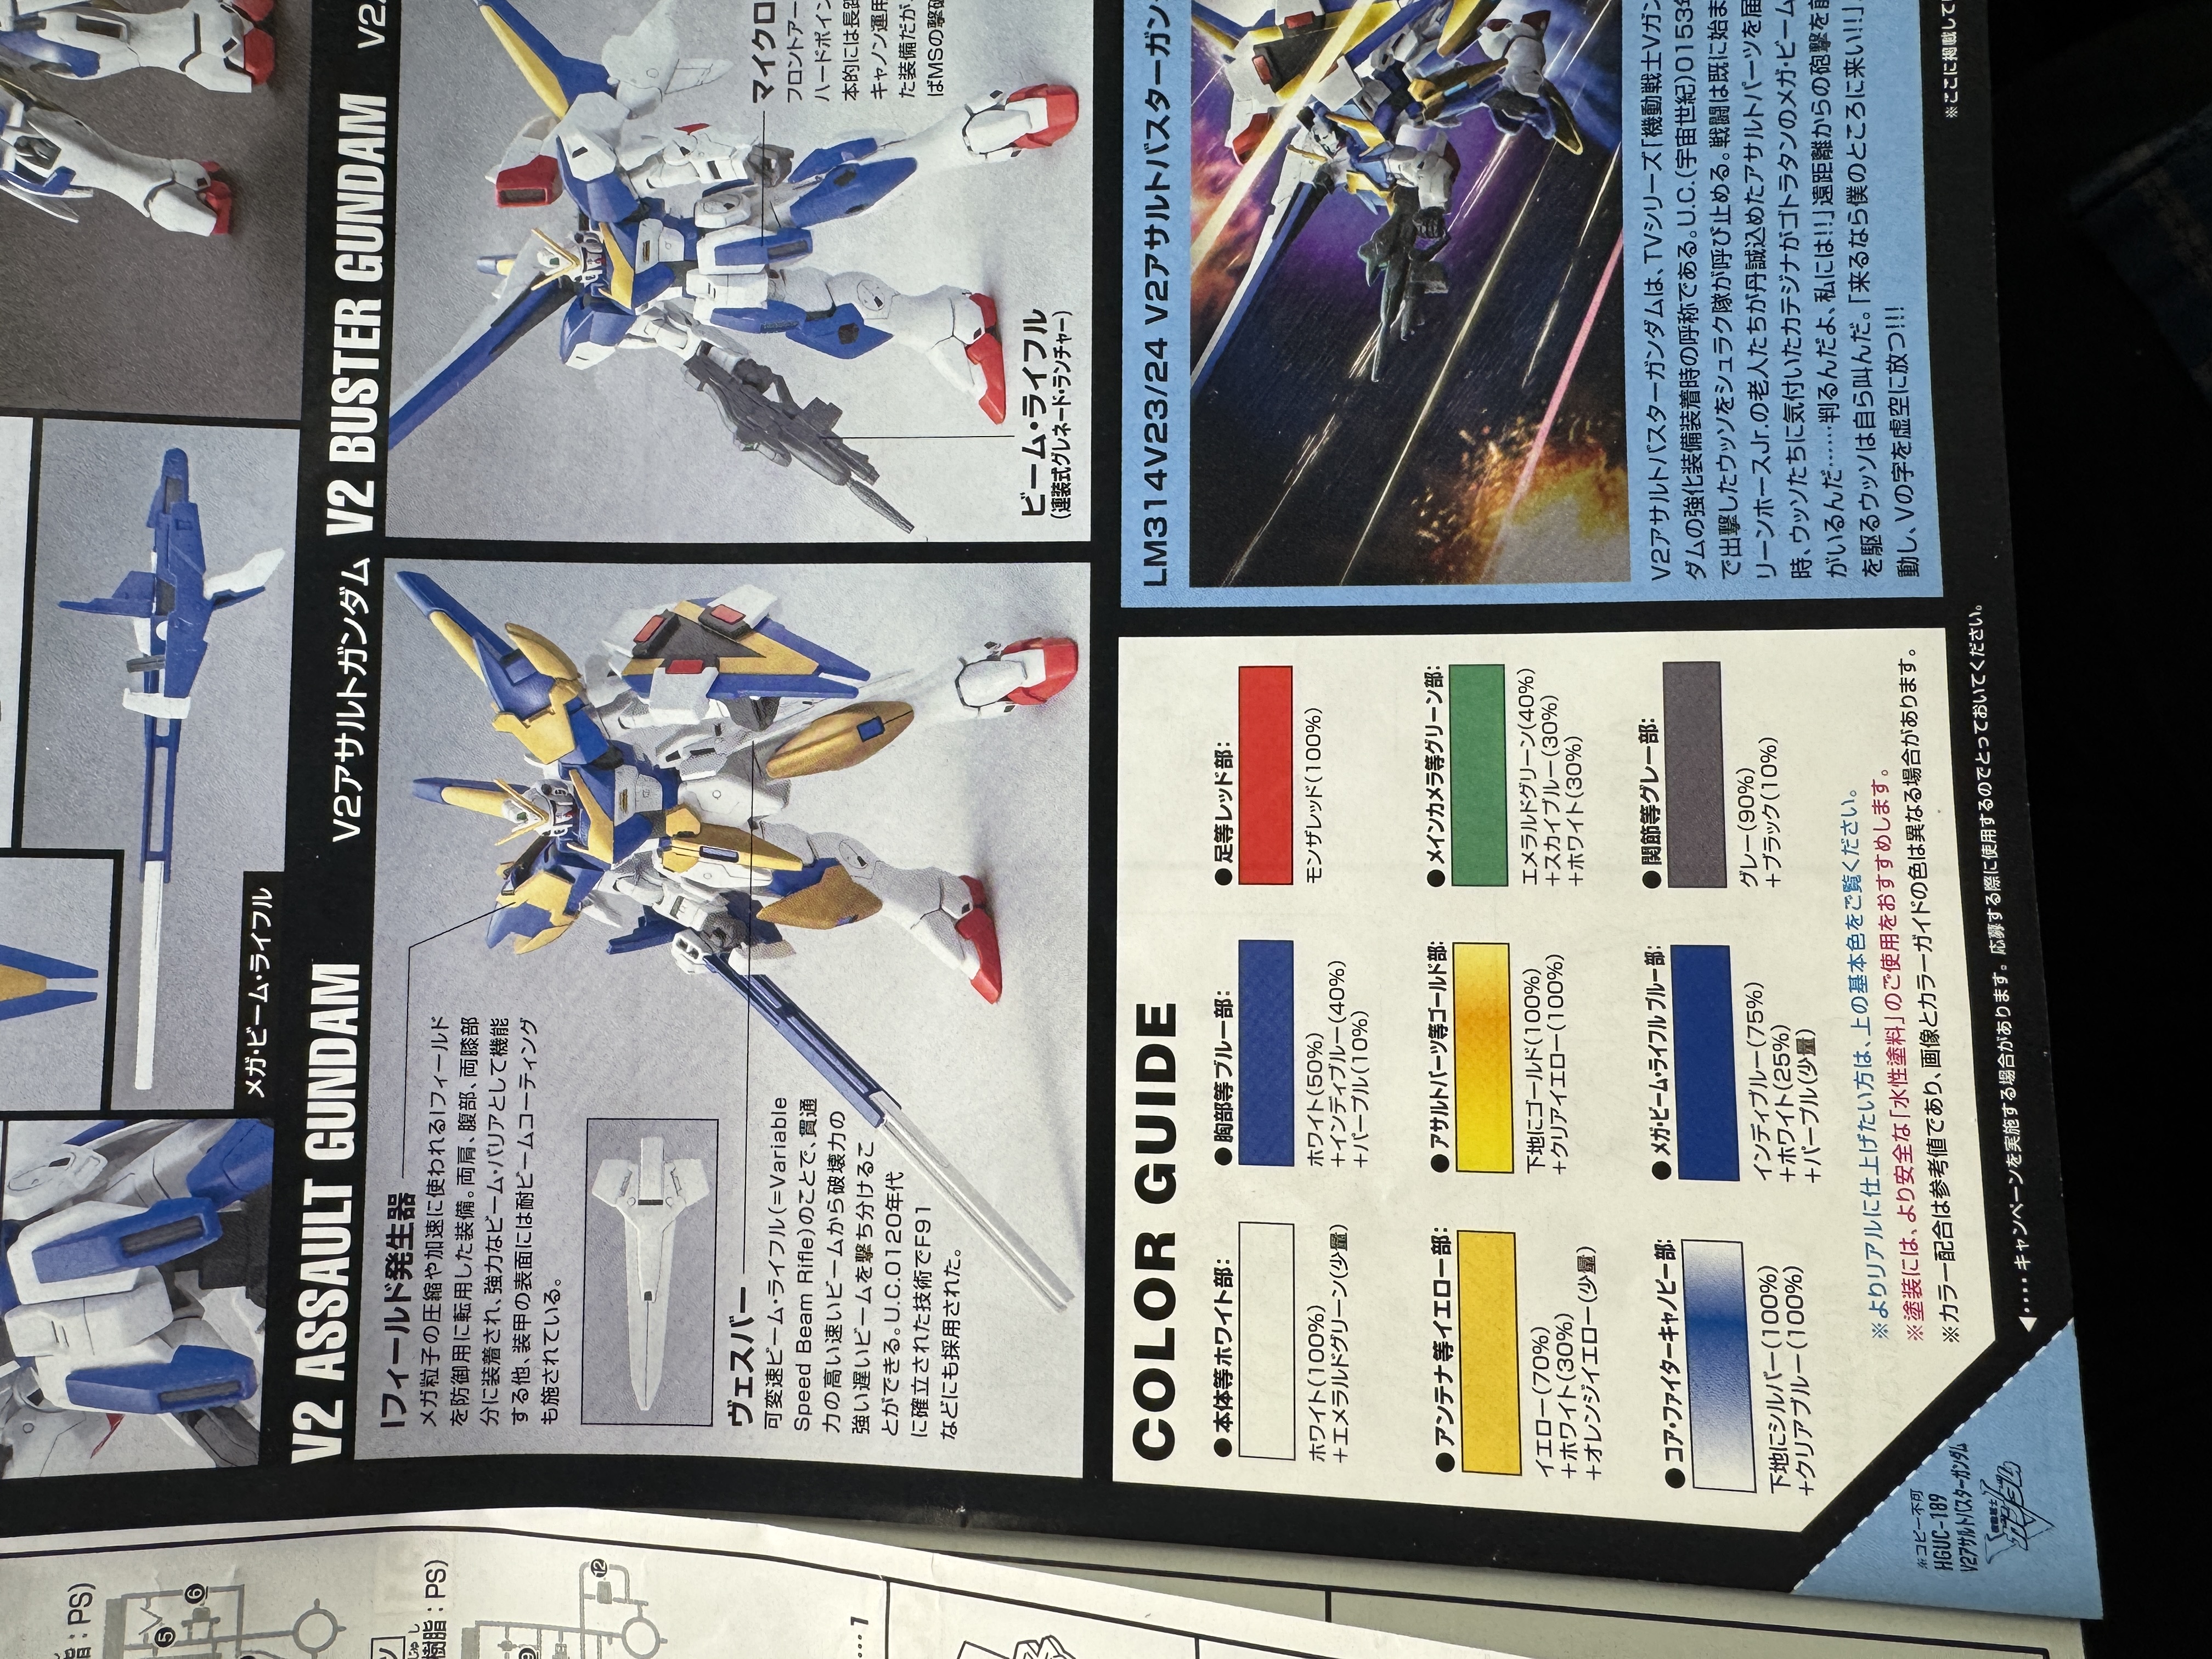
The V2 Assault-Buster is getting a sharp take on its standard color scheme — keeping the iconic blue, white, and yellow but stepping up the quality with premium paints to make every color really pop. Scribing will add panel line detail throughout. This one is about doing the classics right.
Build Log
April 1, 2026
Clear Coat!! This bad boy is almost done. Next I’ll put it together and you’ll see pictures in the showcase. Go Check it out!!
March 29, 2026
Got some more work done on the paint, sorry no pictures again. I also did some panel lining and clean up work.
March 28, 2026
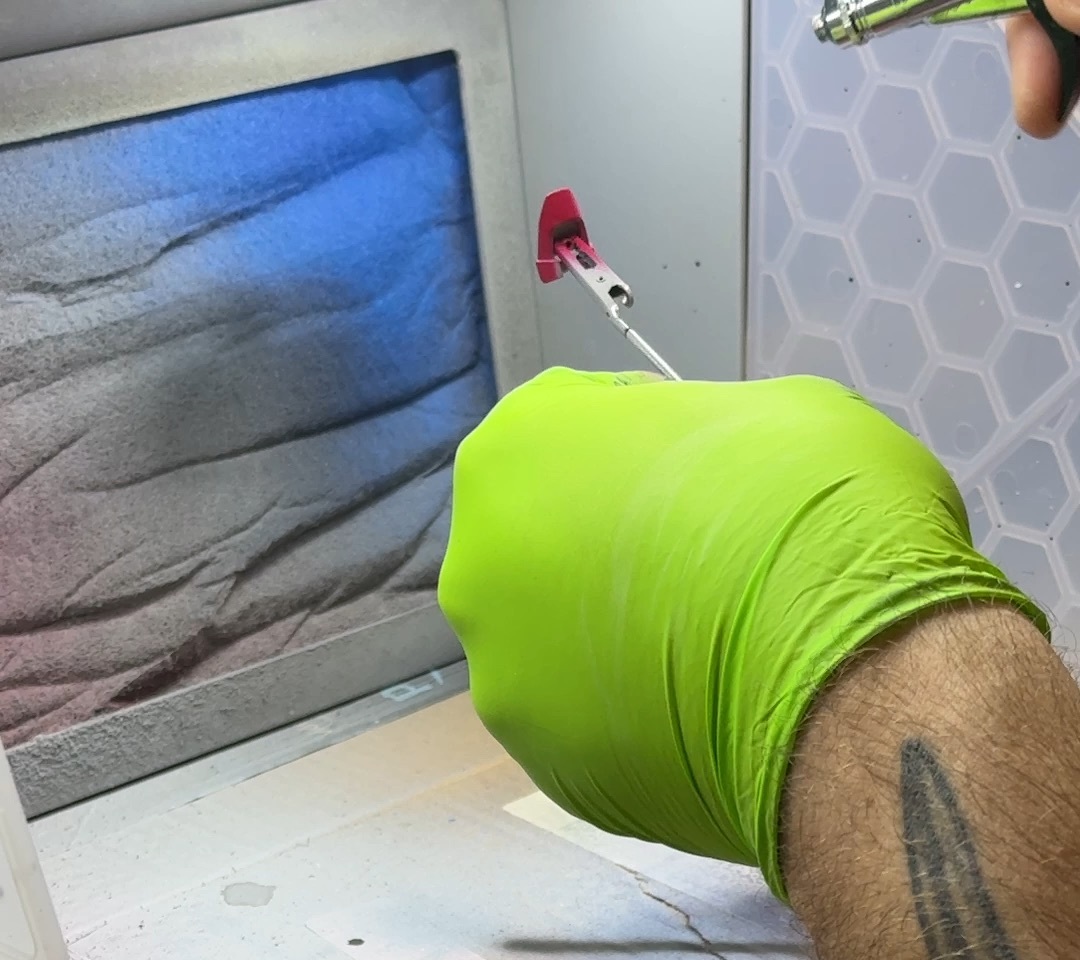
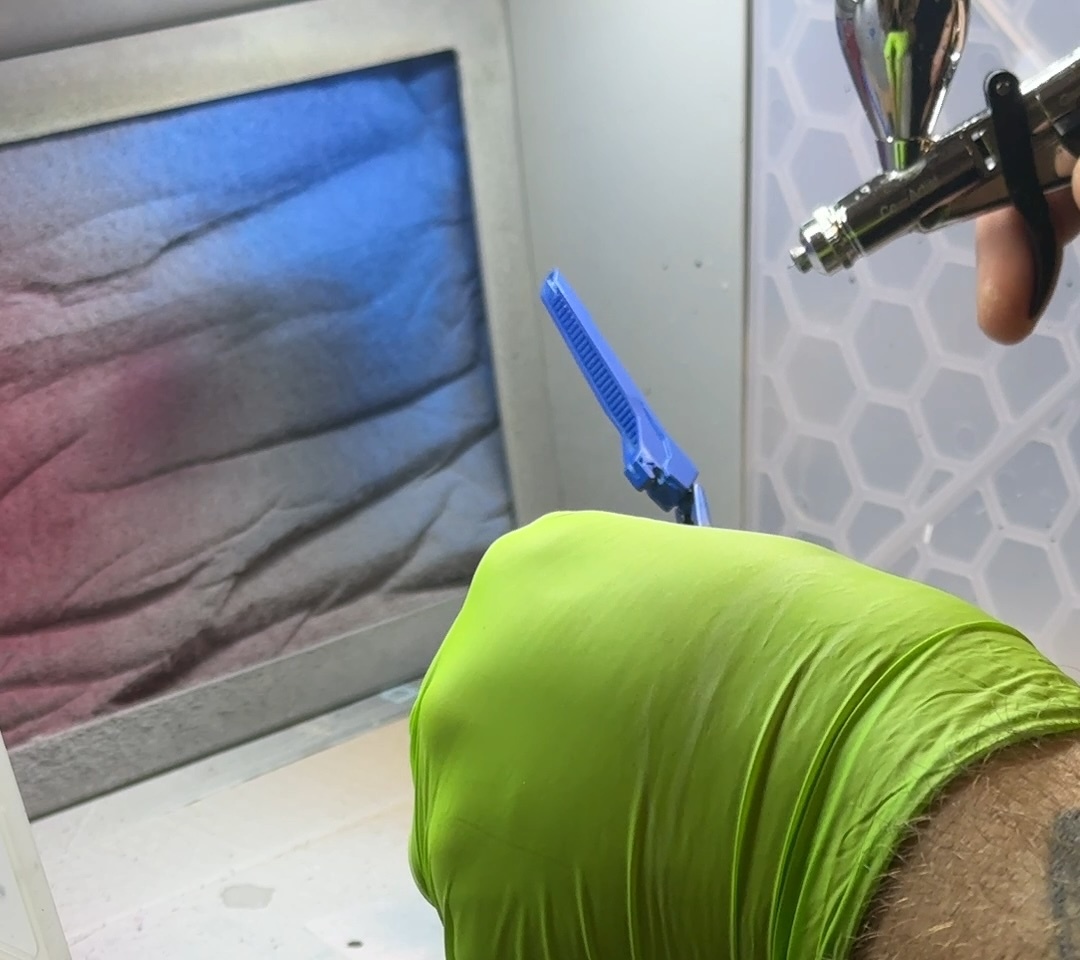
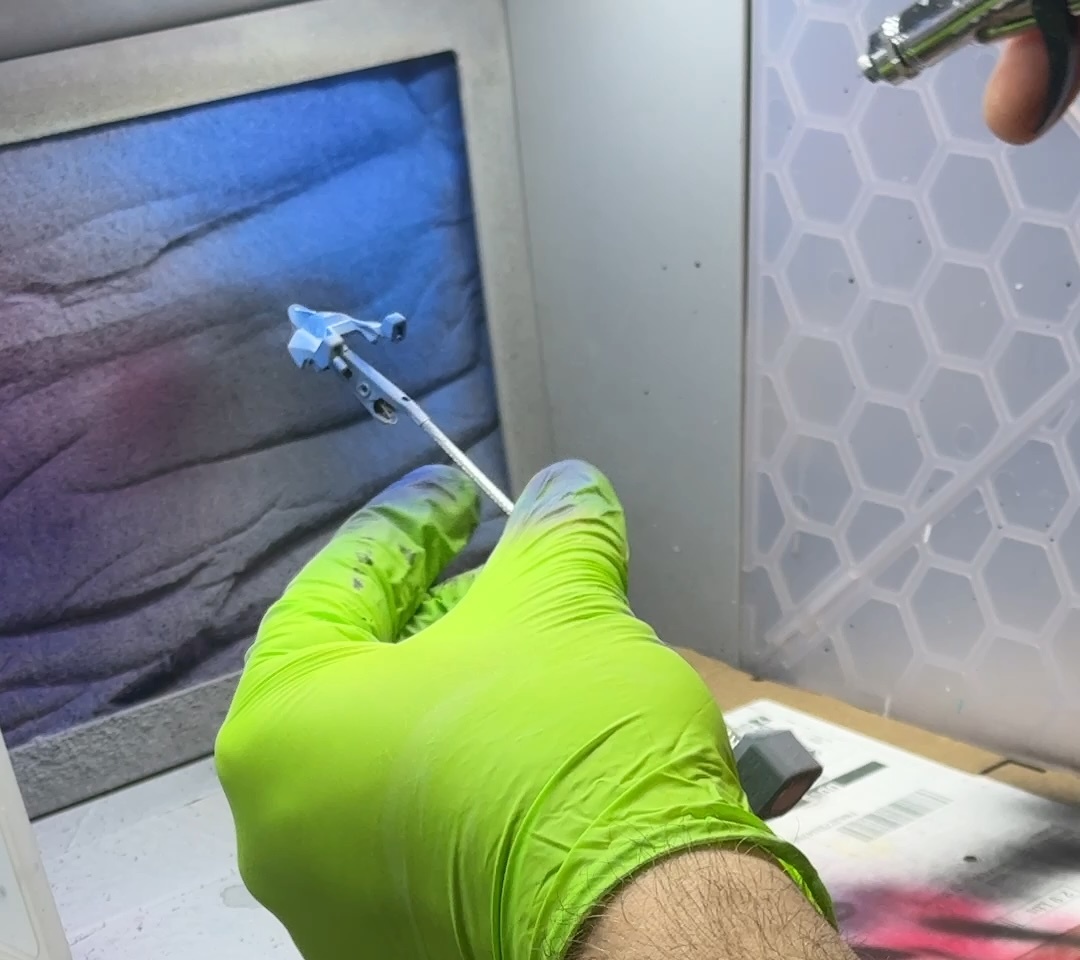
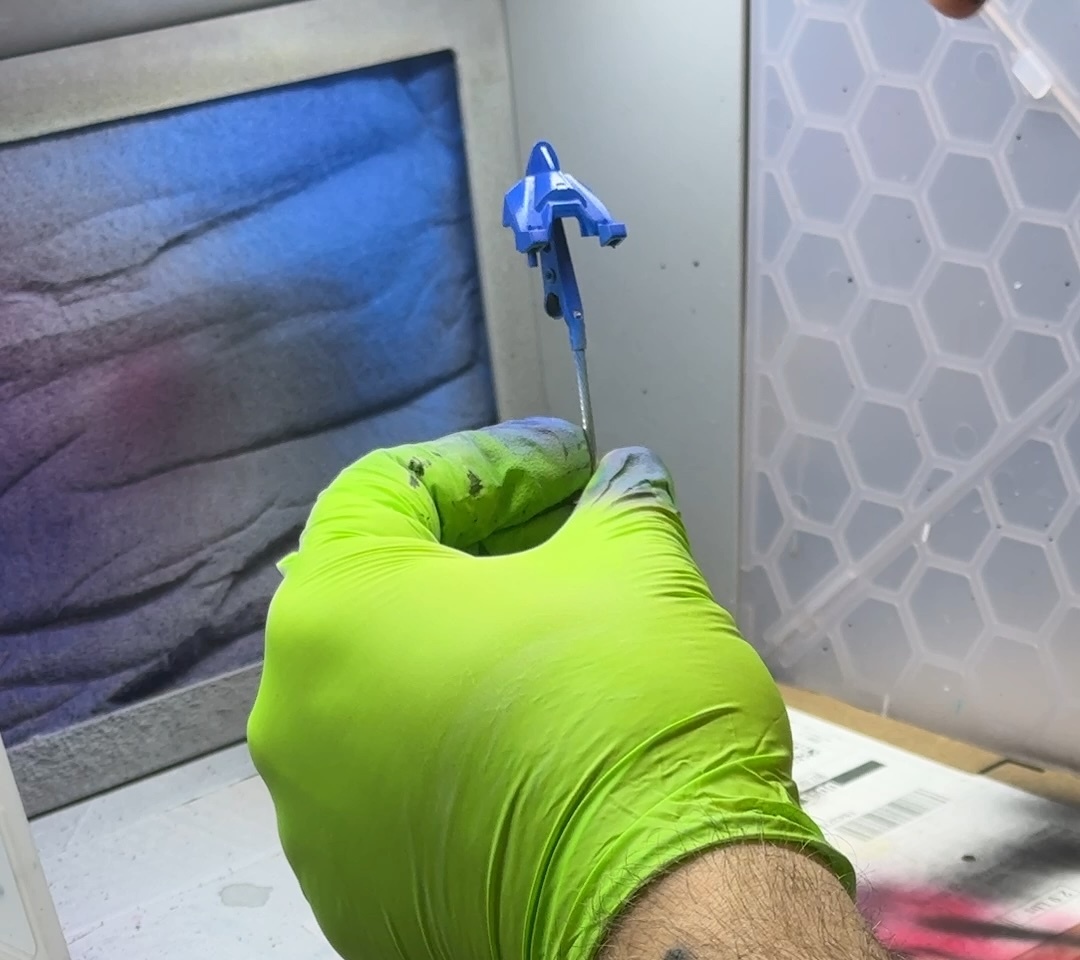
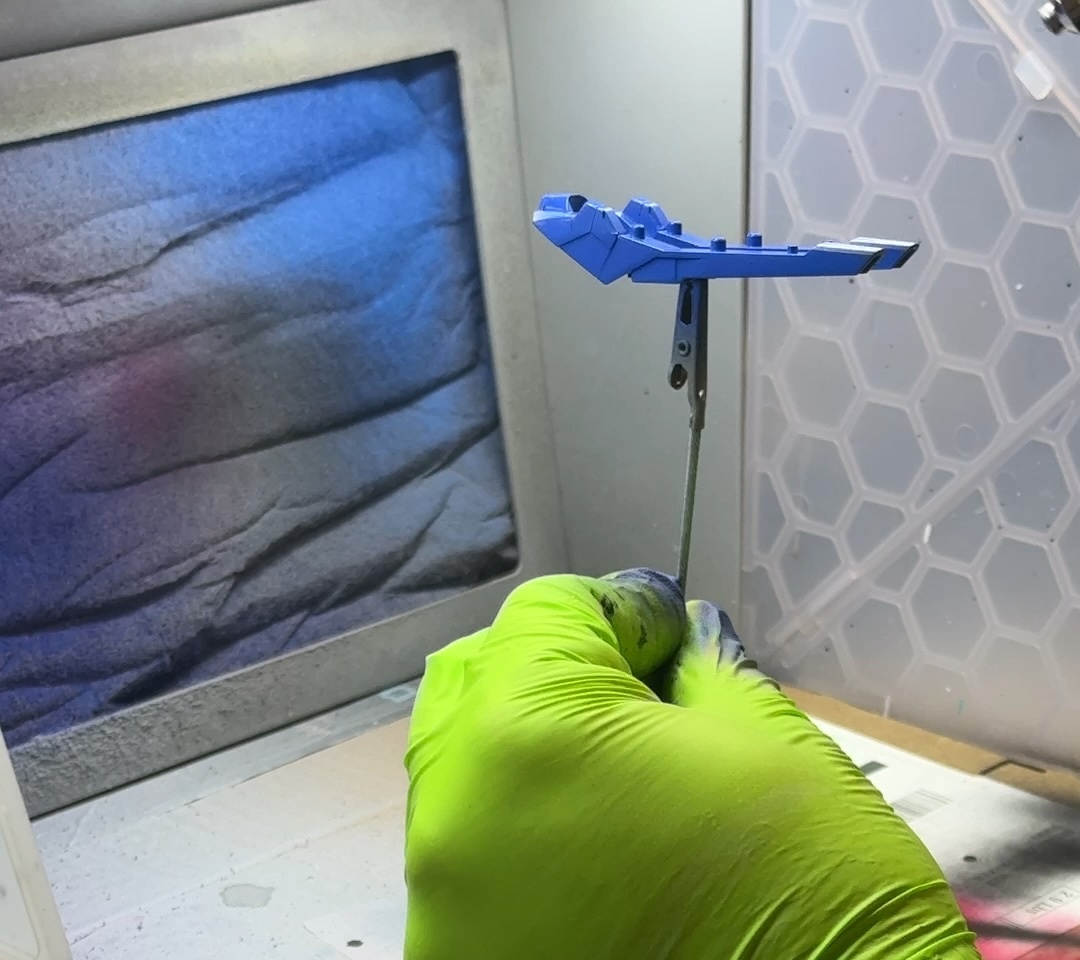
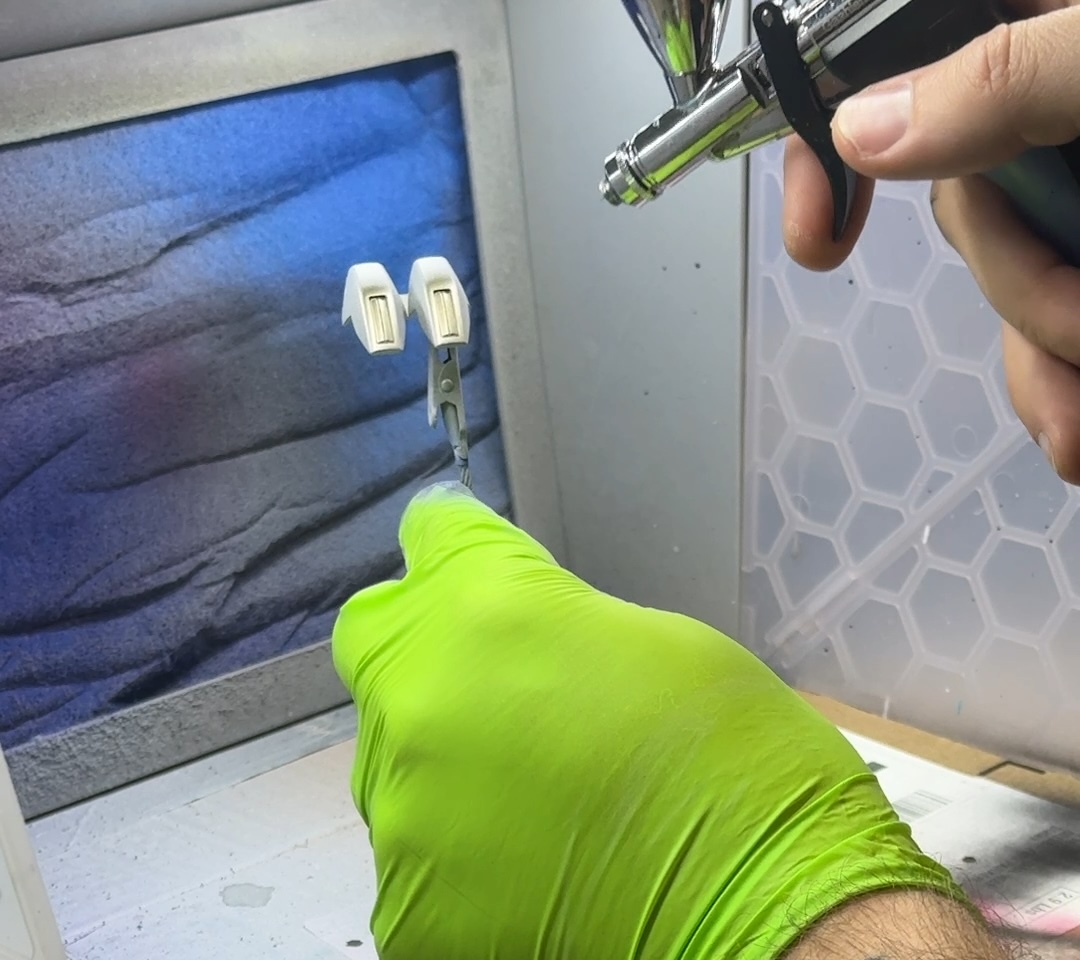
Post-Easter event wind-down mode: paint time. Getting the main colors laid down on the V2 Assault-Buster. The key at this stage is discipline — light coat first, let it flash off fast, then follow up with a heavier coat for full coverage. Also dropped some accent colors on various parts that’ll get masked before the main color goes over the top.


March 26, 2026
Tonight I primed the white, blue, red, and yellow parts using Kaleido Colorworks Gray primer. Not much to show here except a bunch of Gray parts so I don’t have any pictures. But man, this primer rocks!
March 22, 2026
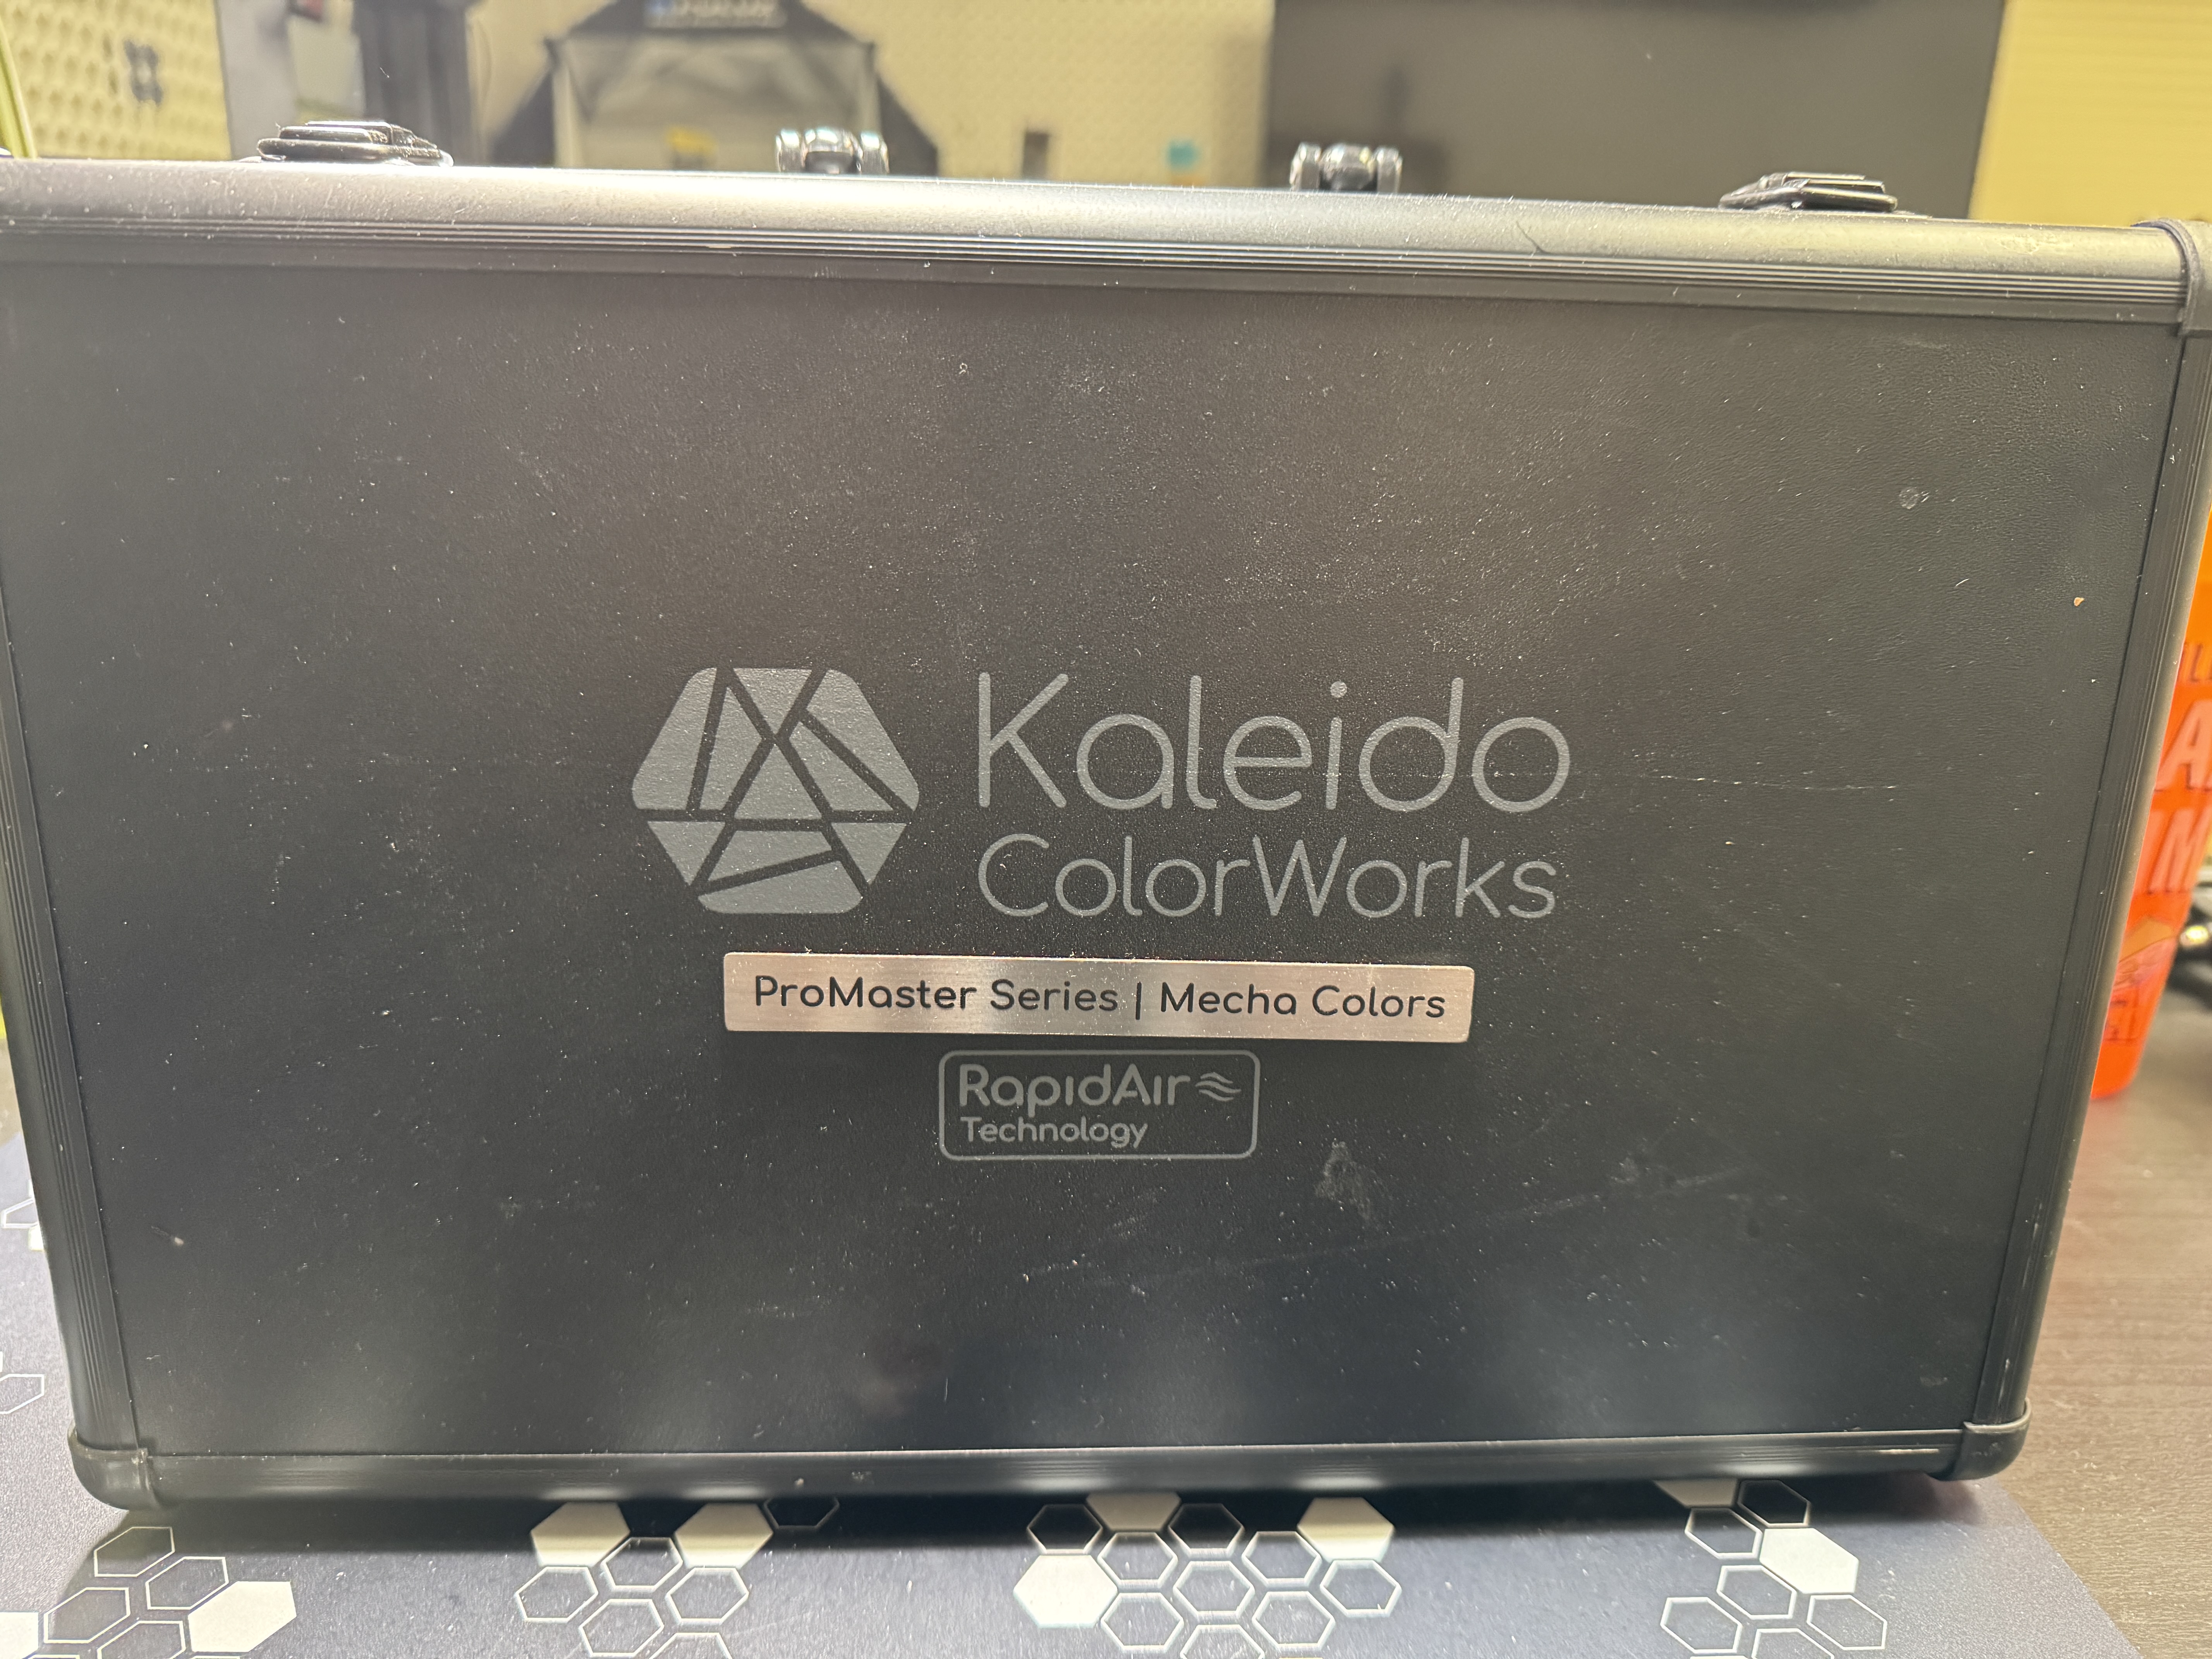
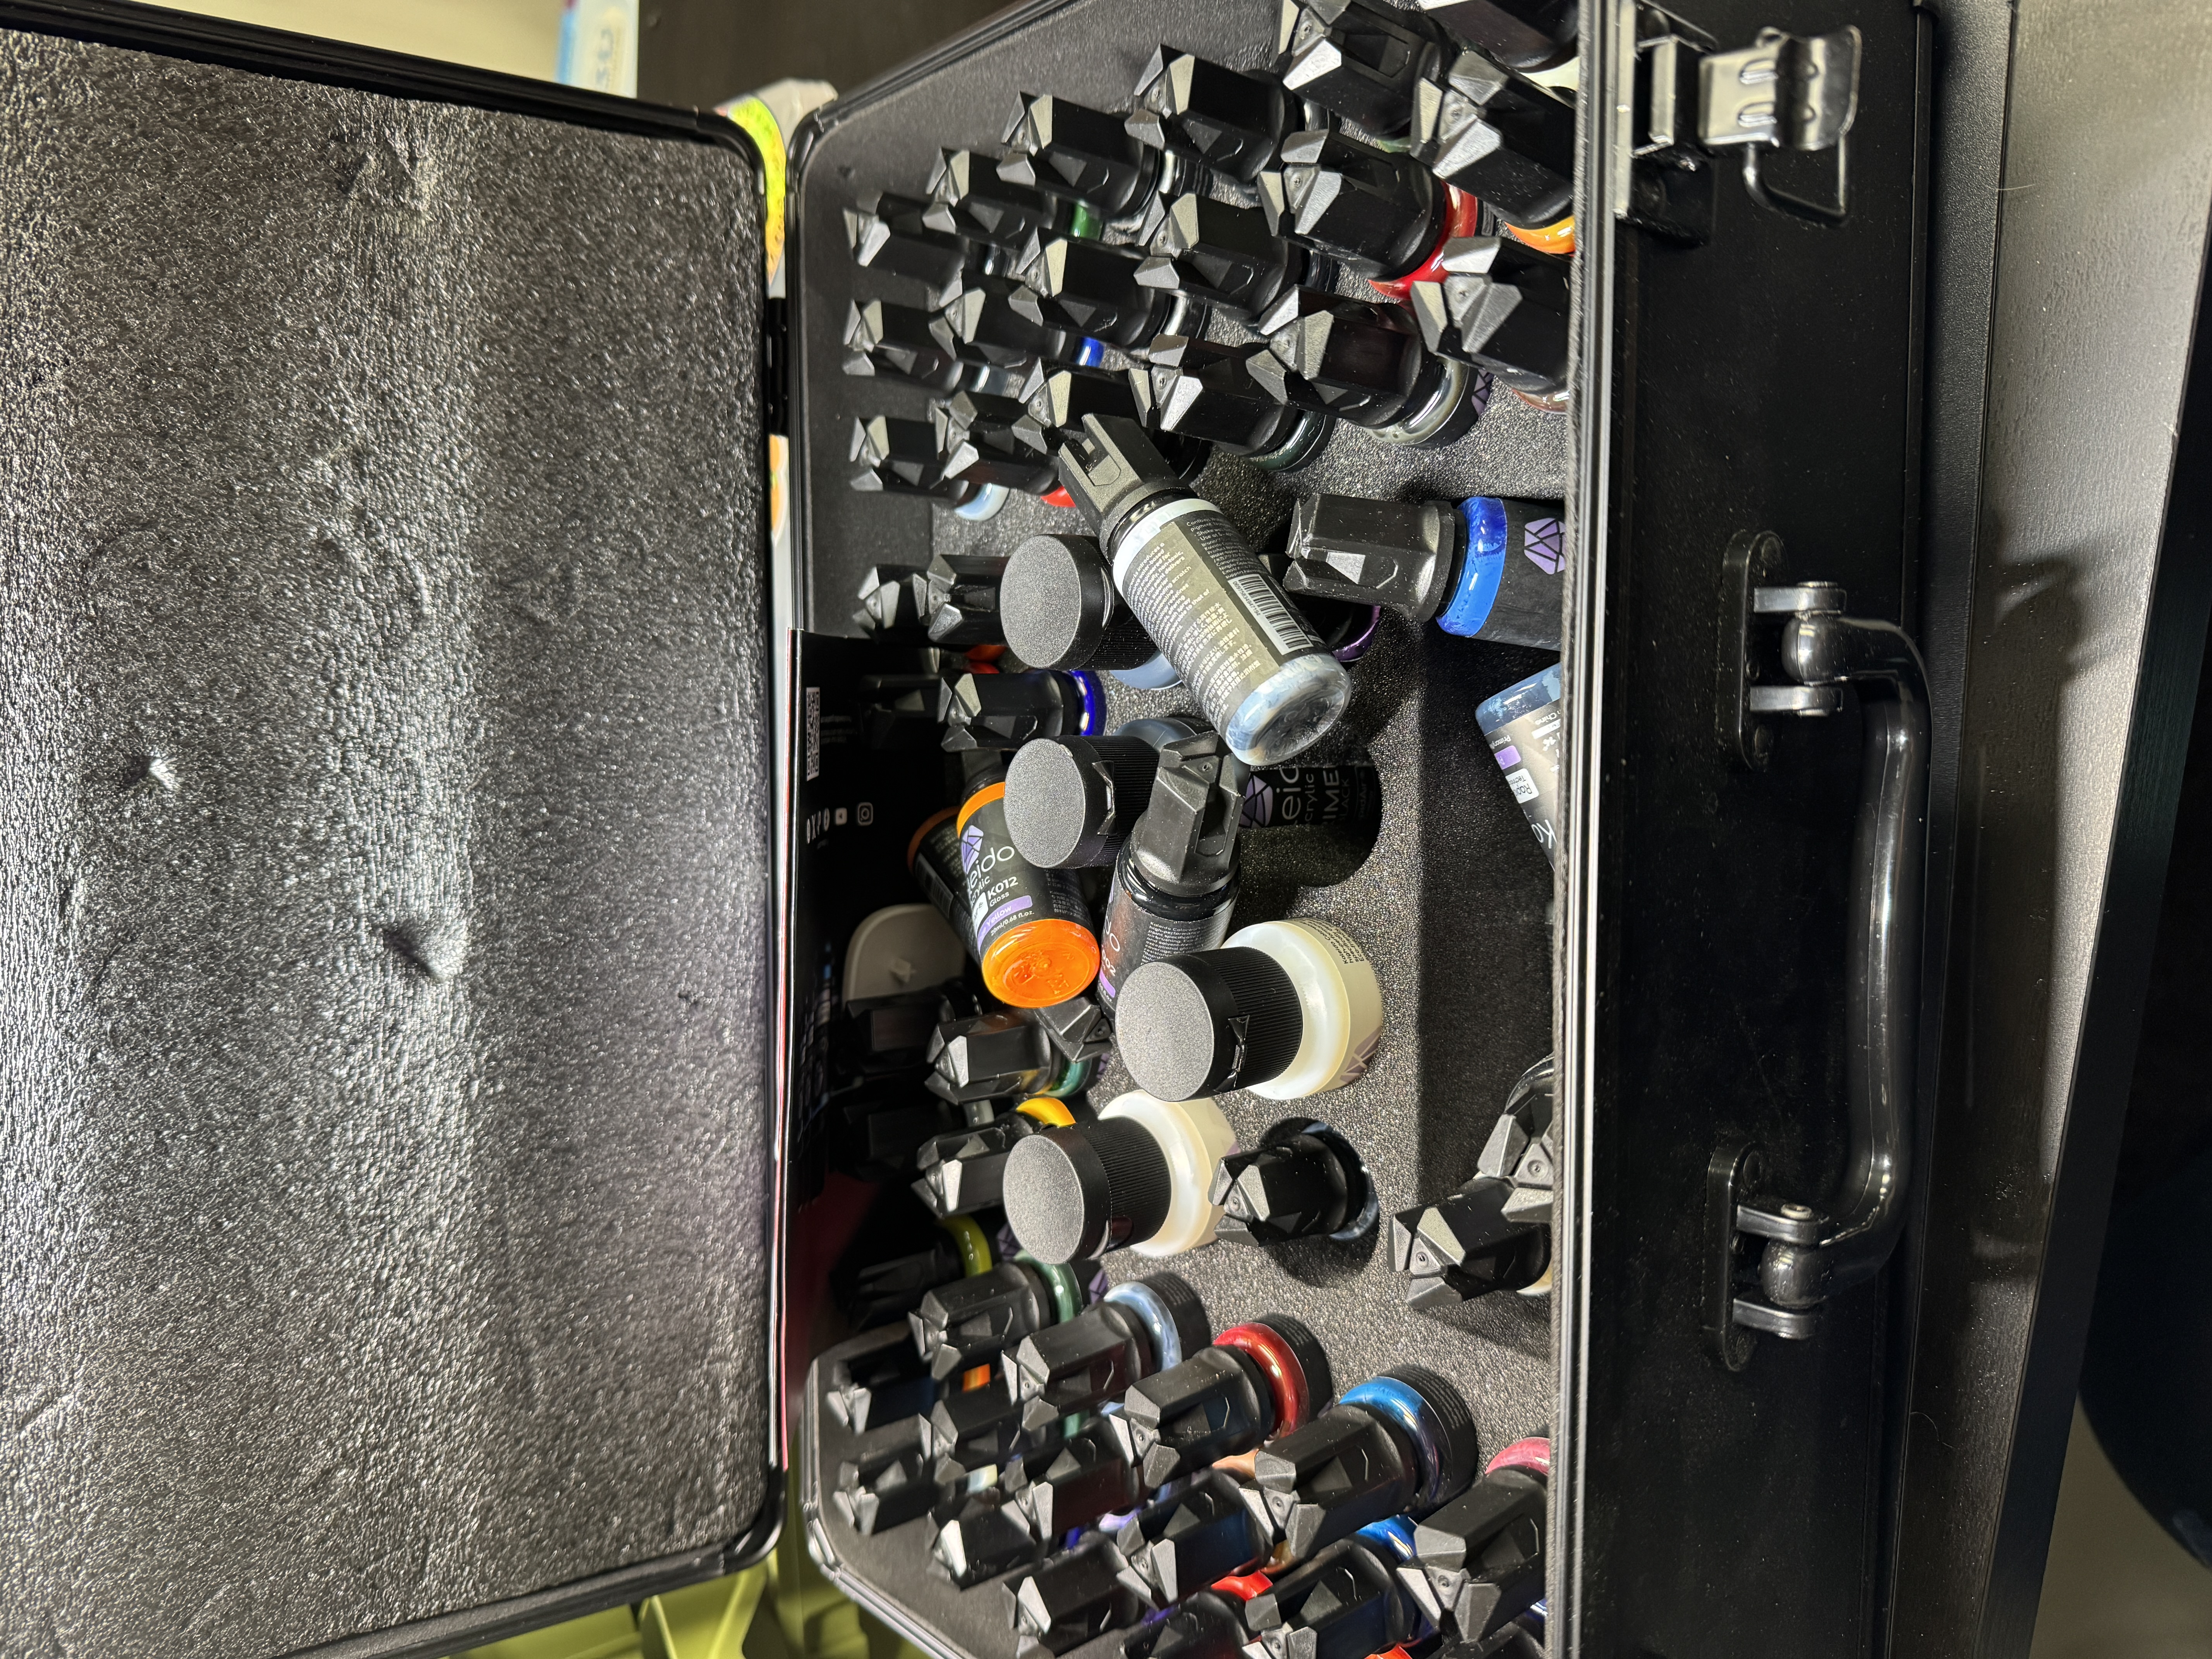
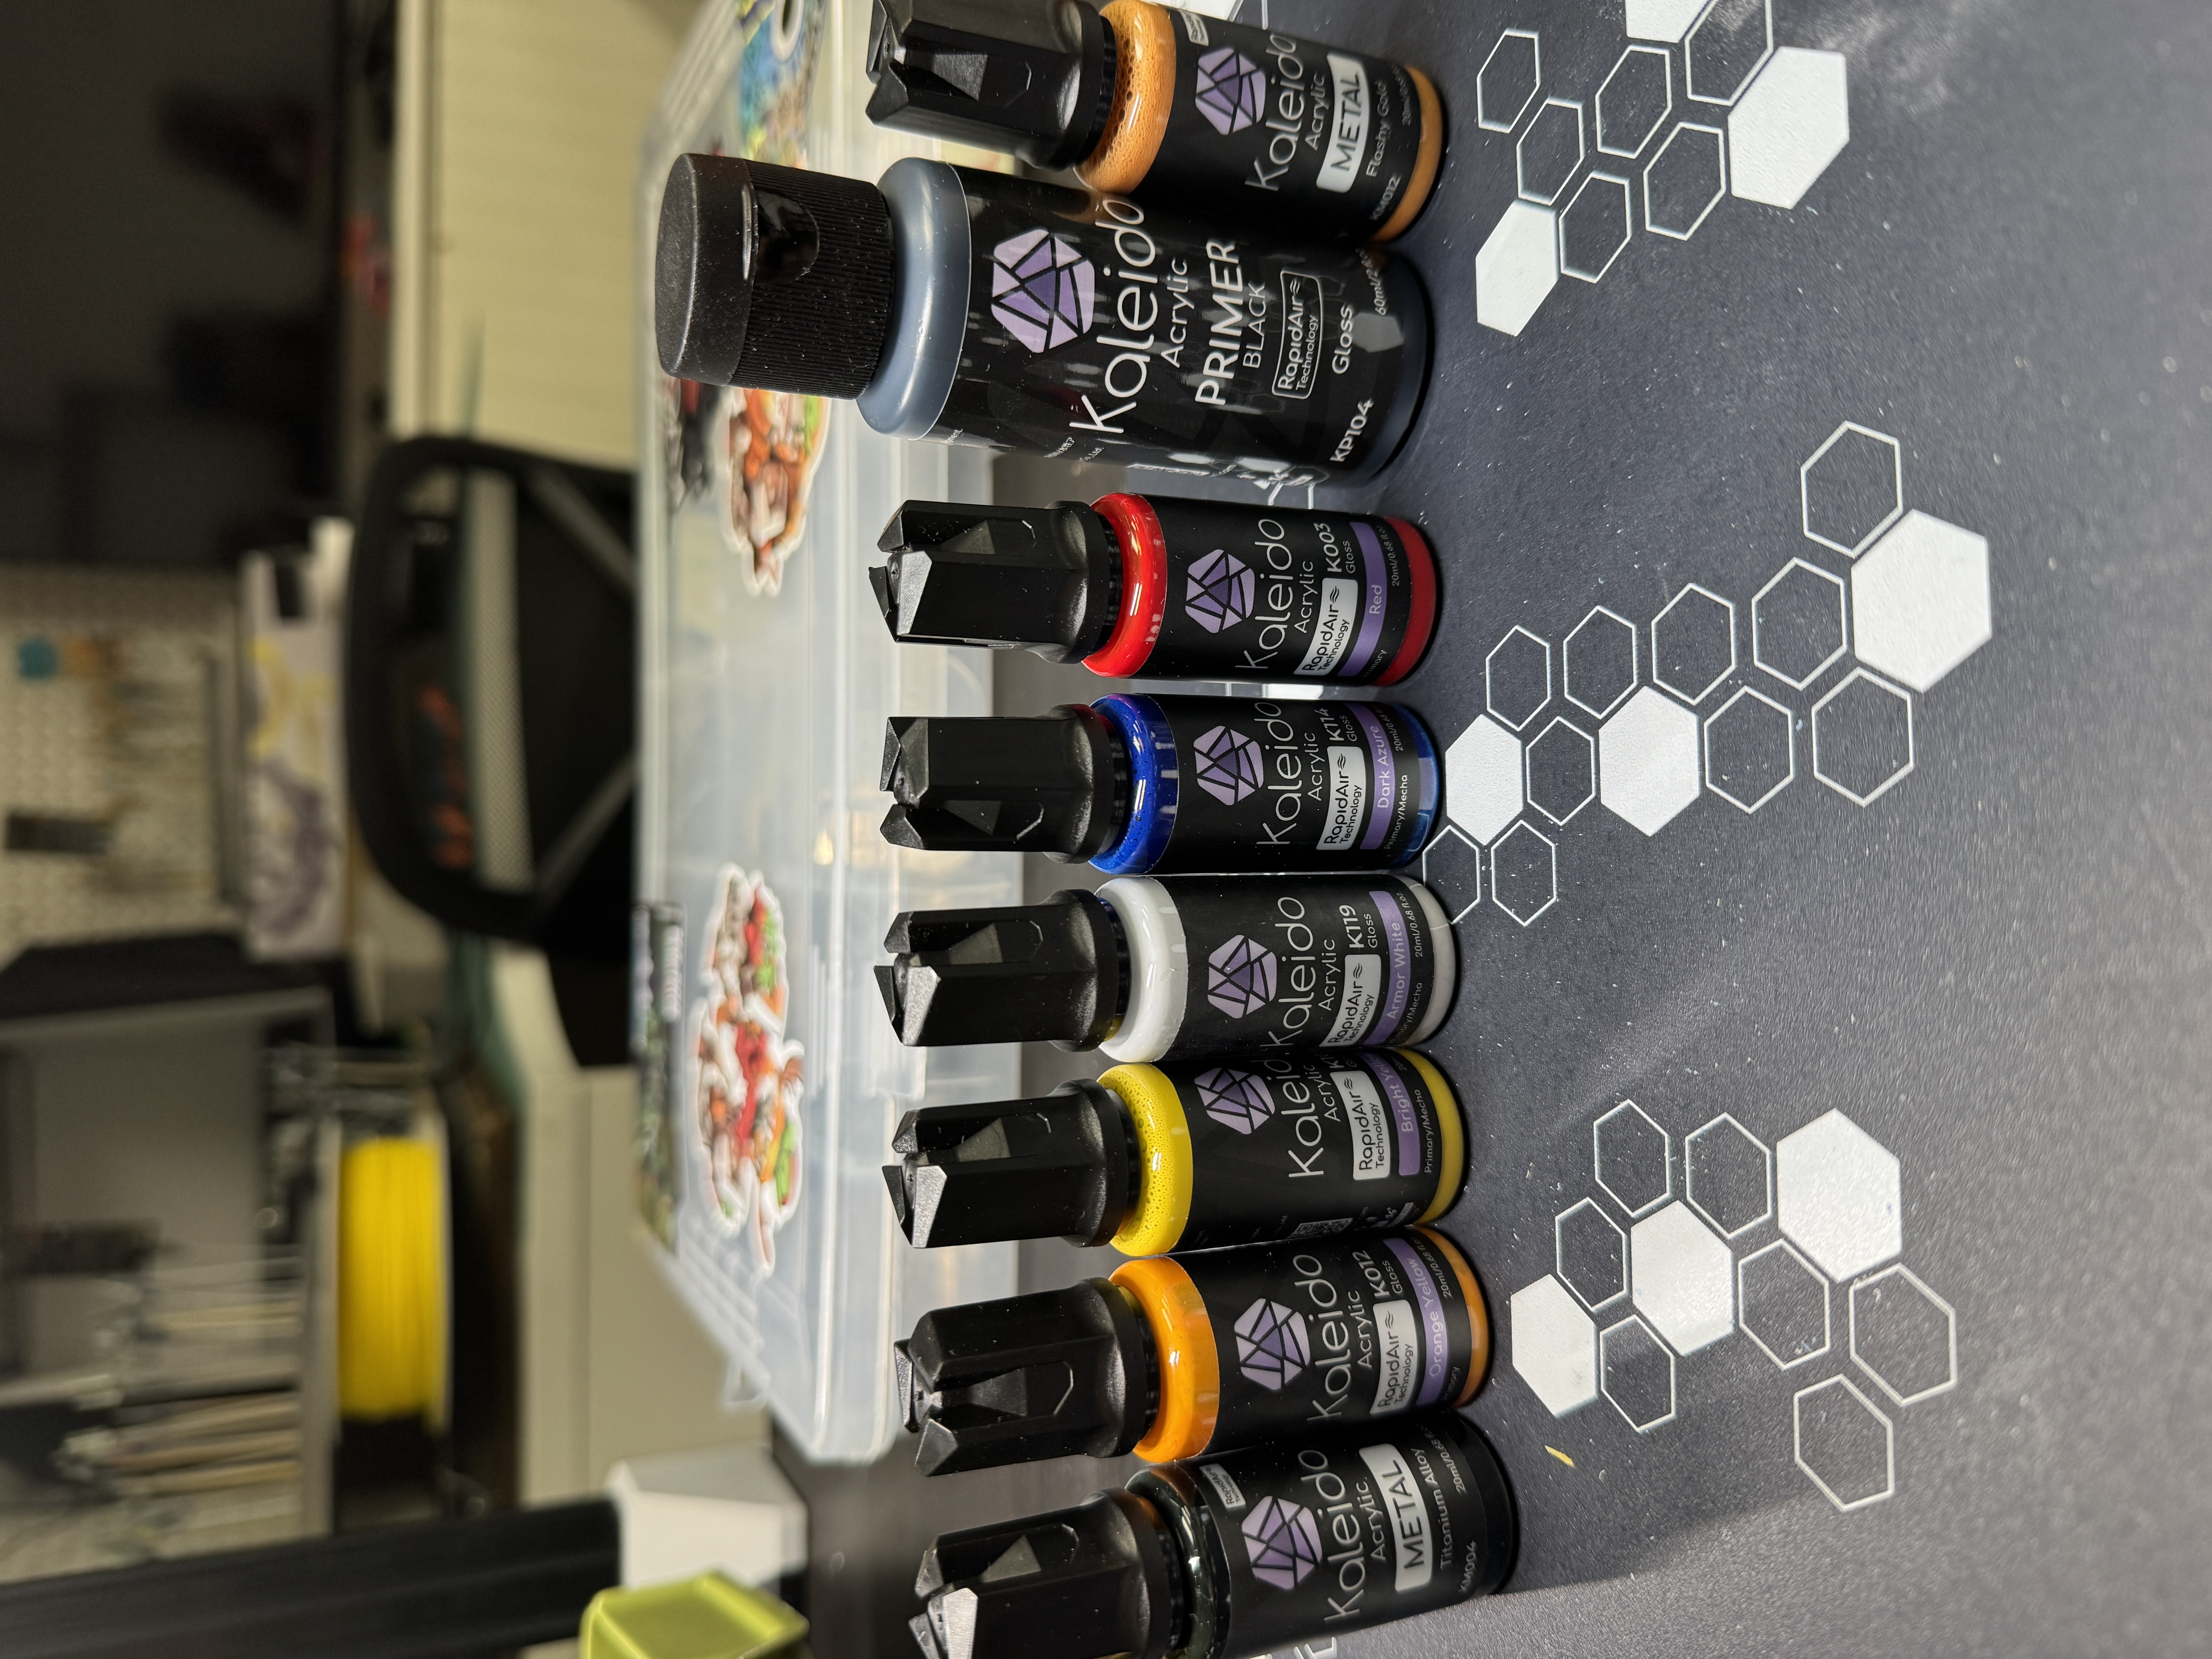
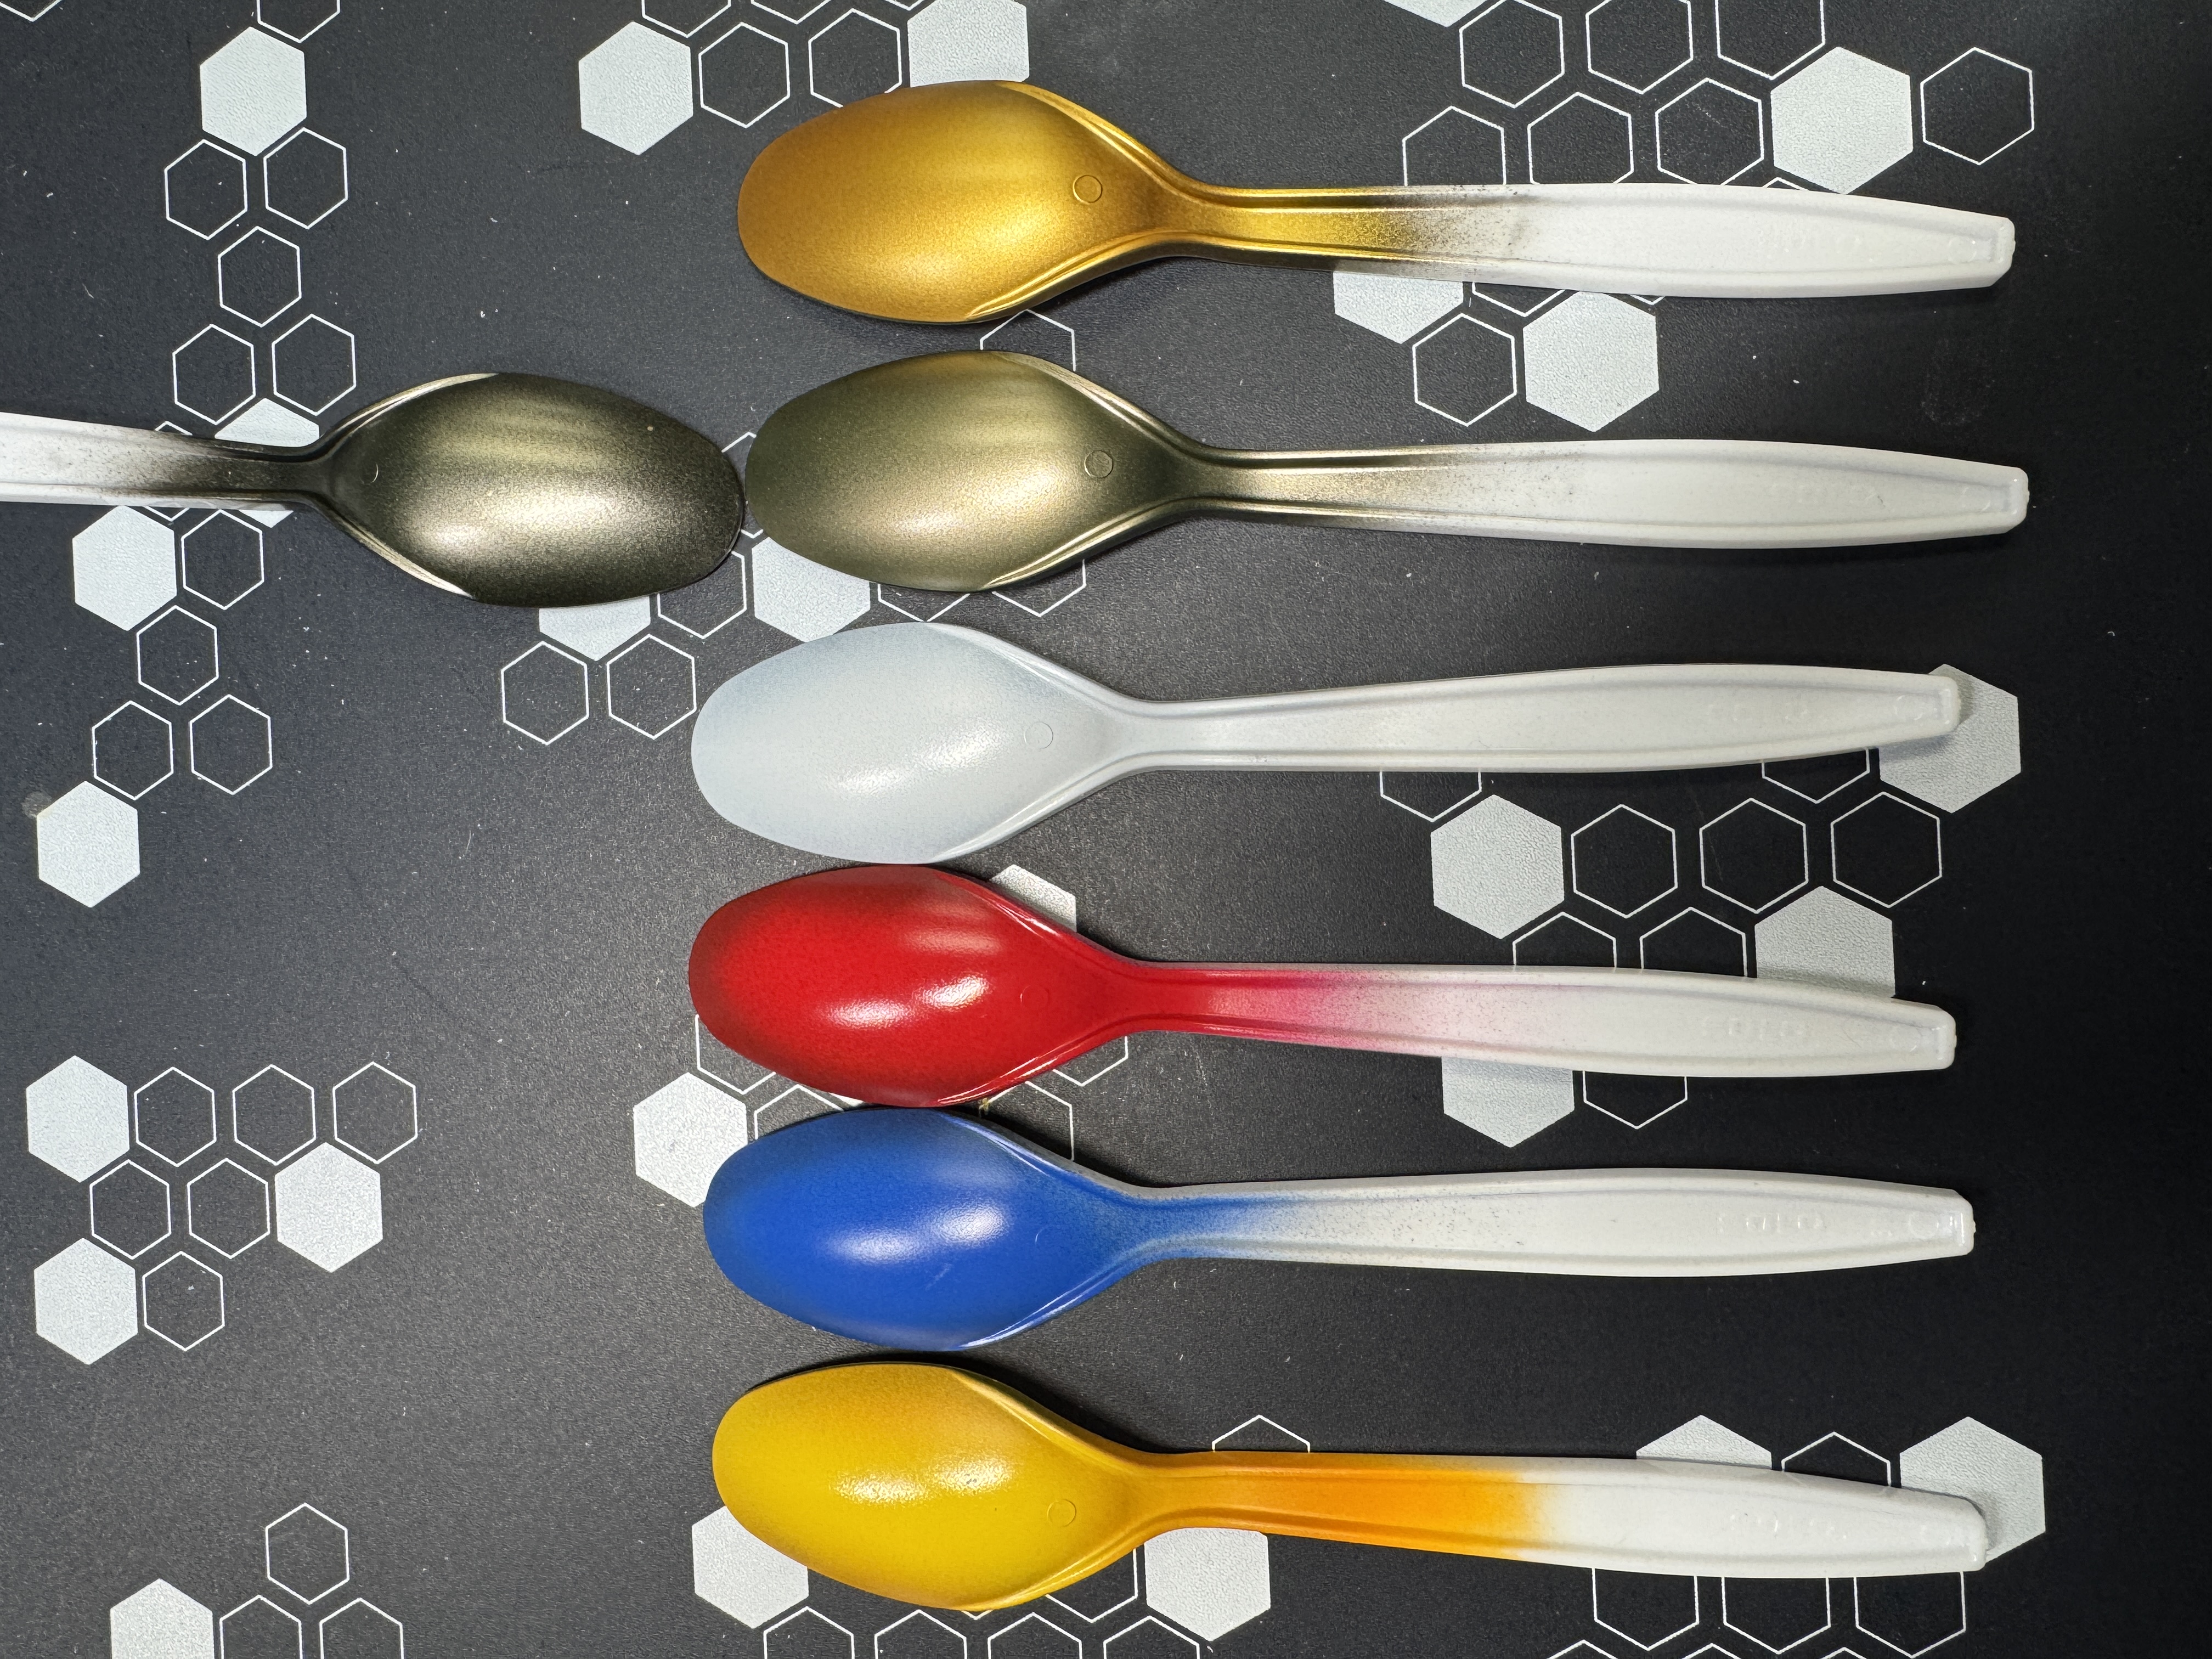
Gotta nail down the paint scheme. I usually shoot for unique colors, but this time around I want to try the standard color scheme for this model. I busted out my set of Kaleido Colorworks acrylic paints and picked the colors I thought would work best. Next I primed some spoons (sorry, no pictures of that part!) and painted them up. The end result has me pretty happy — can’t wait to see this all come together on the kit.
March 21, 2026
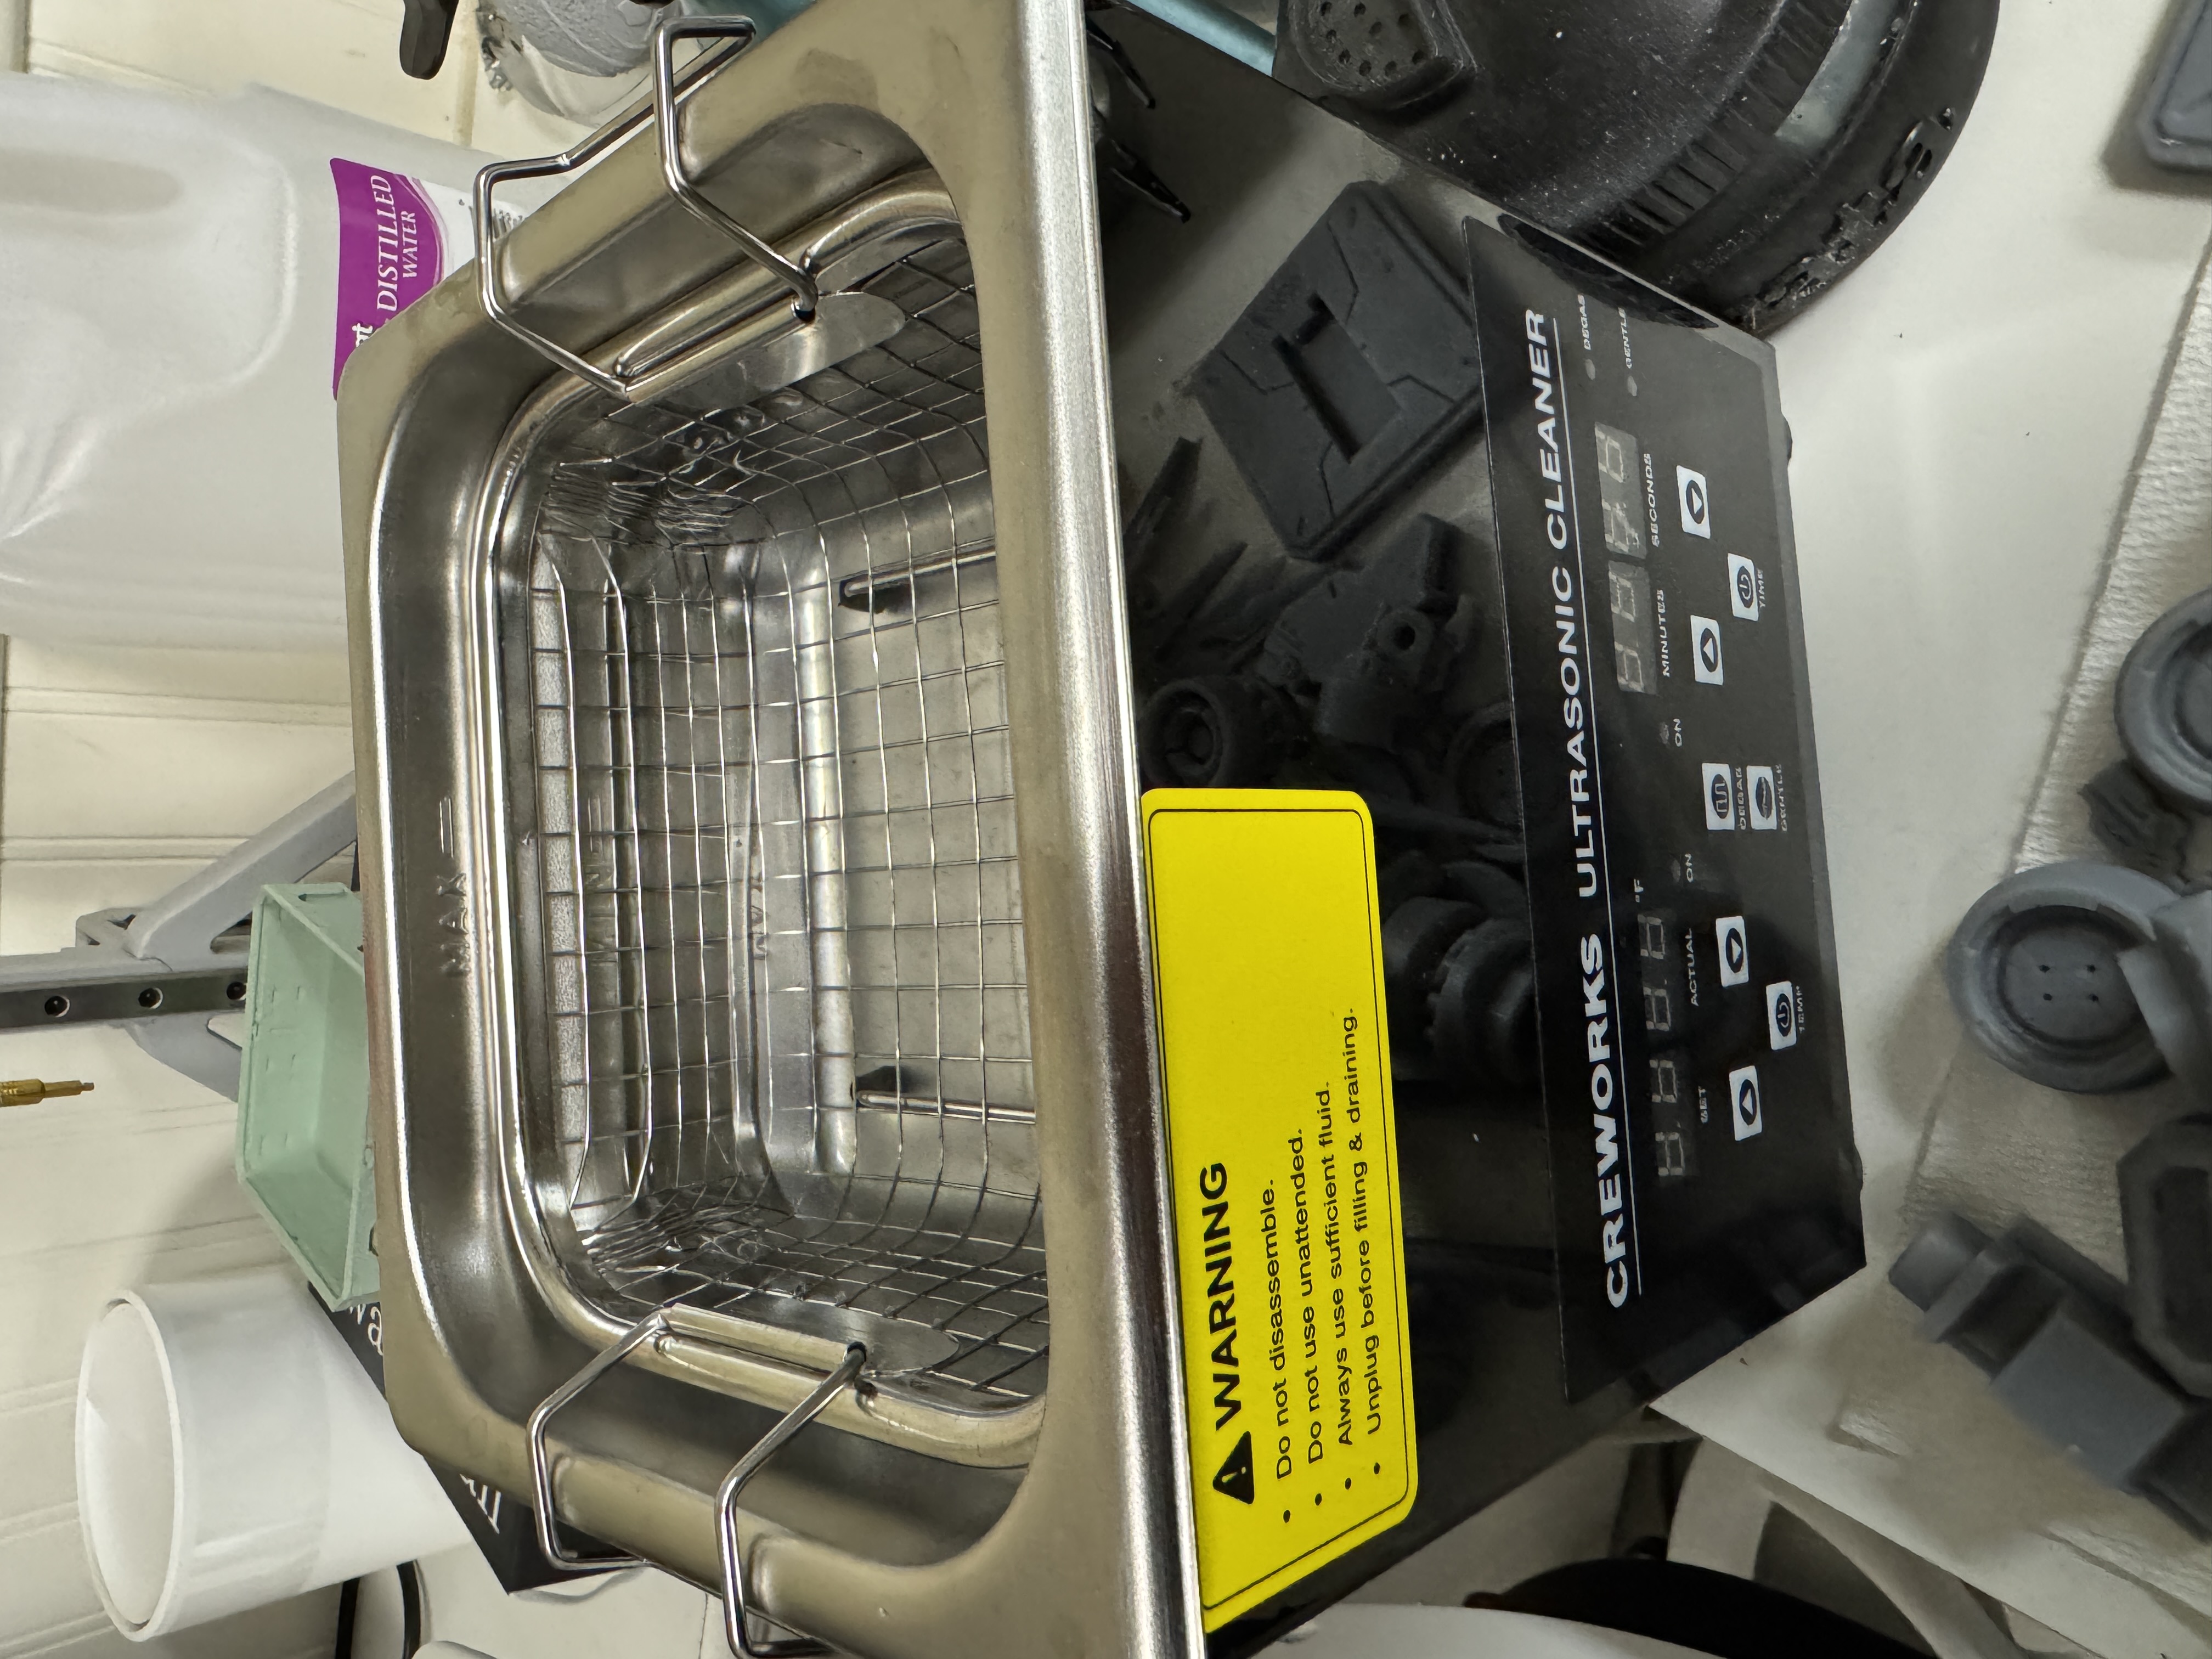
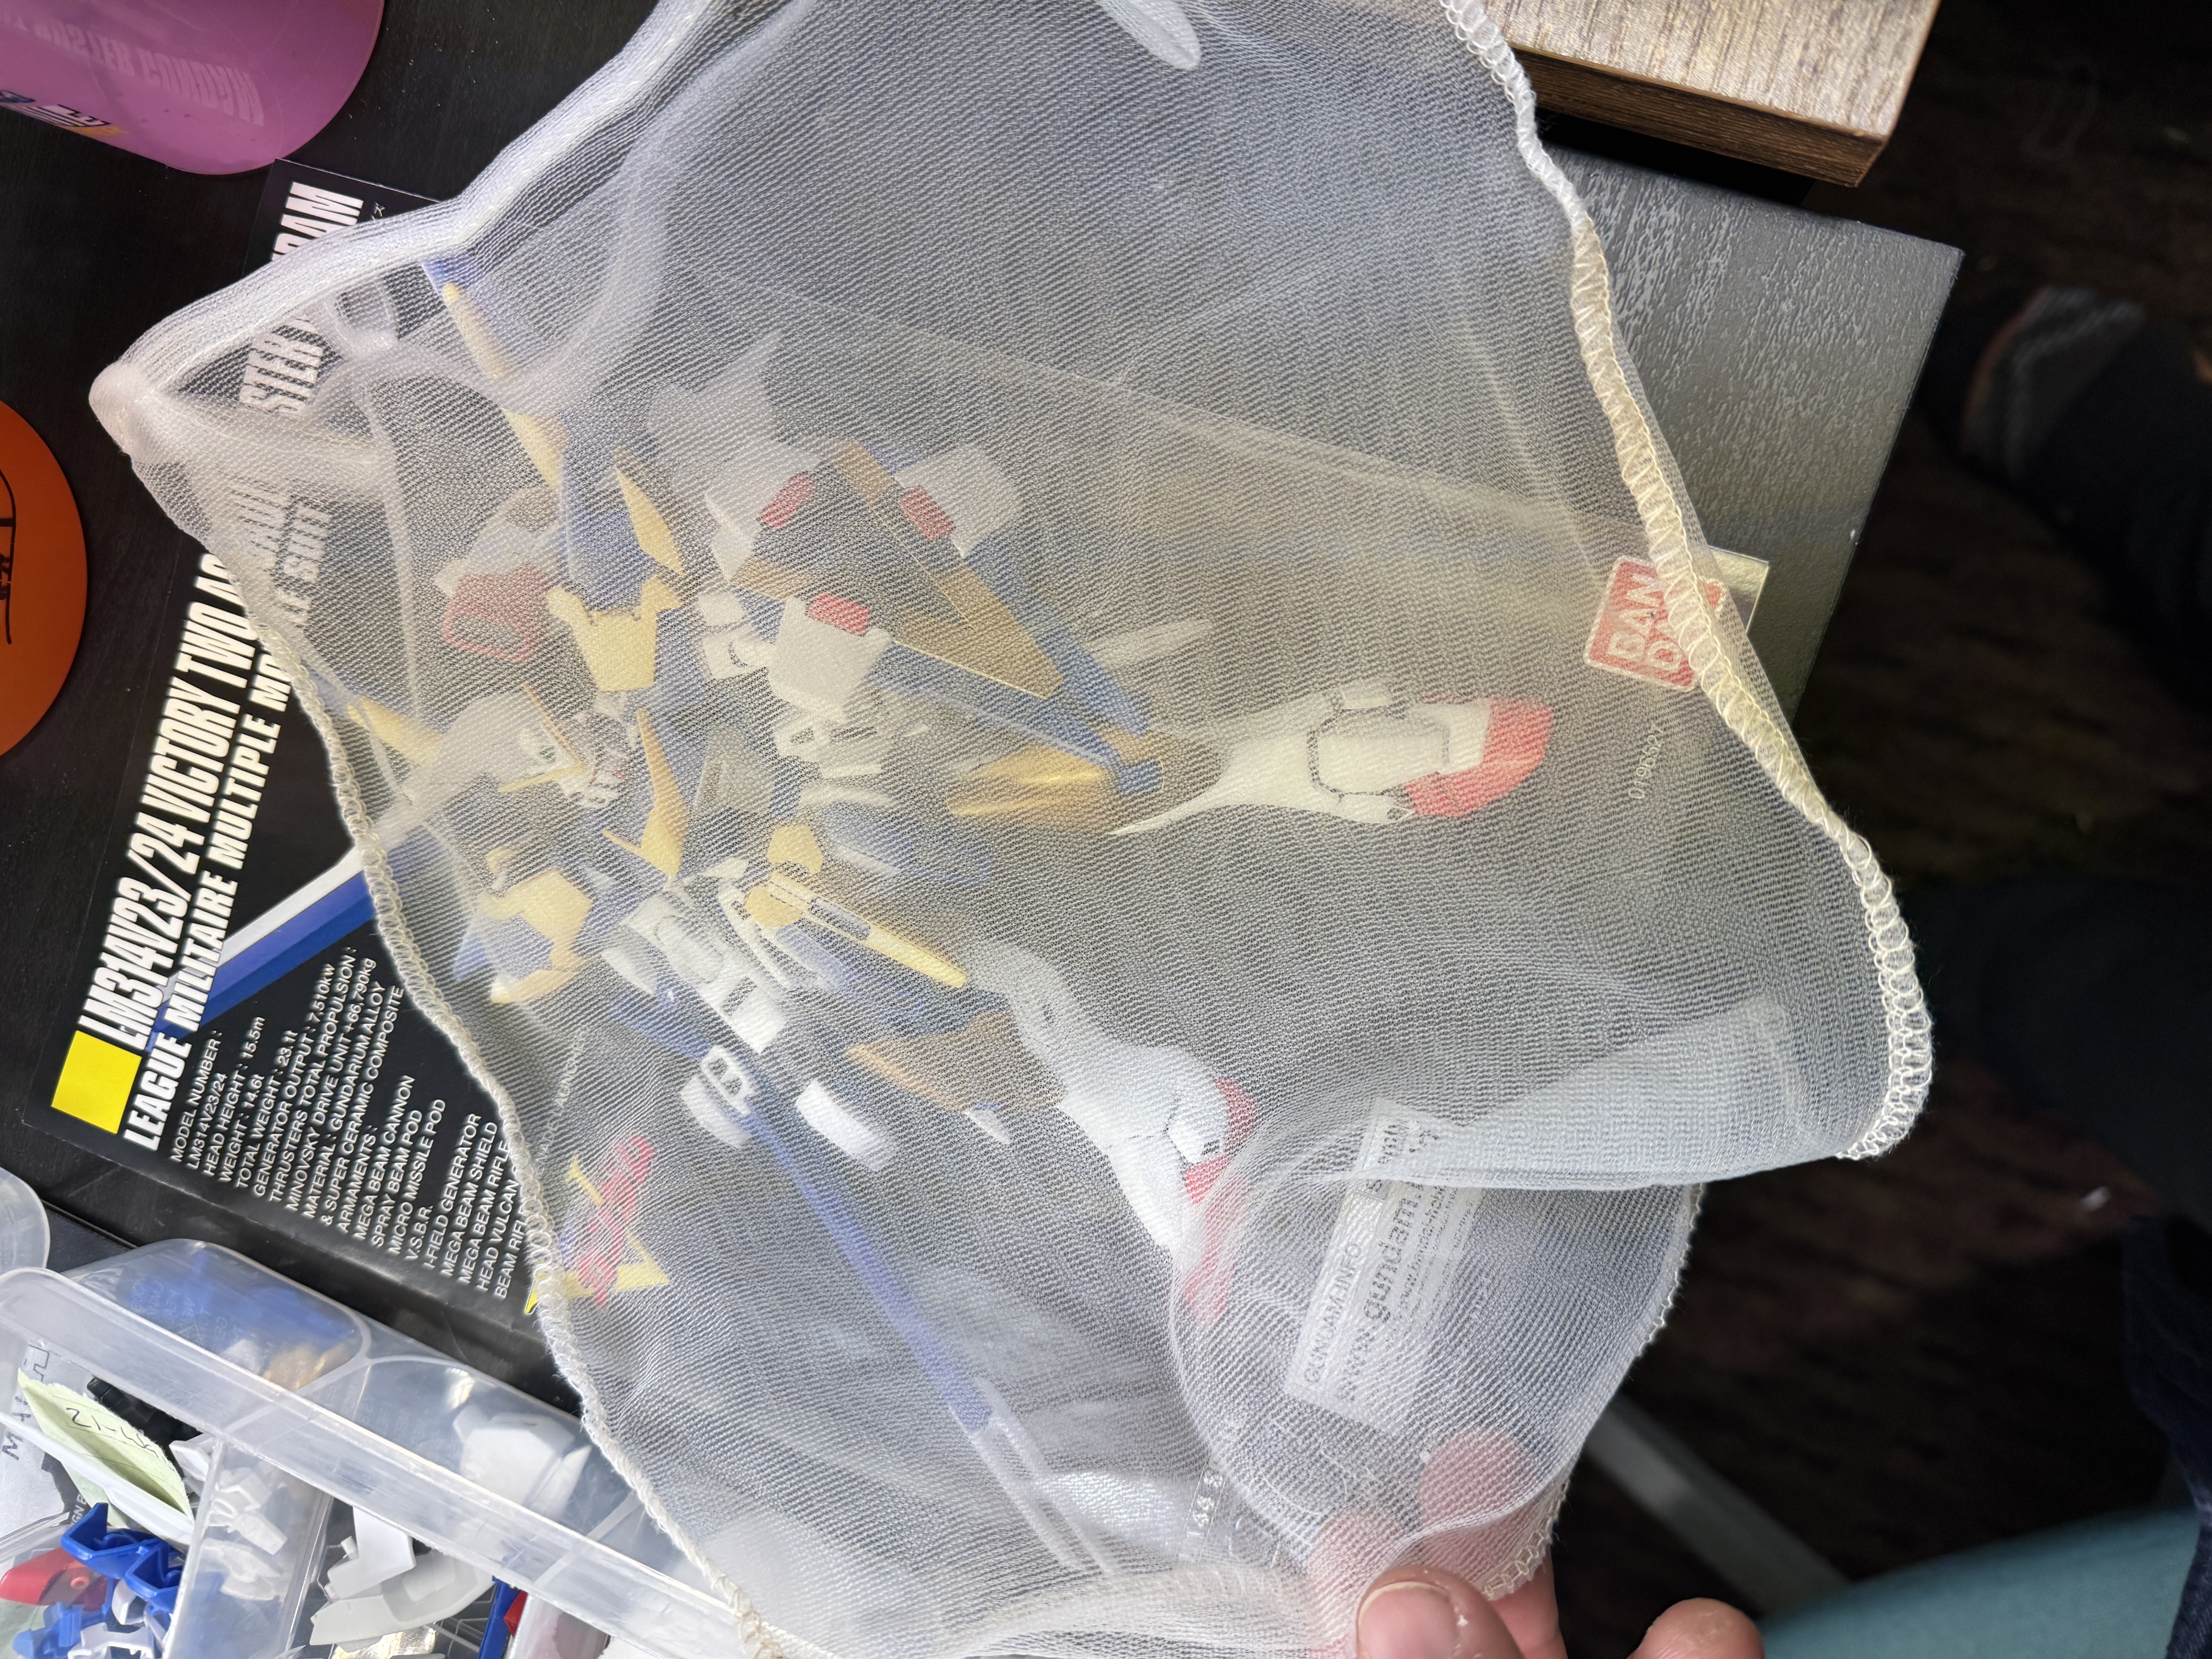
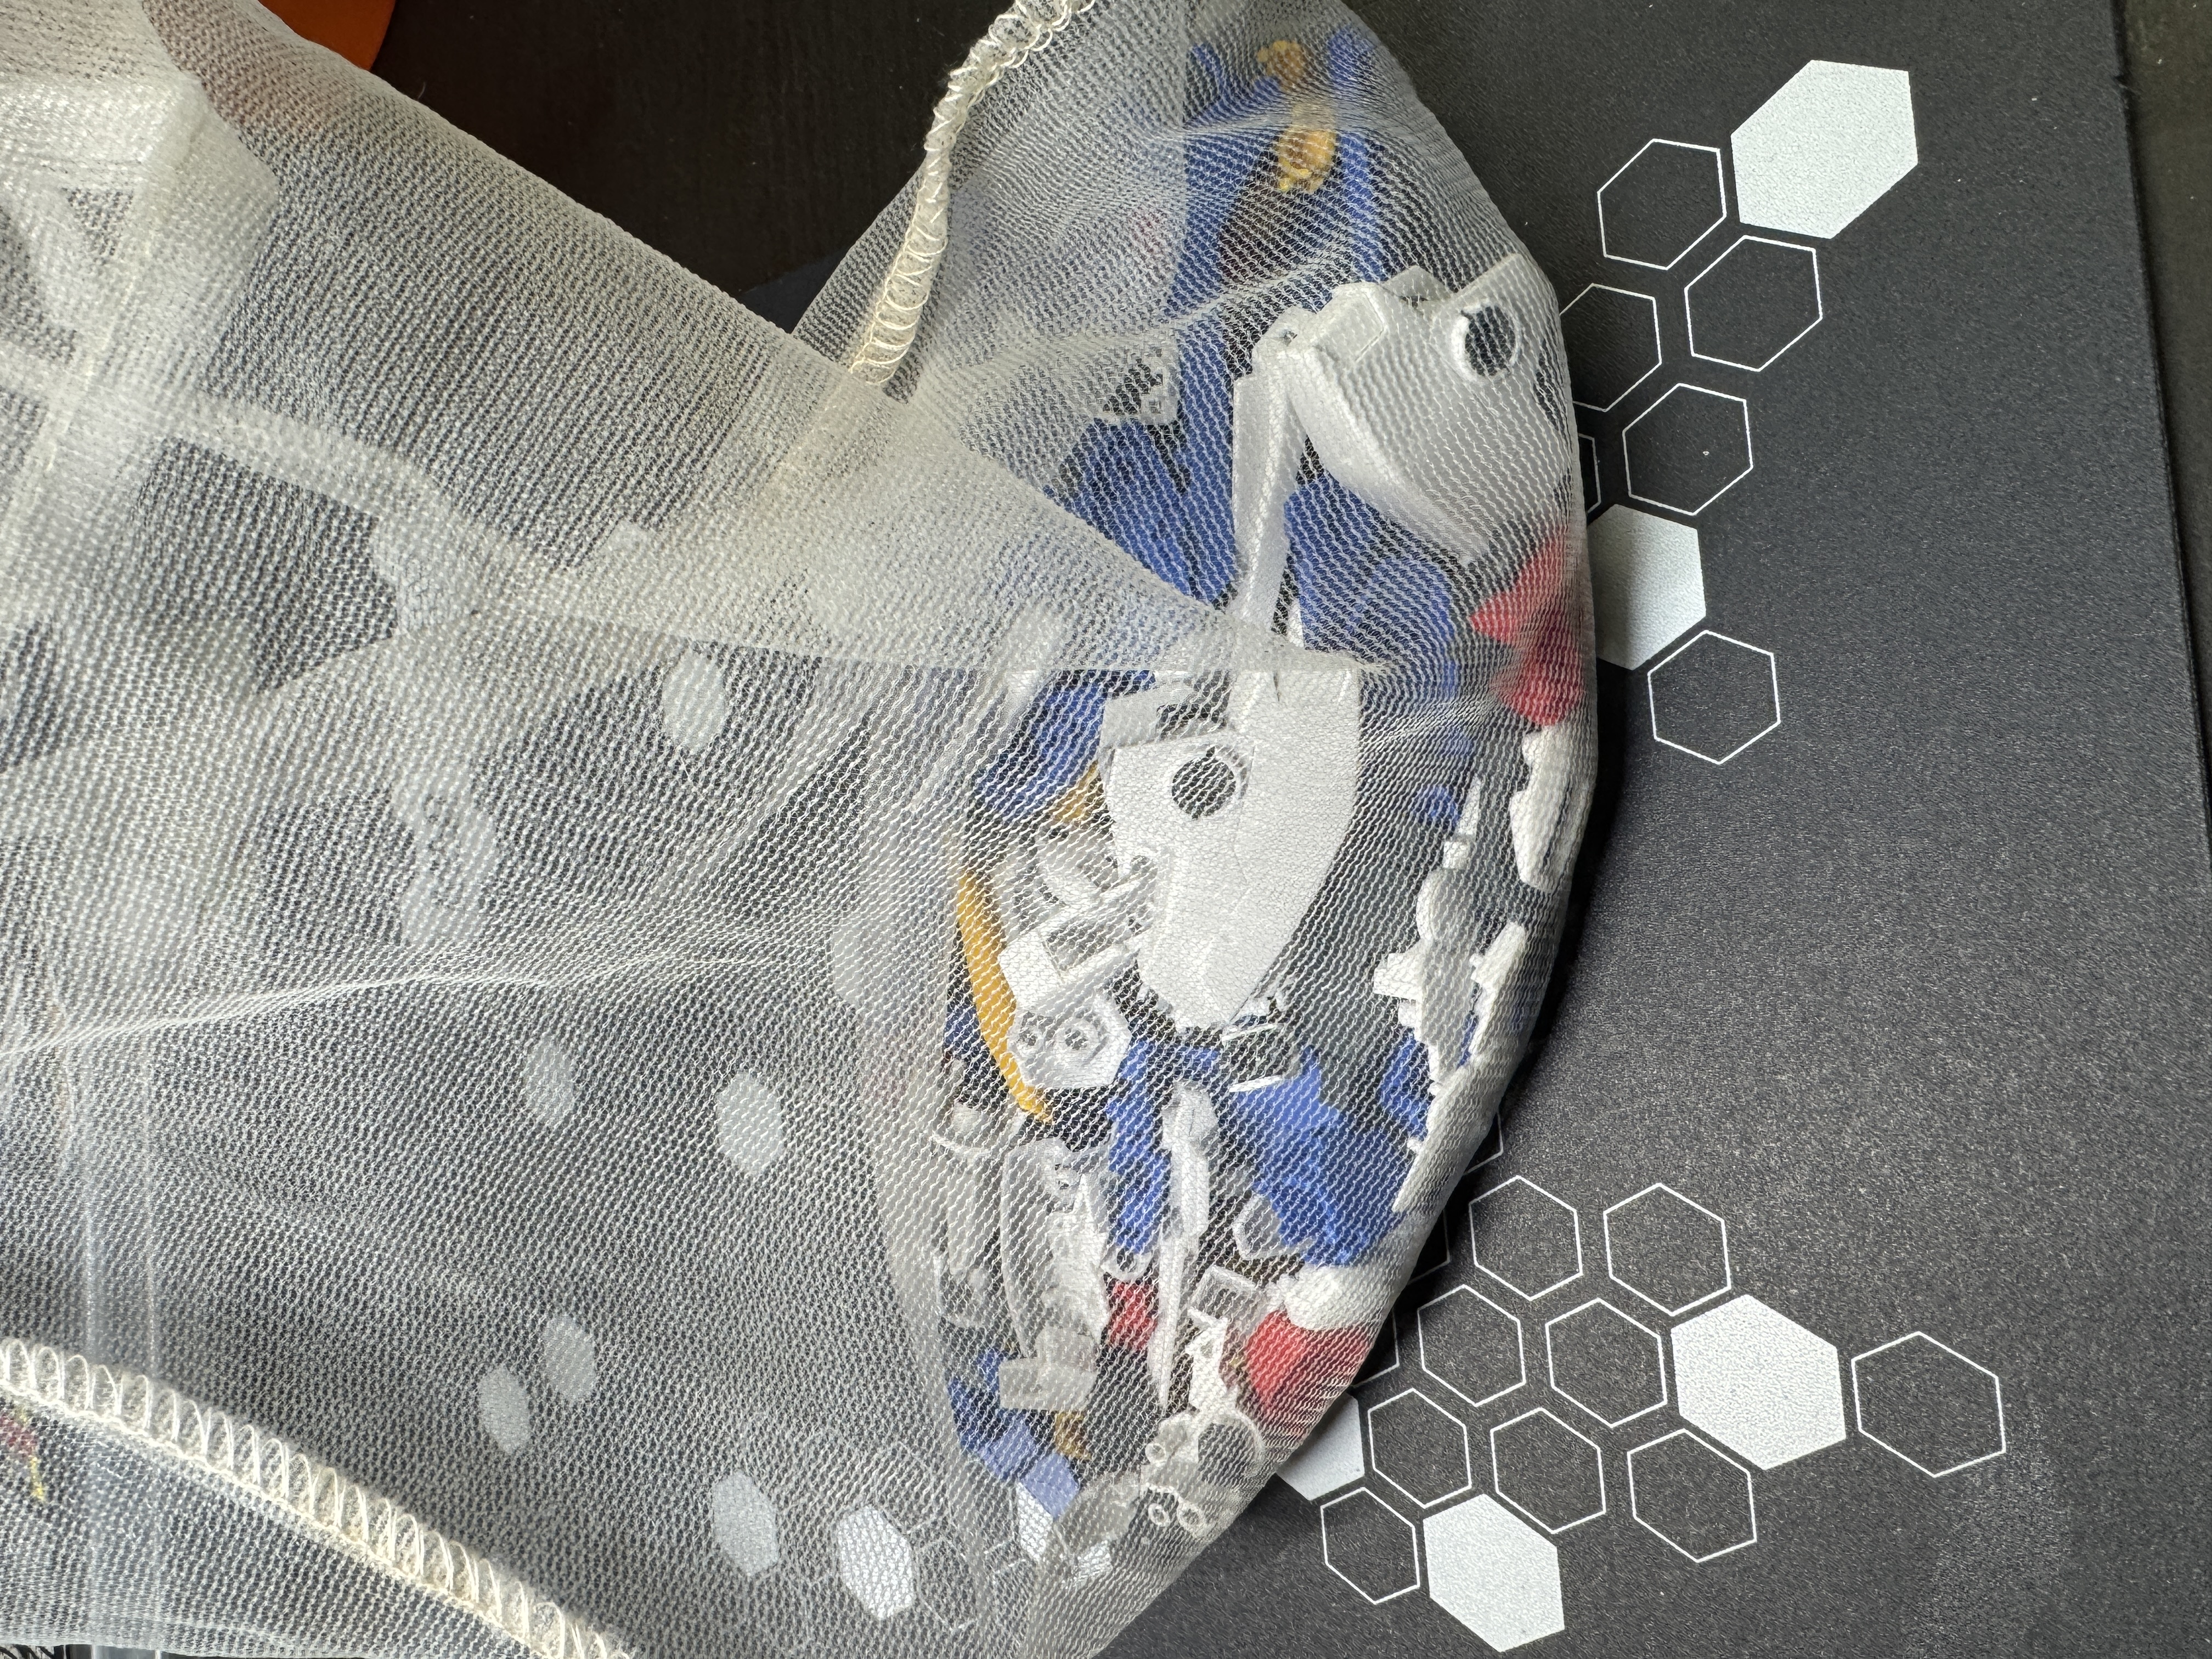
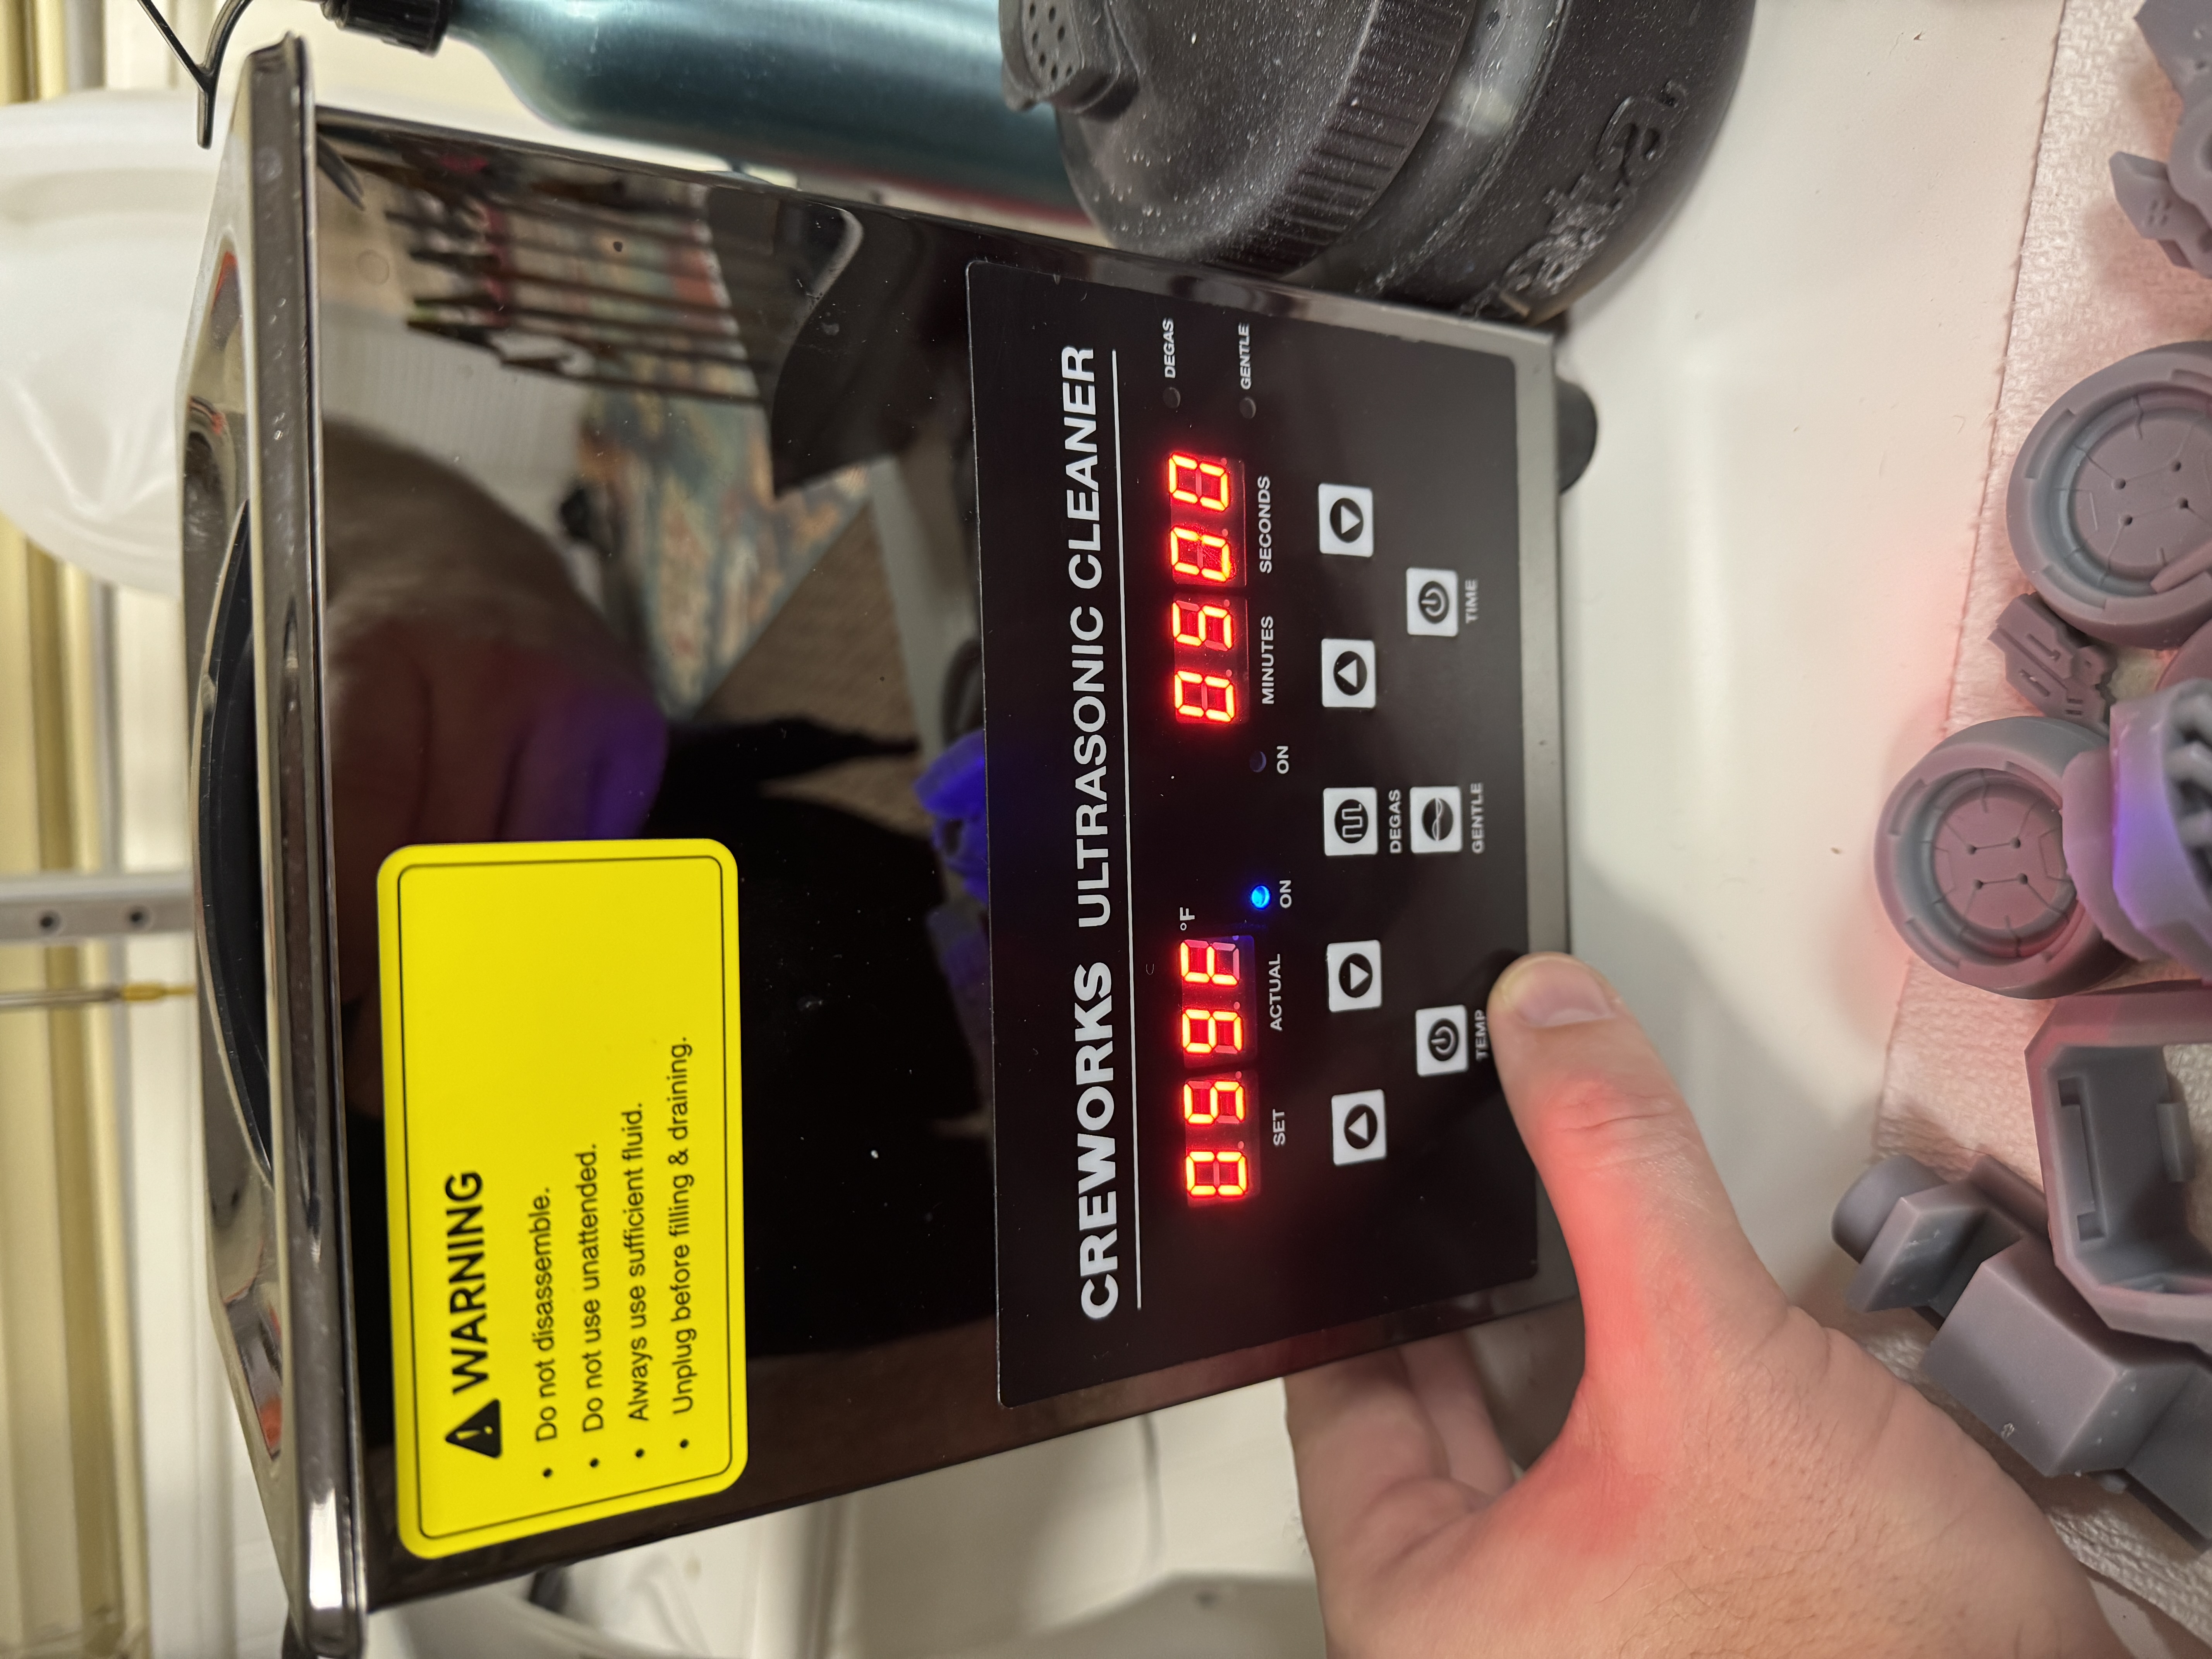
Finished the panel line scribing tonight — woohoo! That was sorta tedious, but I’m ready to move on to paint. First though, the parts need a good cleaning. I’ve tried multiple methods over the years and have landed on an ultrasonic cleaner. It works great, but the small parts slip right through the basket. After a little thinking I realized I could just use a mesh bag — and found one in the kitchen we used to make almond milk about ten years ago. Guess not getting rid of things paid off! I chuck the parts in the bag, run the cleaner for about five minutes, then transfer everything to the dehydrator to dry completely.
March 21, 2026
Gunpla Colorado build night tonight. I finished my Geara Doga snap build and then moved onto some more panel line scribing for the Assault Buster. Almost done! Once I’m done with the panel lines I’ll be able to start paint! Sorry…no pictures of this part tonight.
March 20, 2026
Tonight I worked on more panel line scribing — head and waist parts. But bigger than getting the scribing done was the fact that I pushed myself to take steps and get a little bit done, even though my own talk track tells me I should skip it if I can’t commit a long time to the effort. 30 minutes well spent!

March 17, 2026
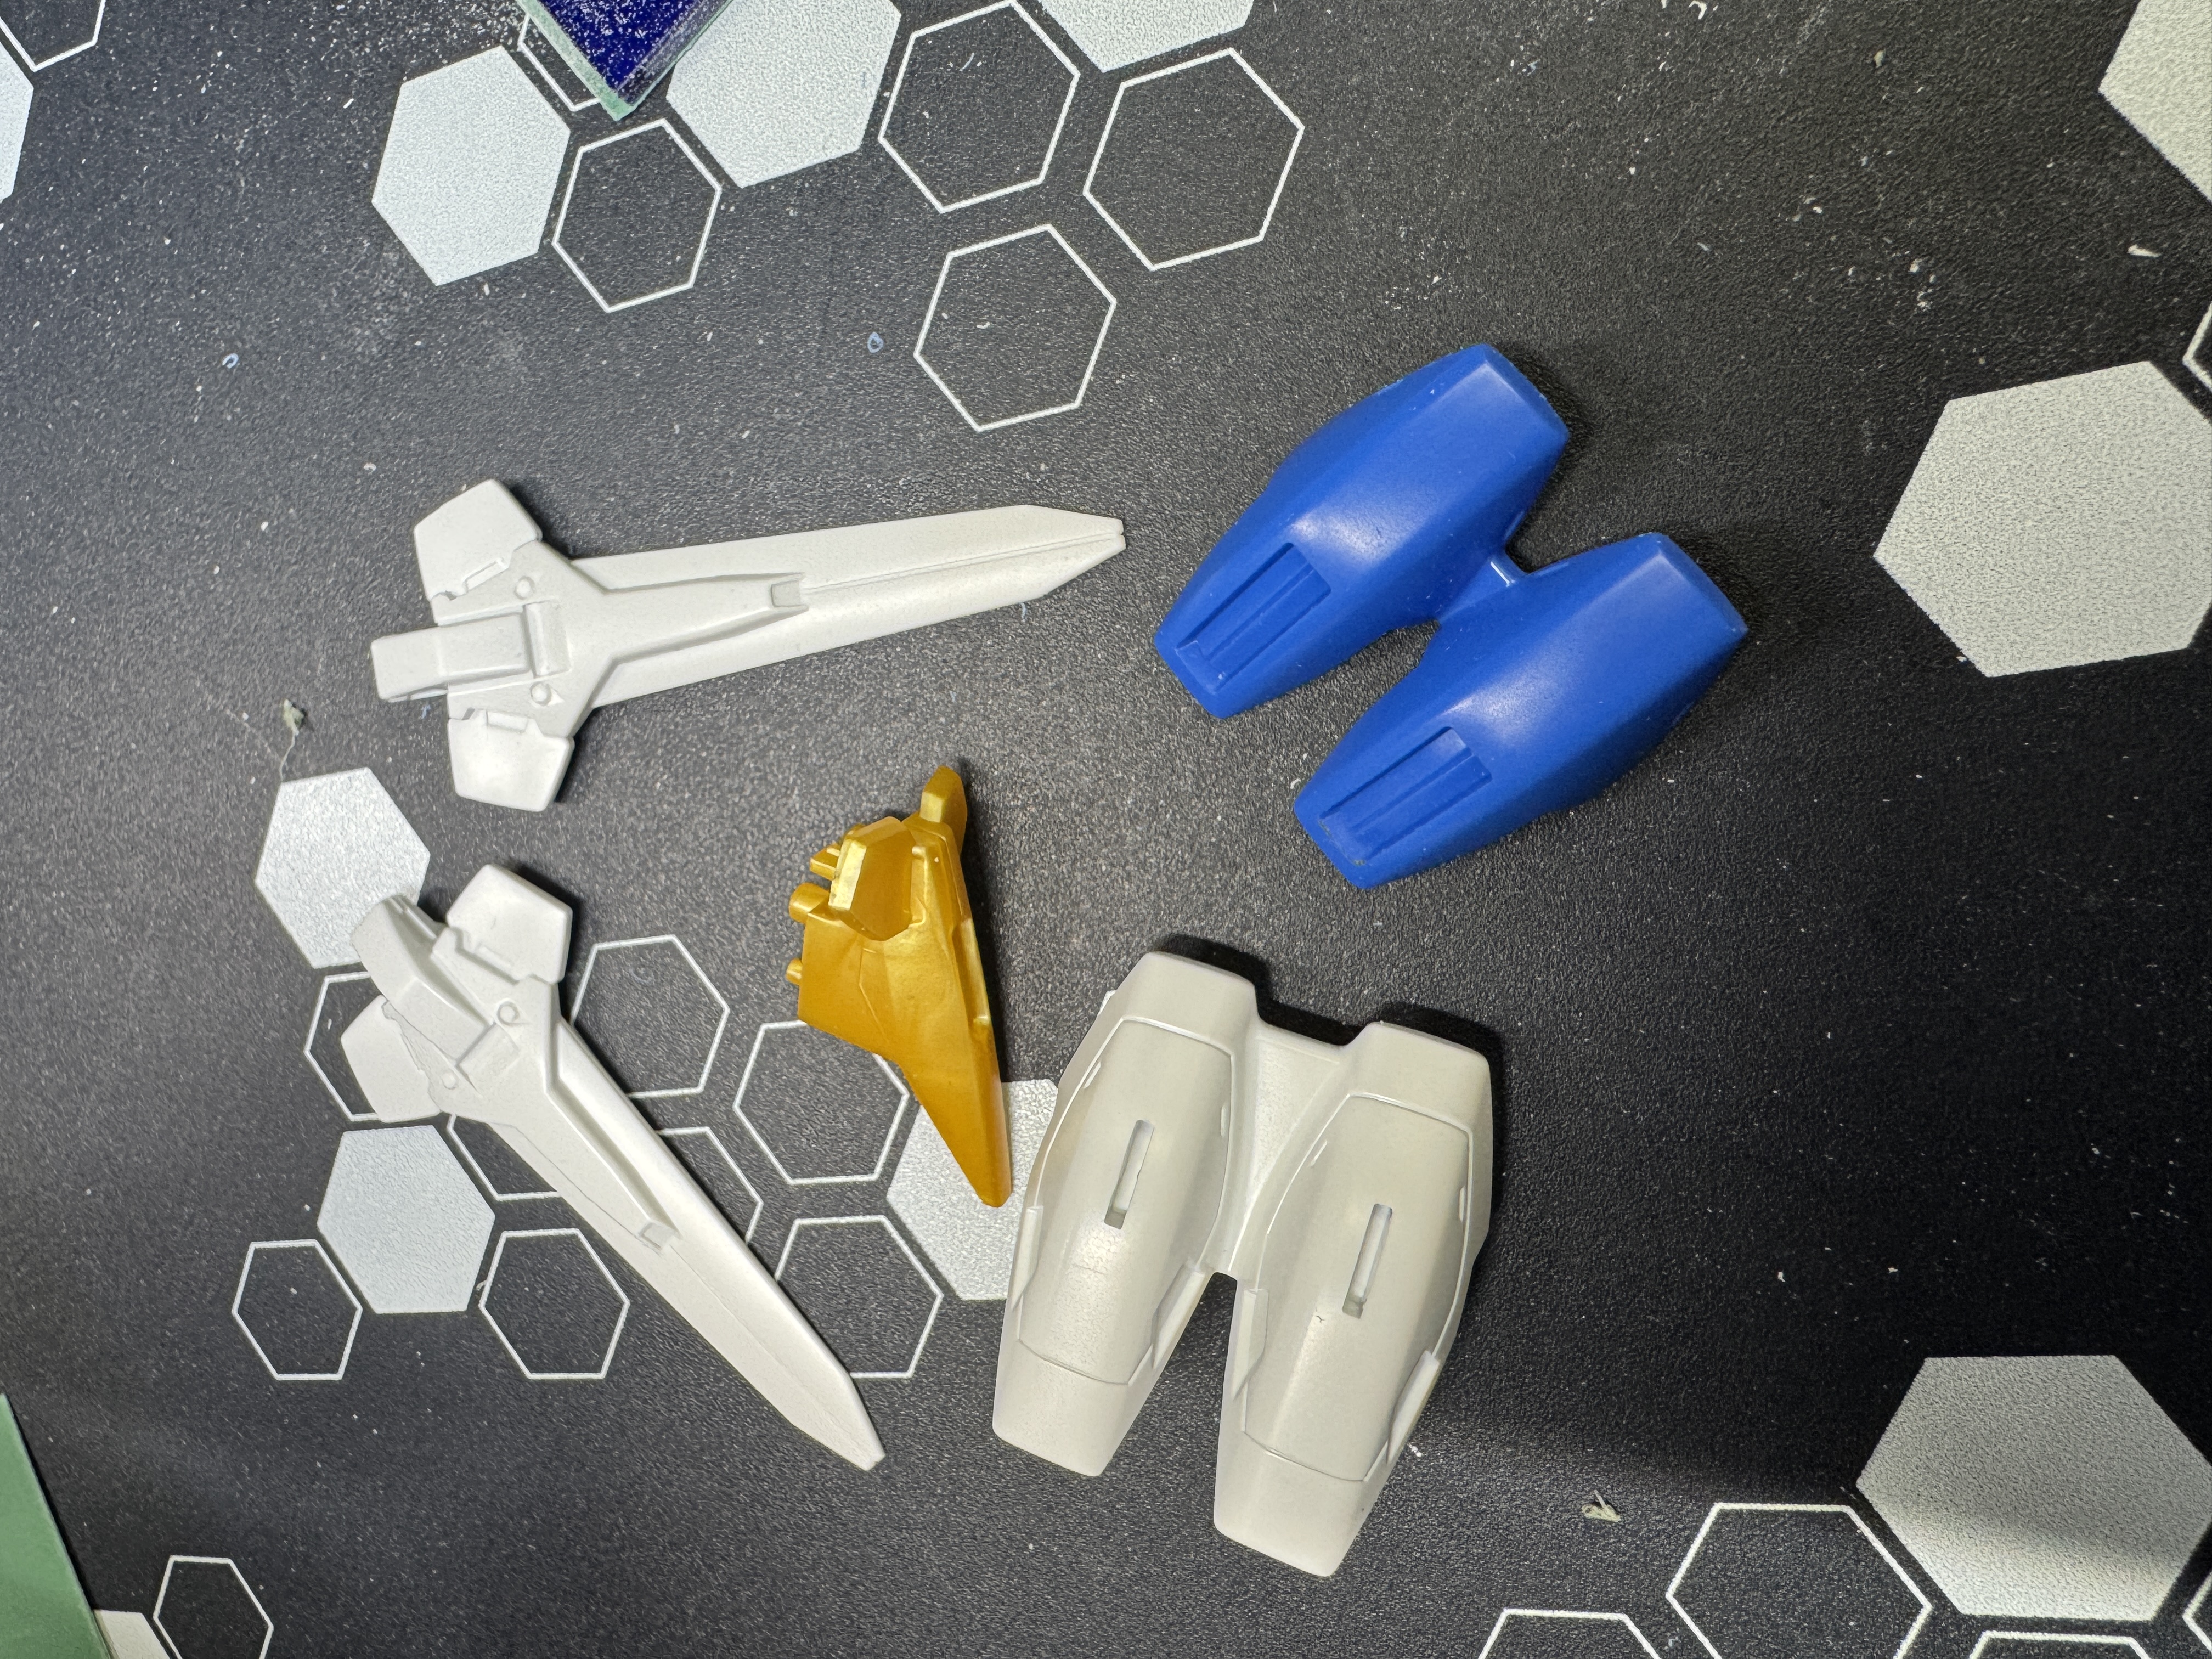
It’s been a bit since I got to work on anything and time was short tonight. Spent the session doing more seam line removal — this kit sure does have a lot of seams! Hopefully next time I’ll get some work done on the head.
March 7, 2026
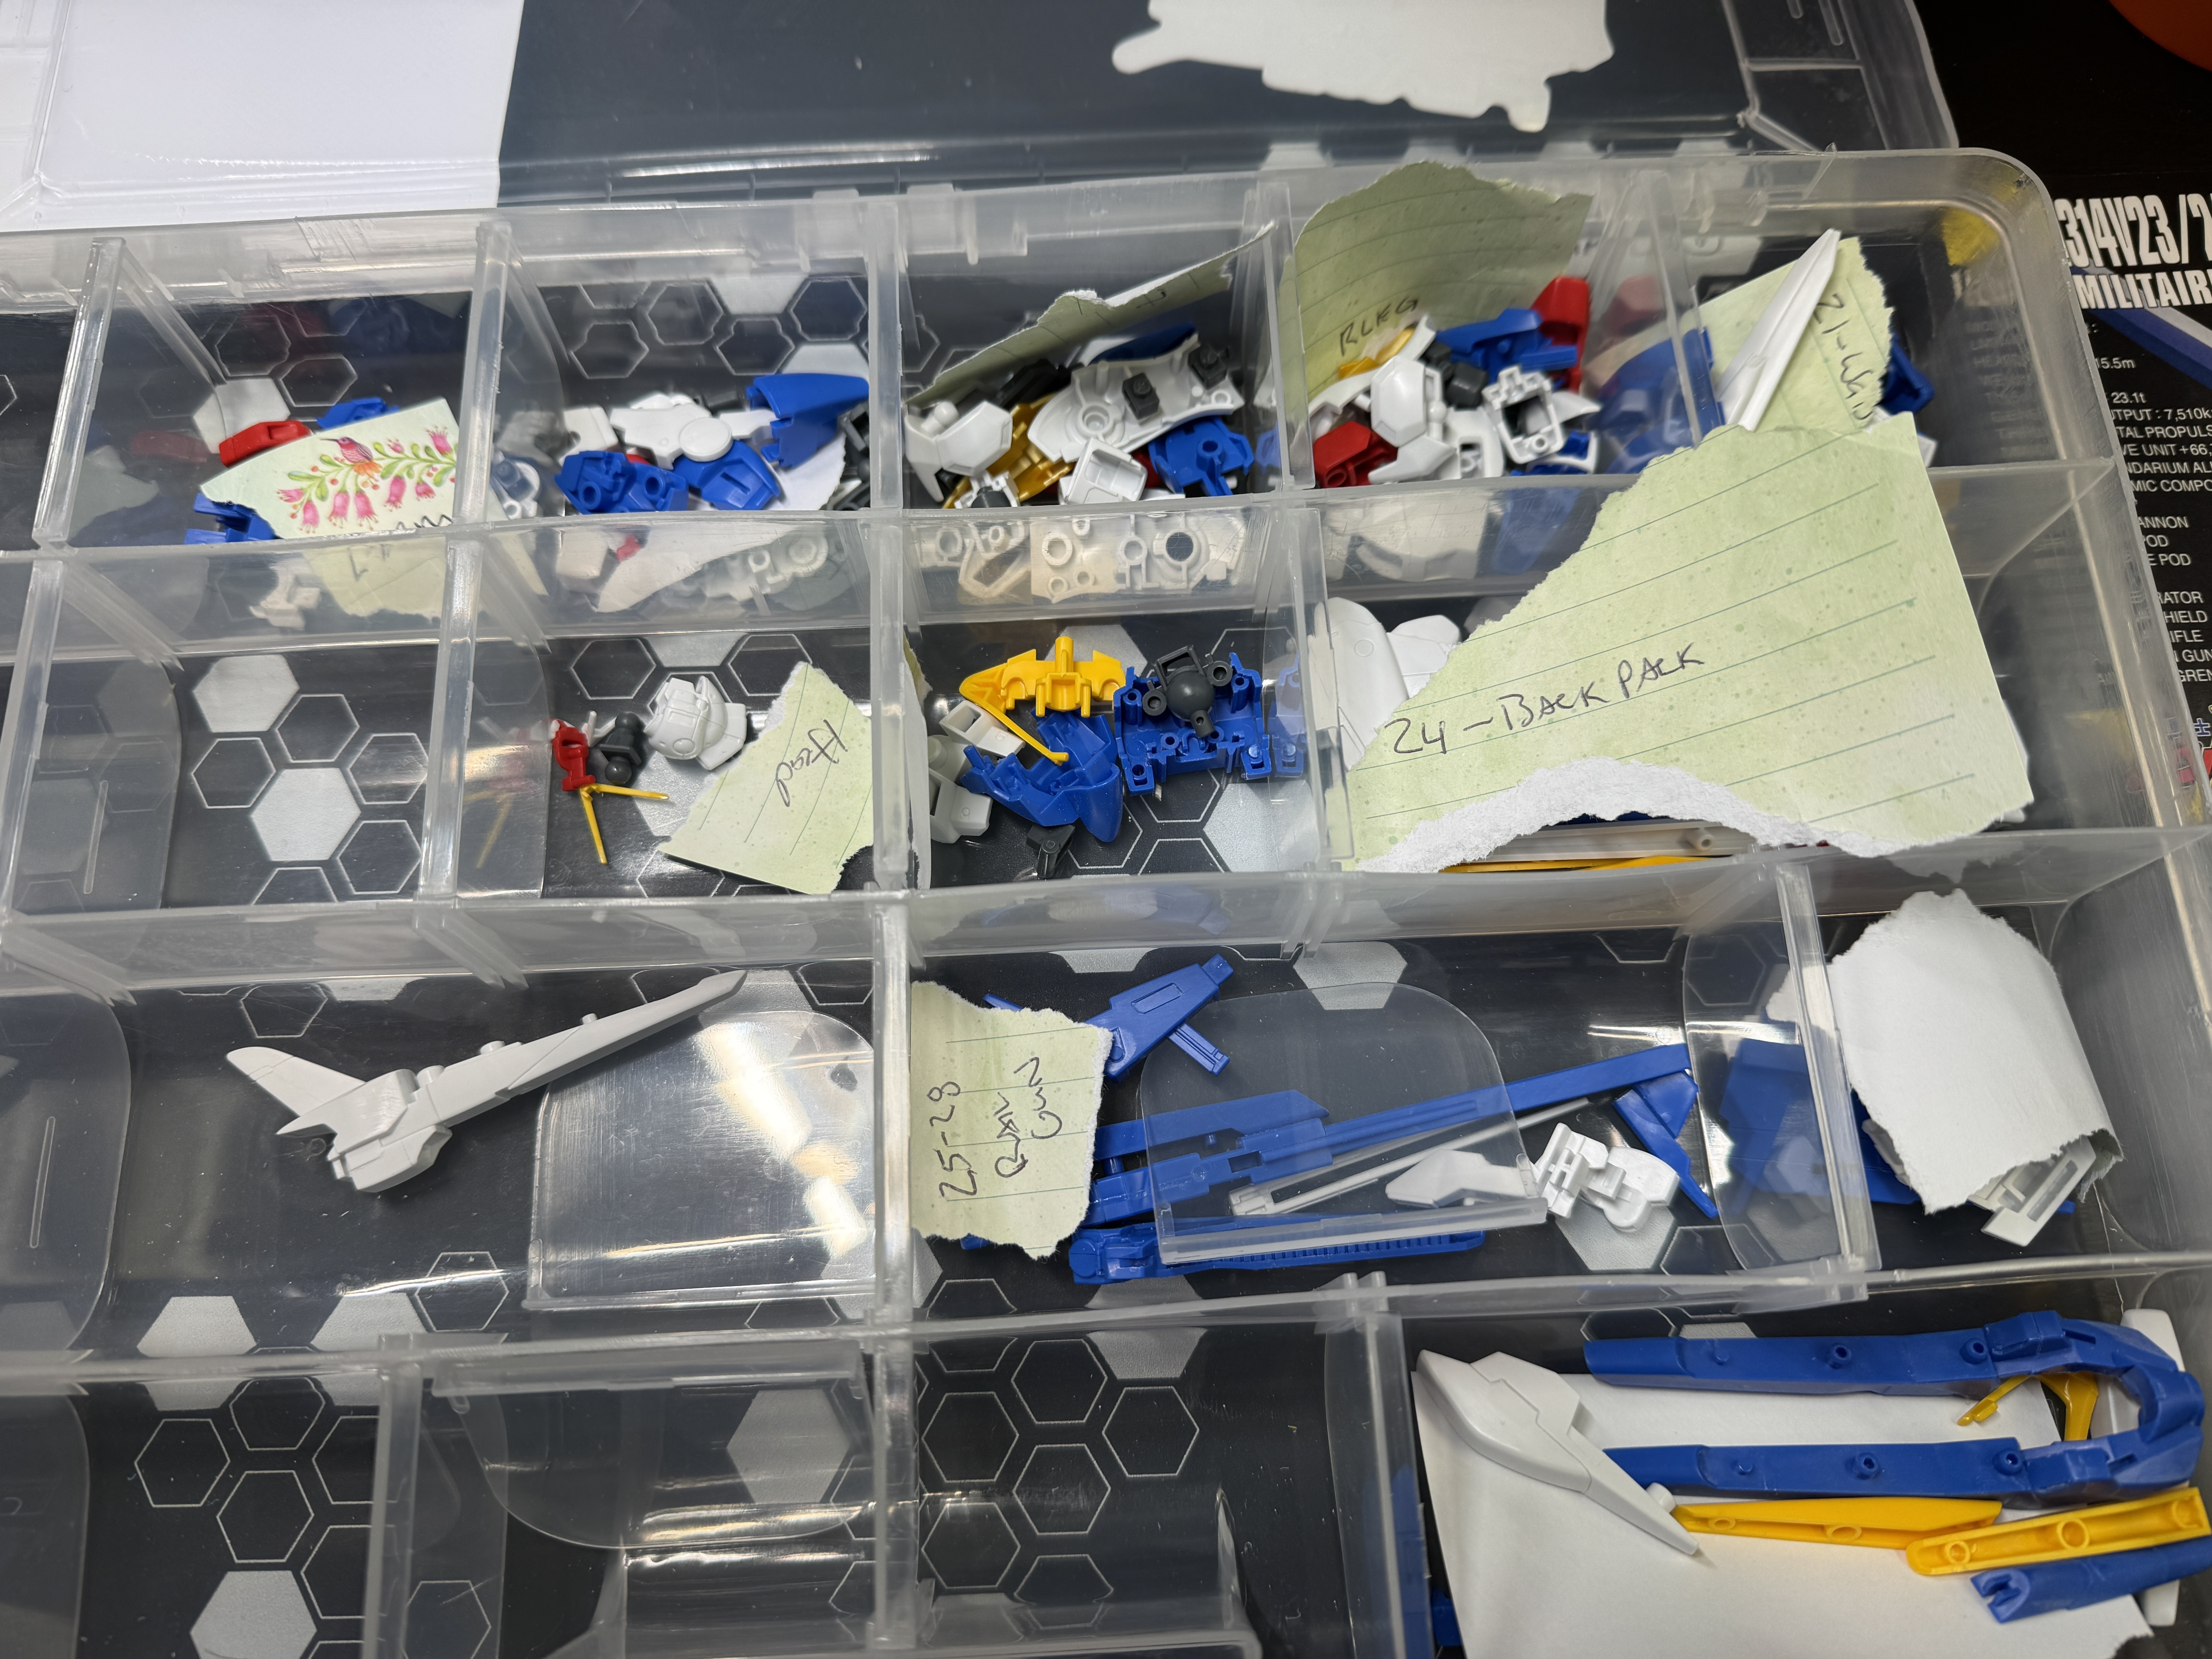
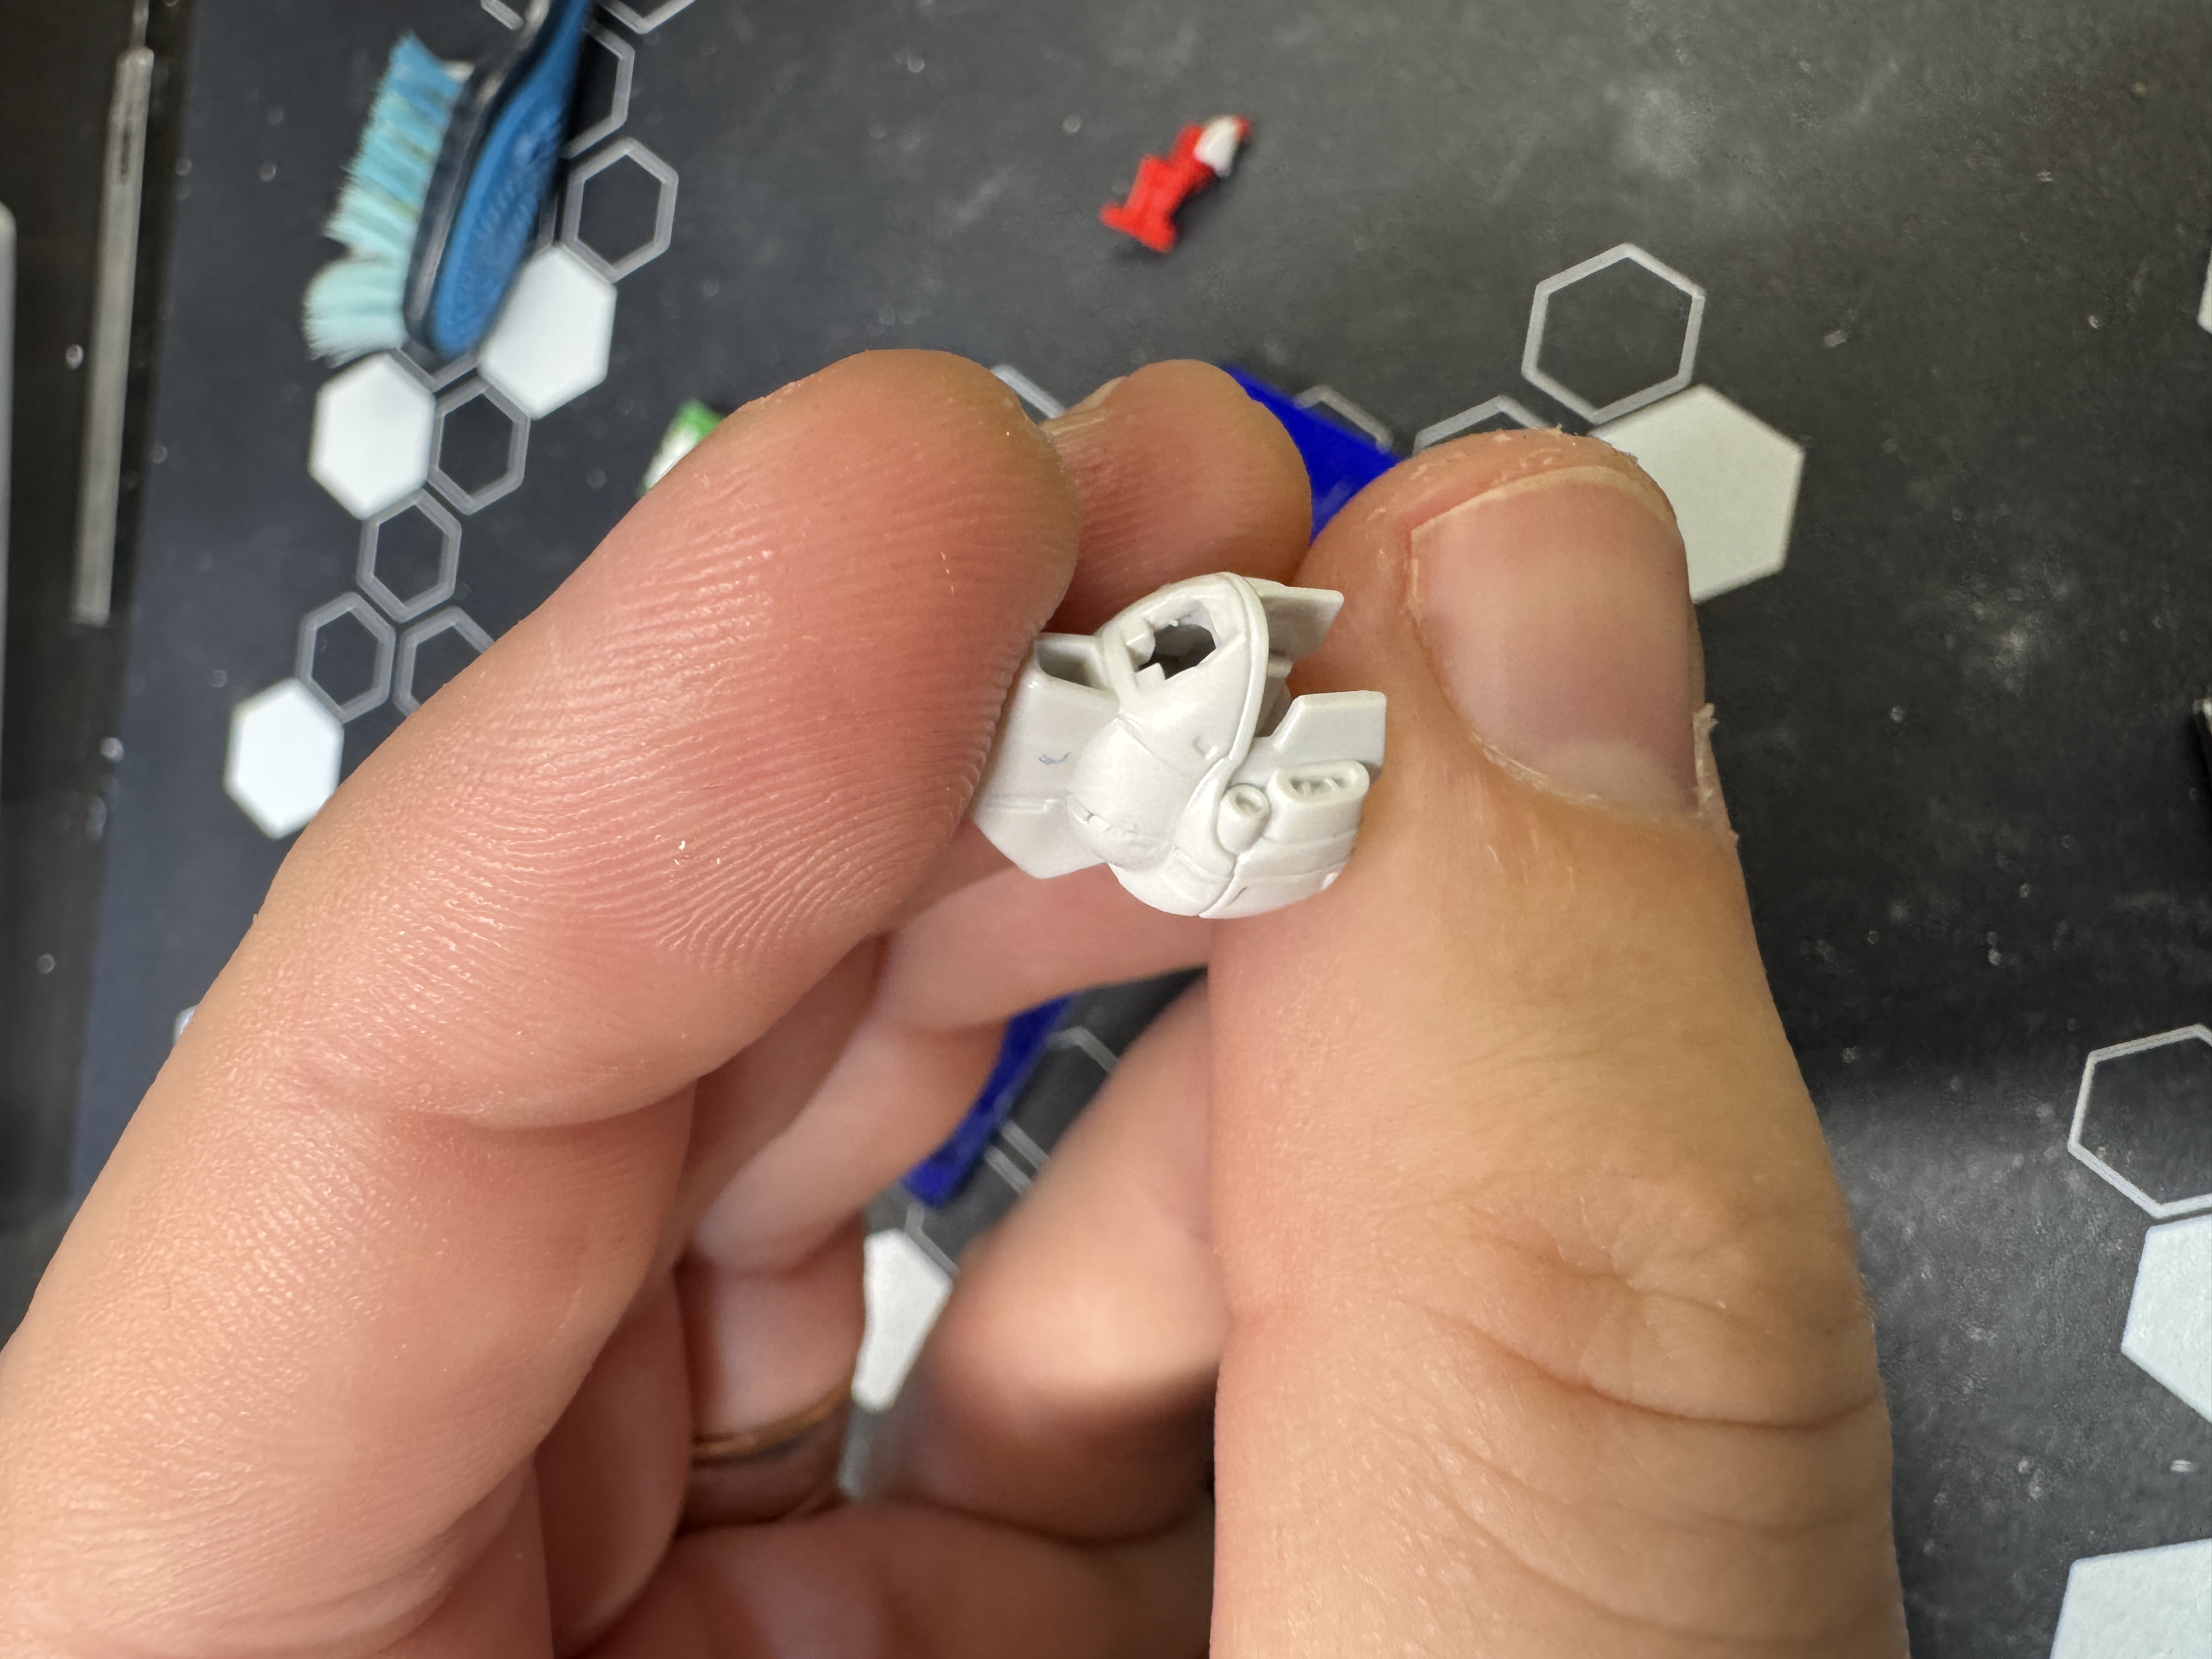
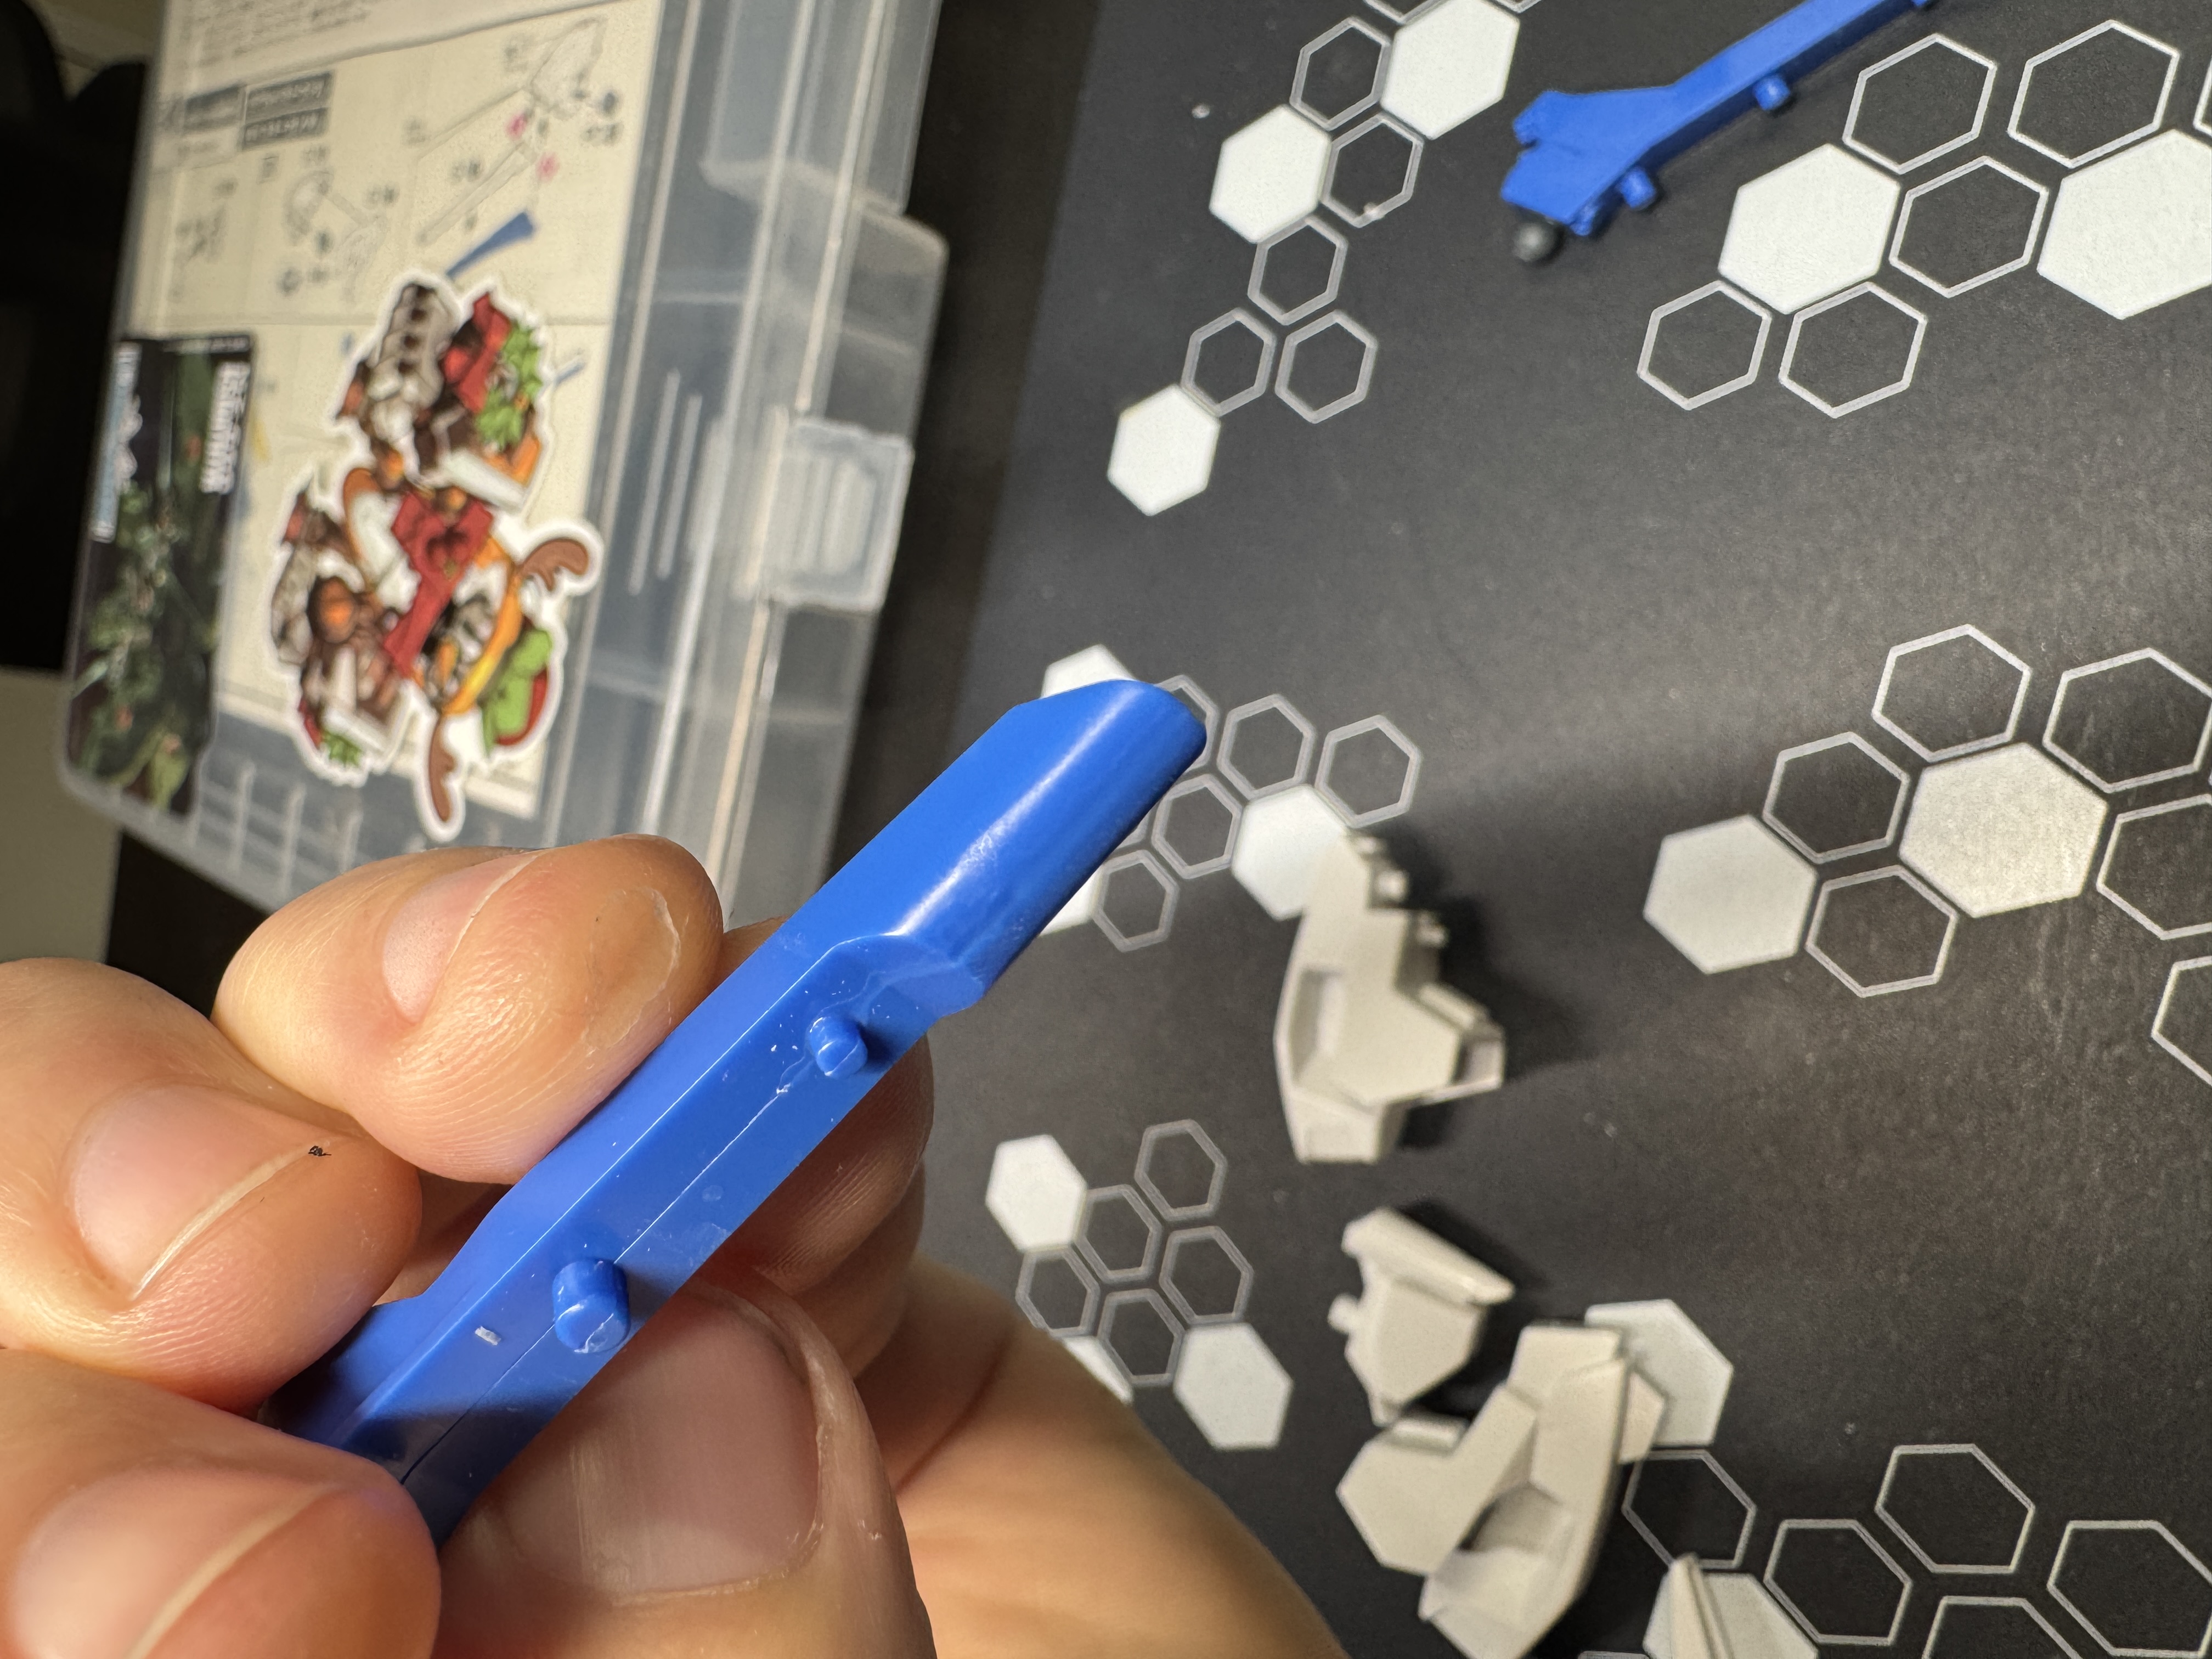
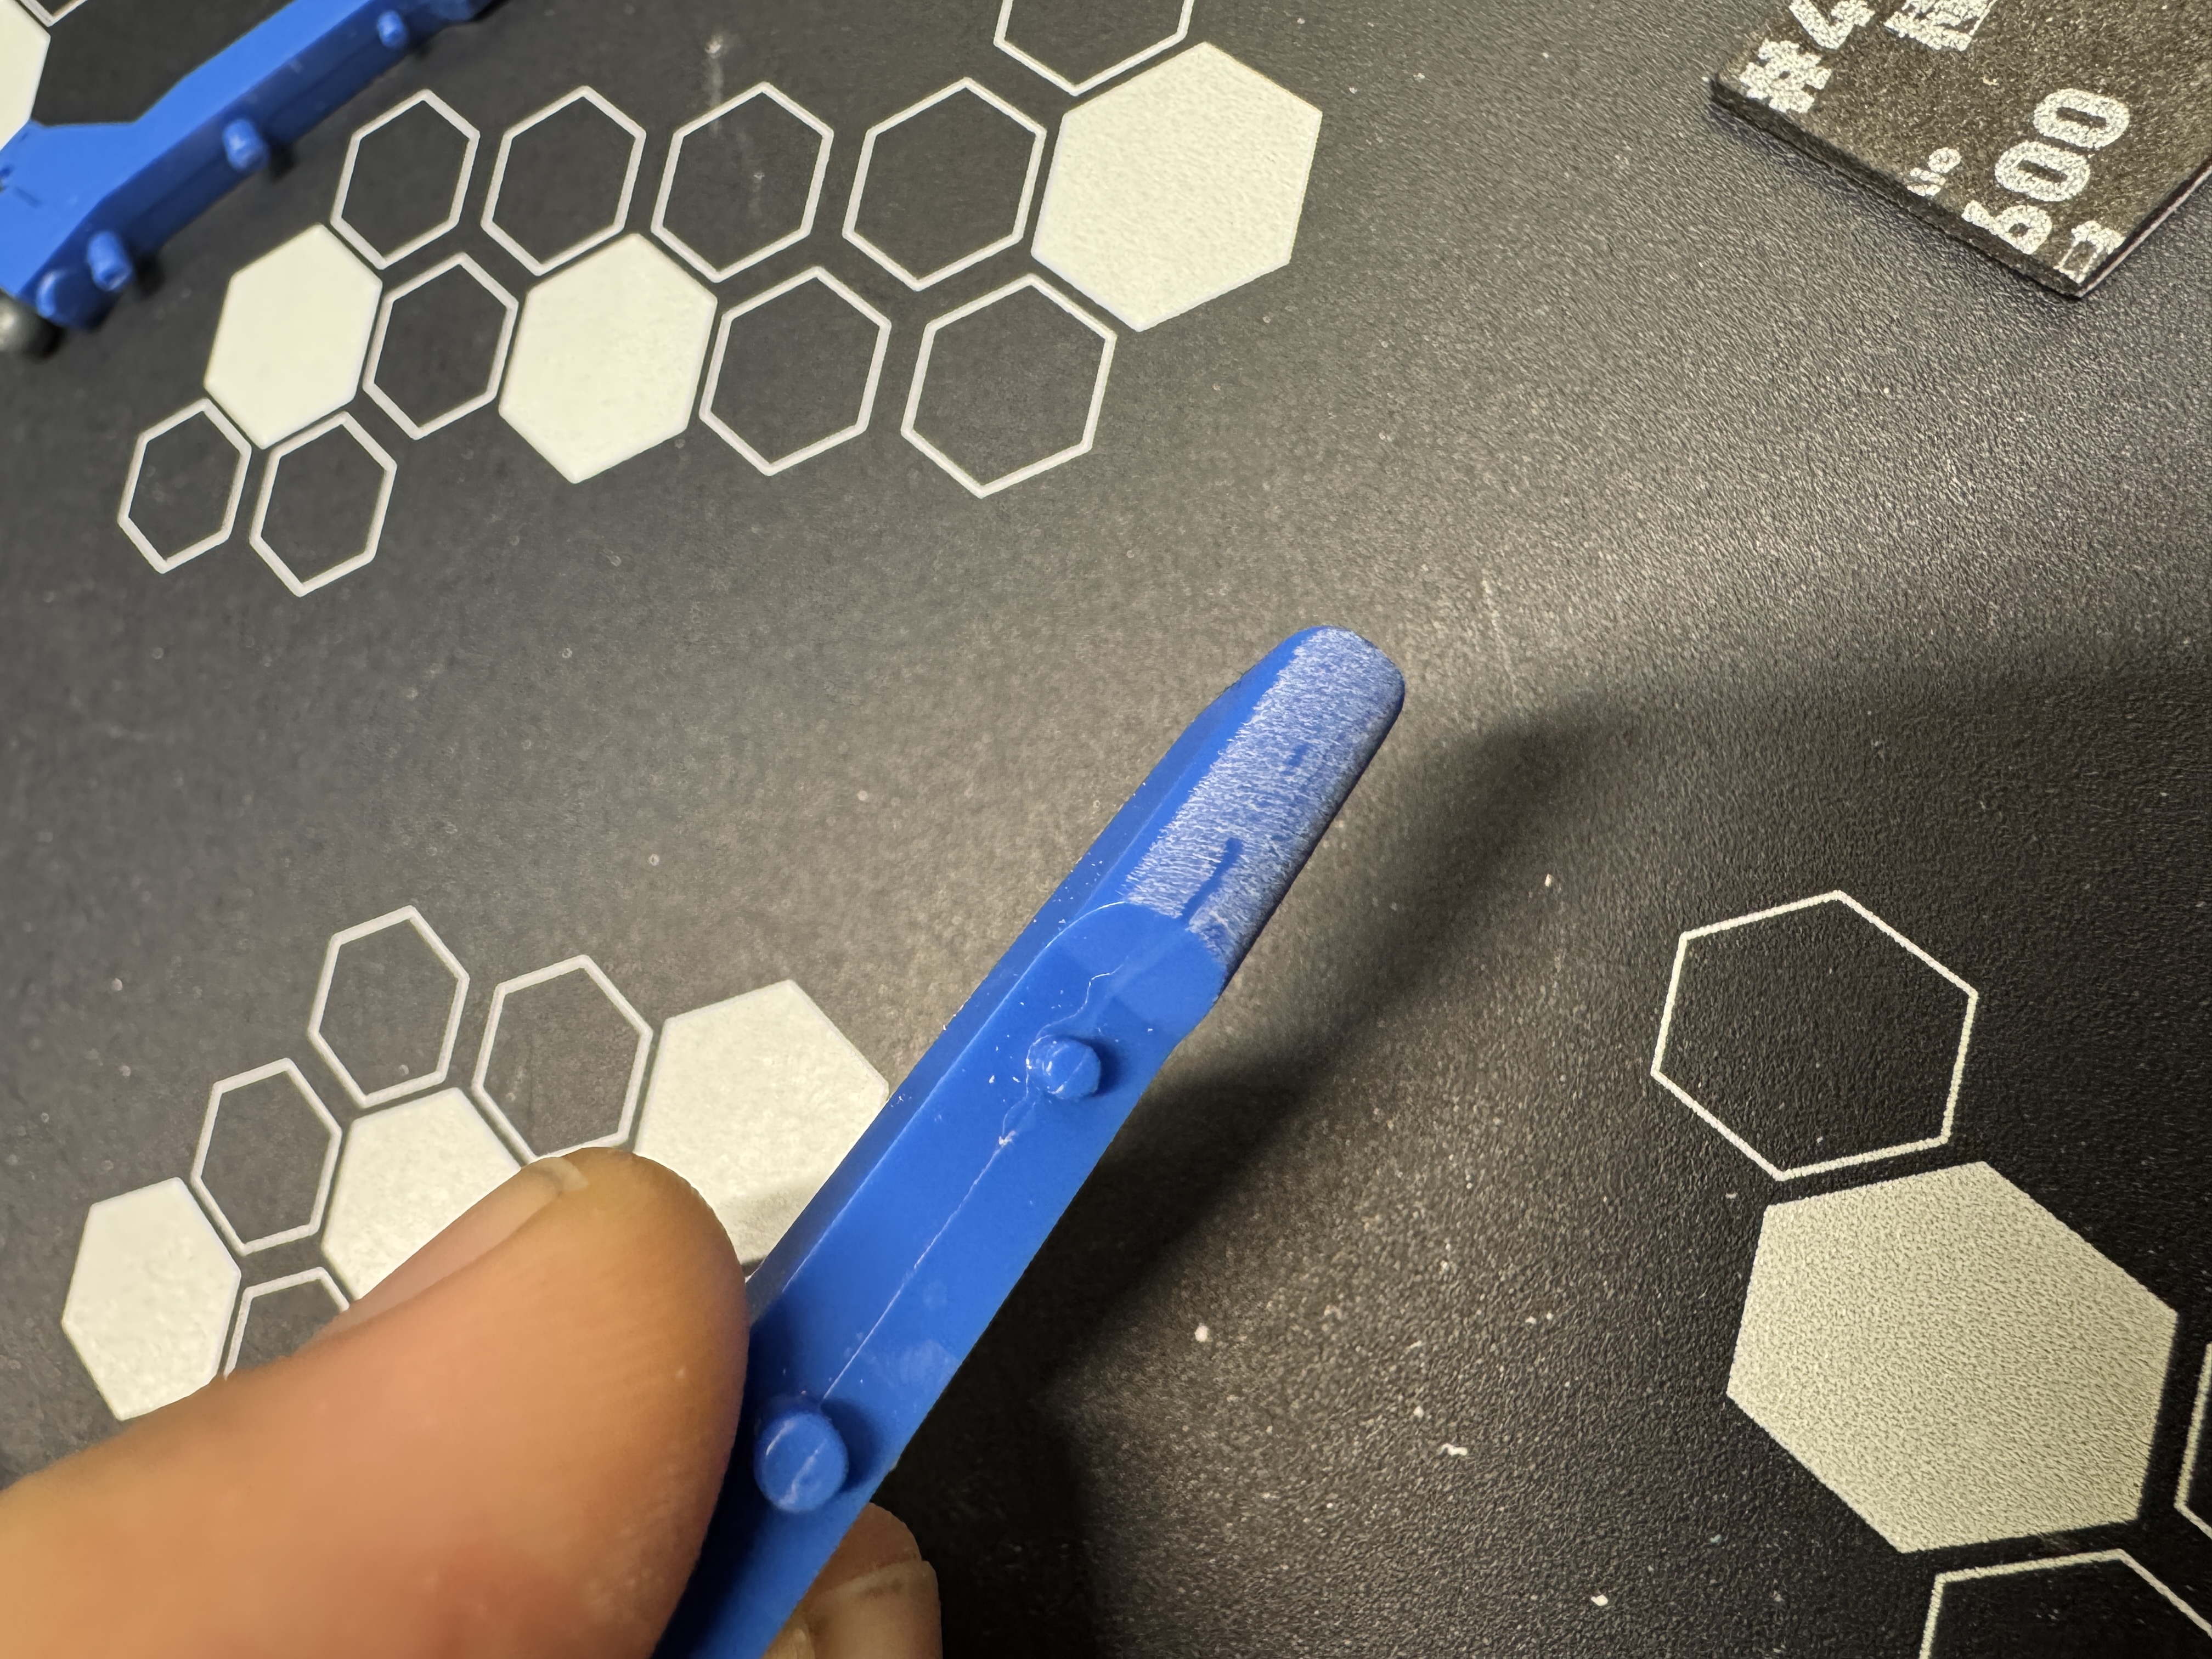
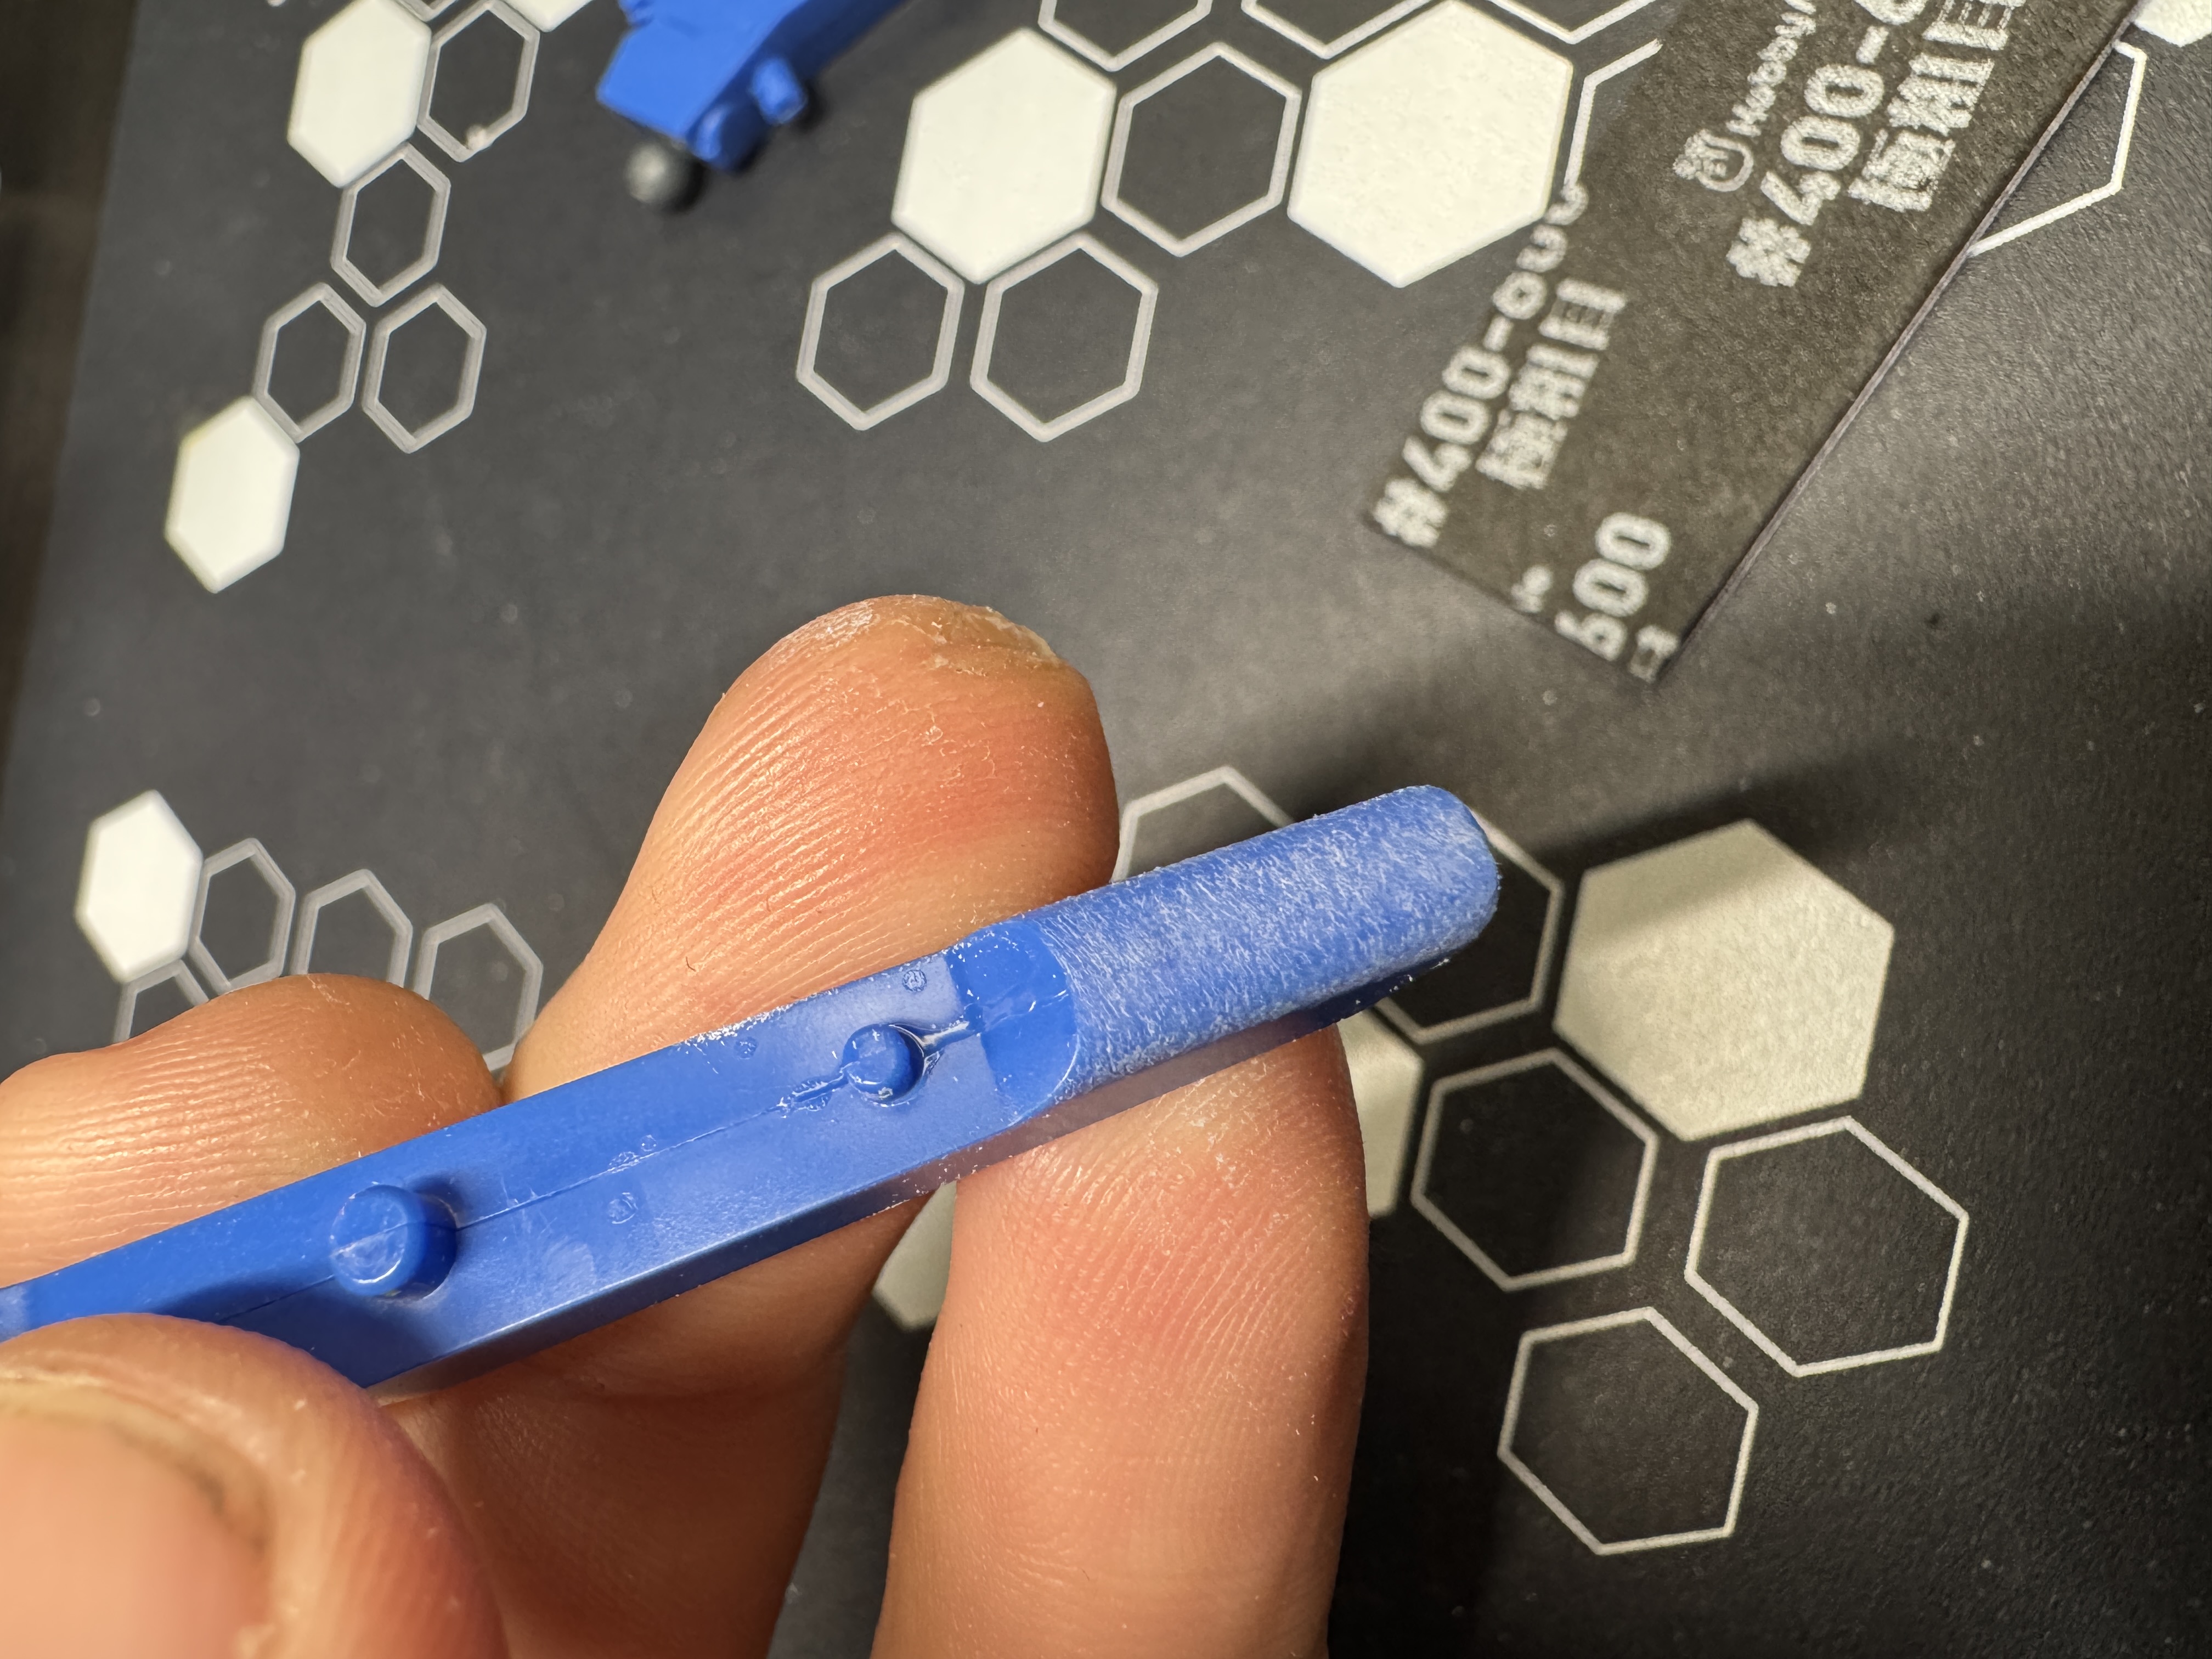
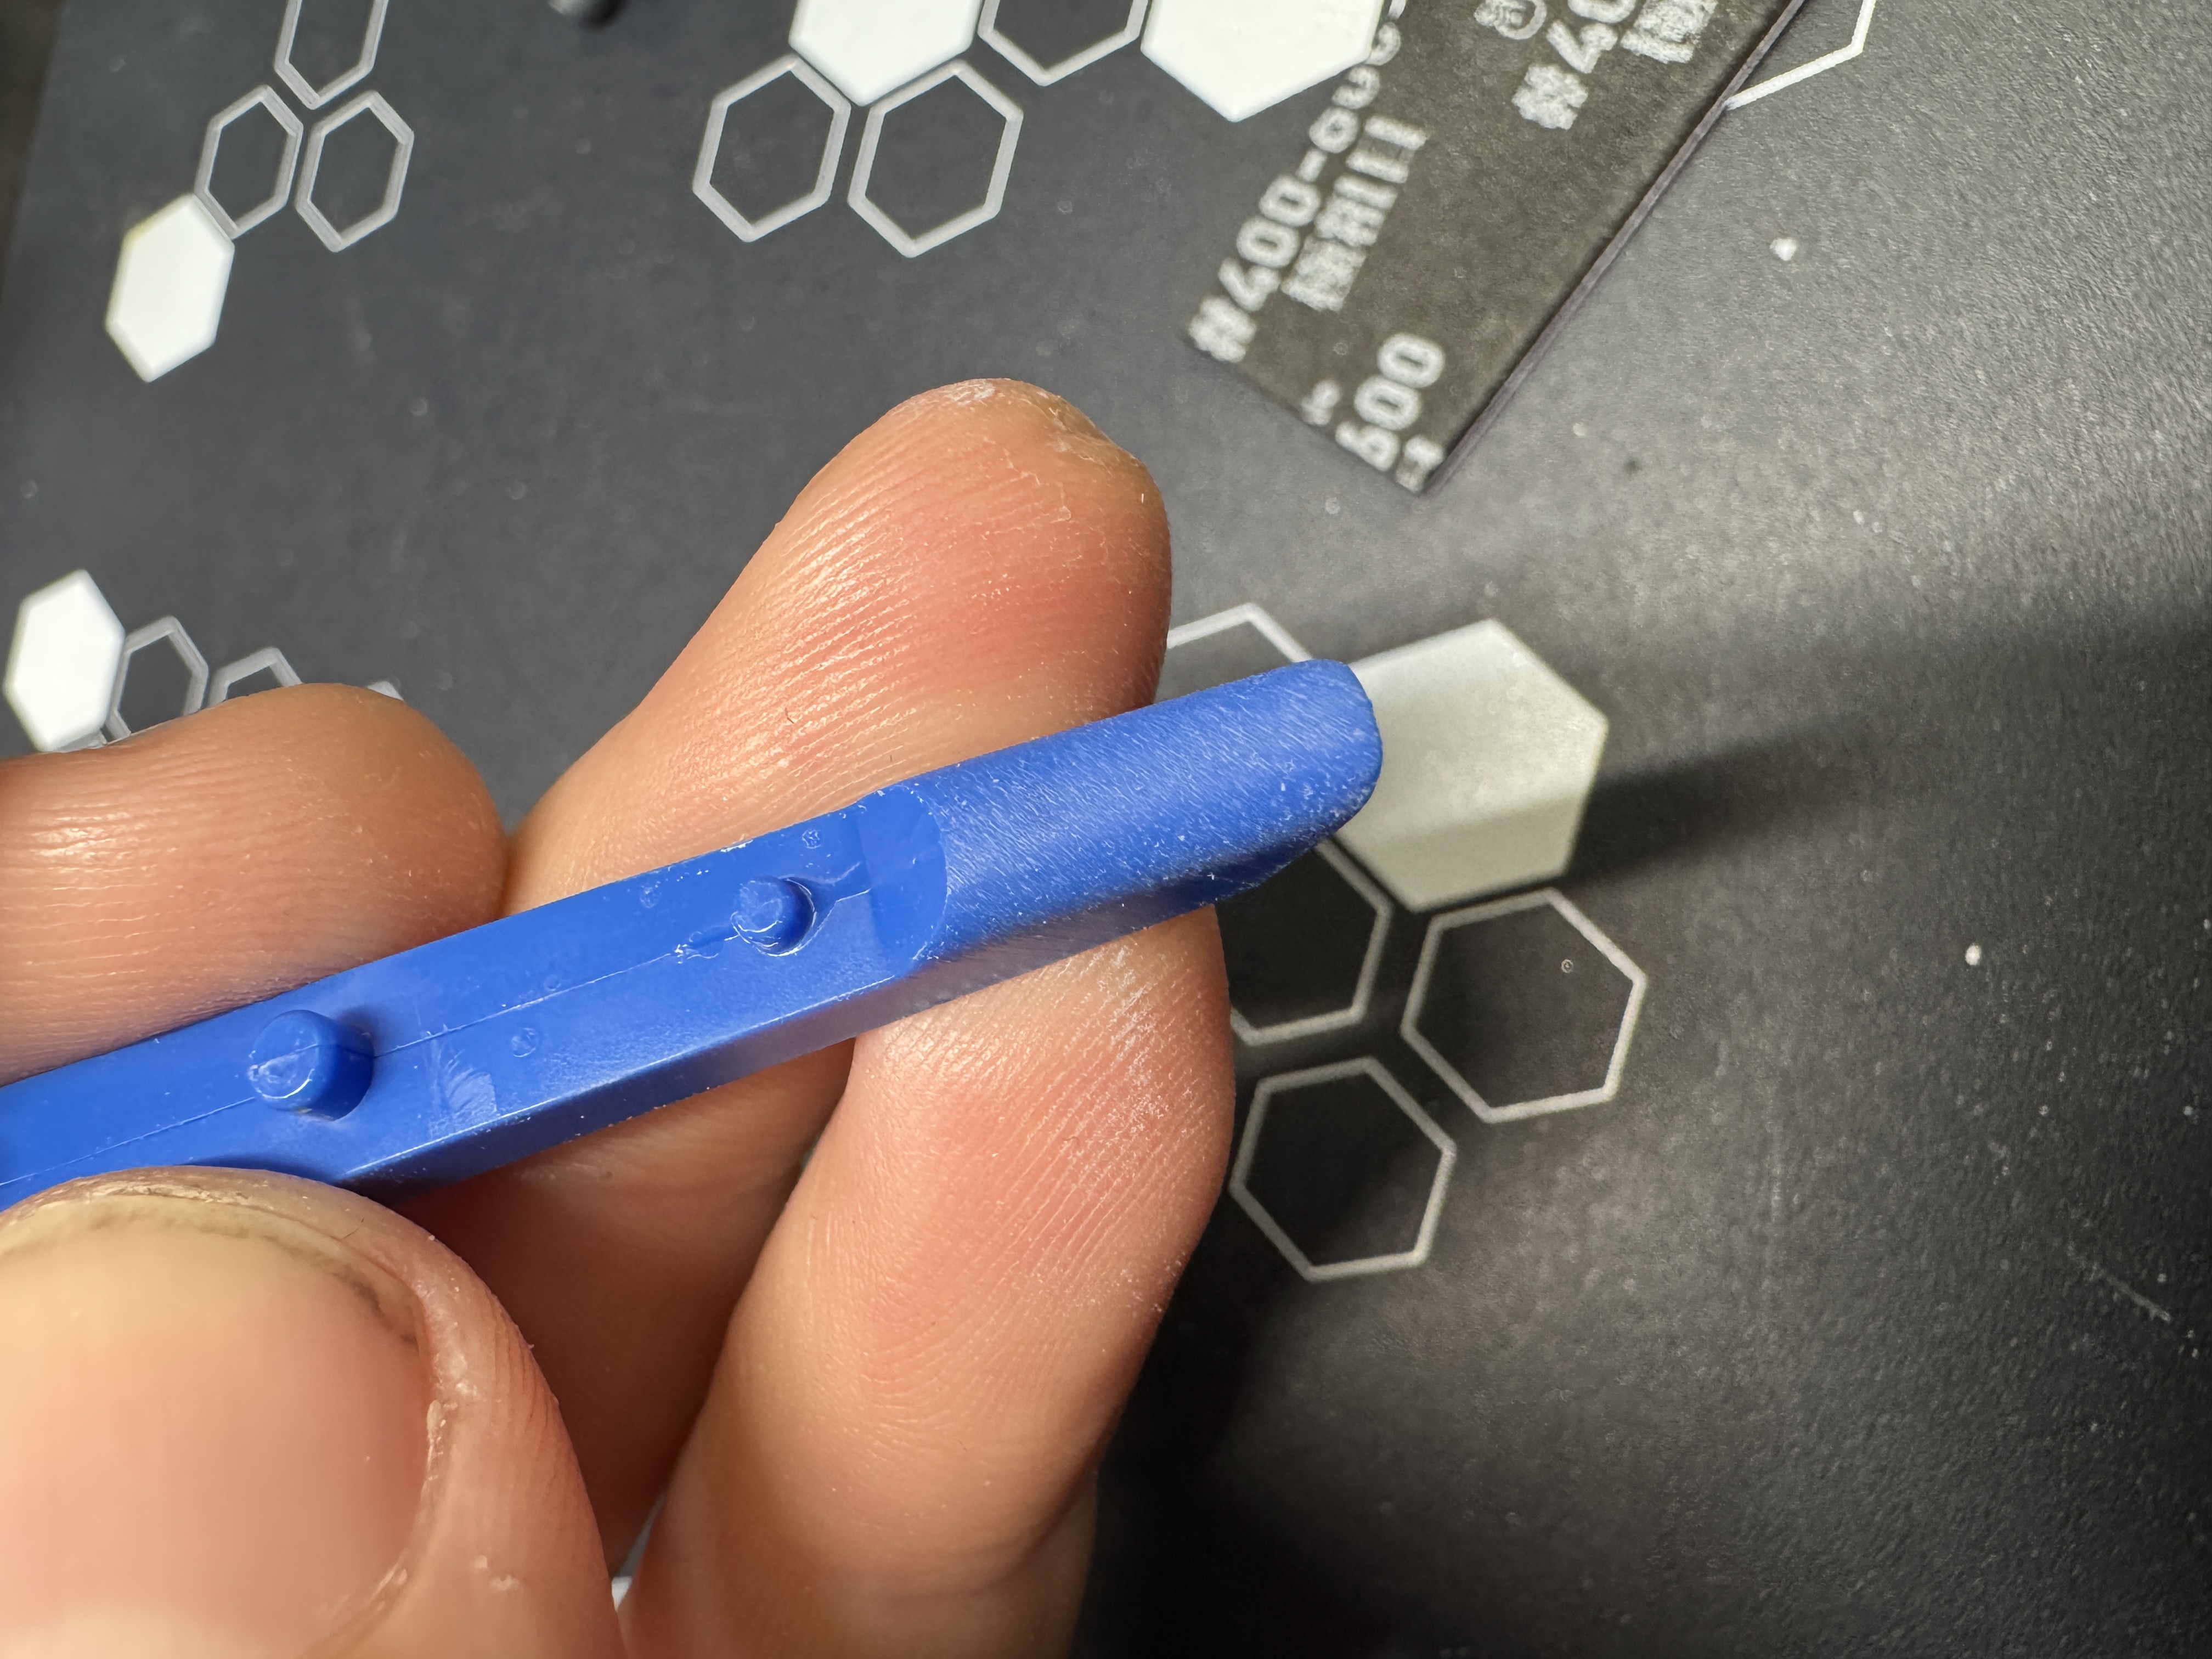
Working on more seam line removal. Not totally necessary, but really makes a difference when the kit is painted. Start with gluing the pieces together, then sand with a 400-600 grit sponge until the signs of the line are gone, then work progressively toward higher grits, 600-1200, until it looks like one harmonious piece.
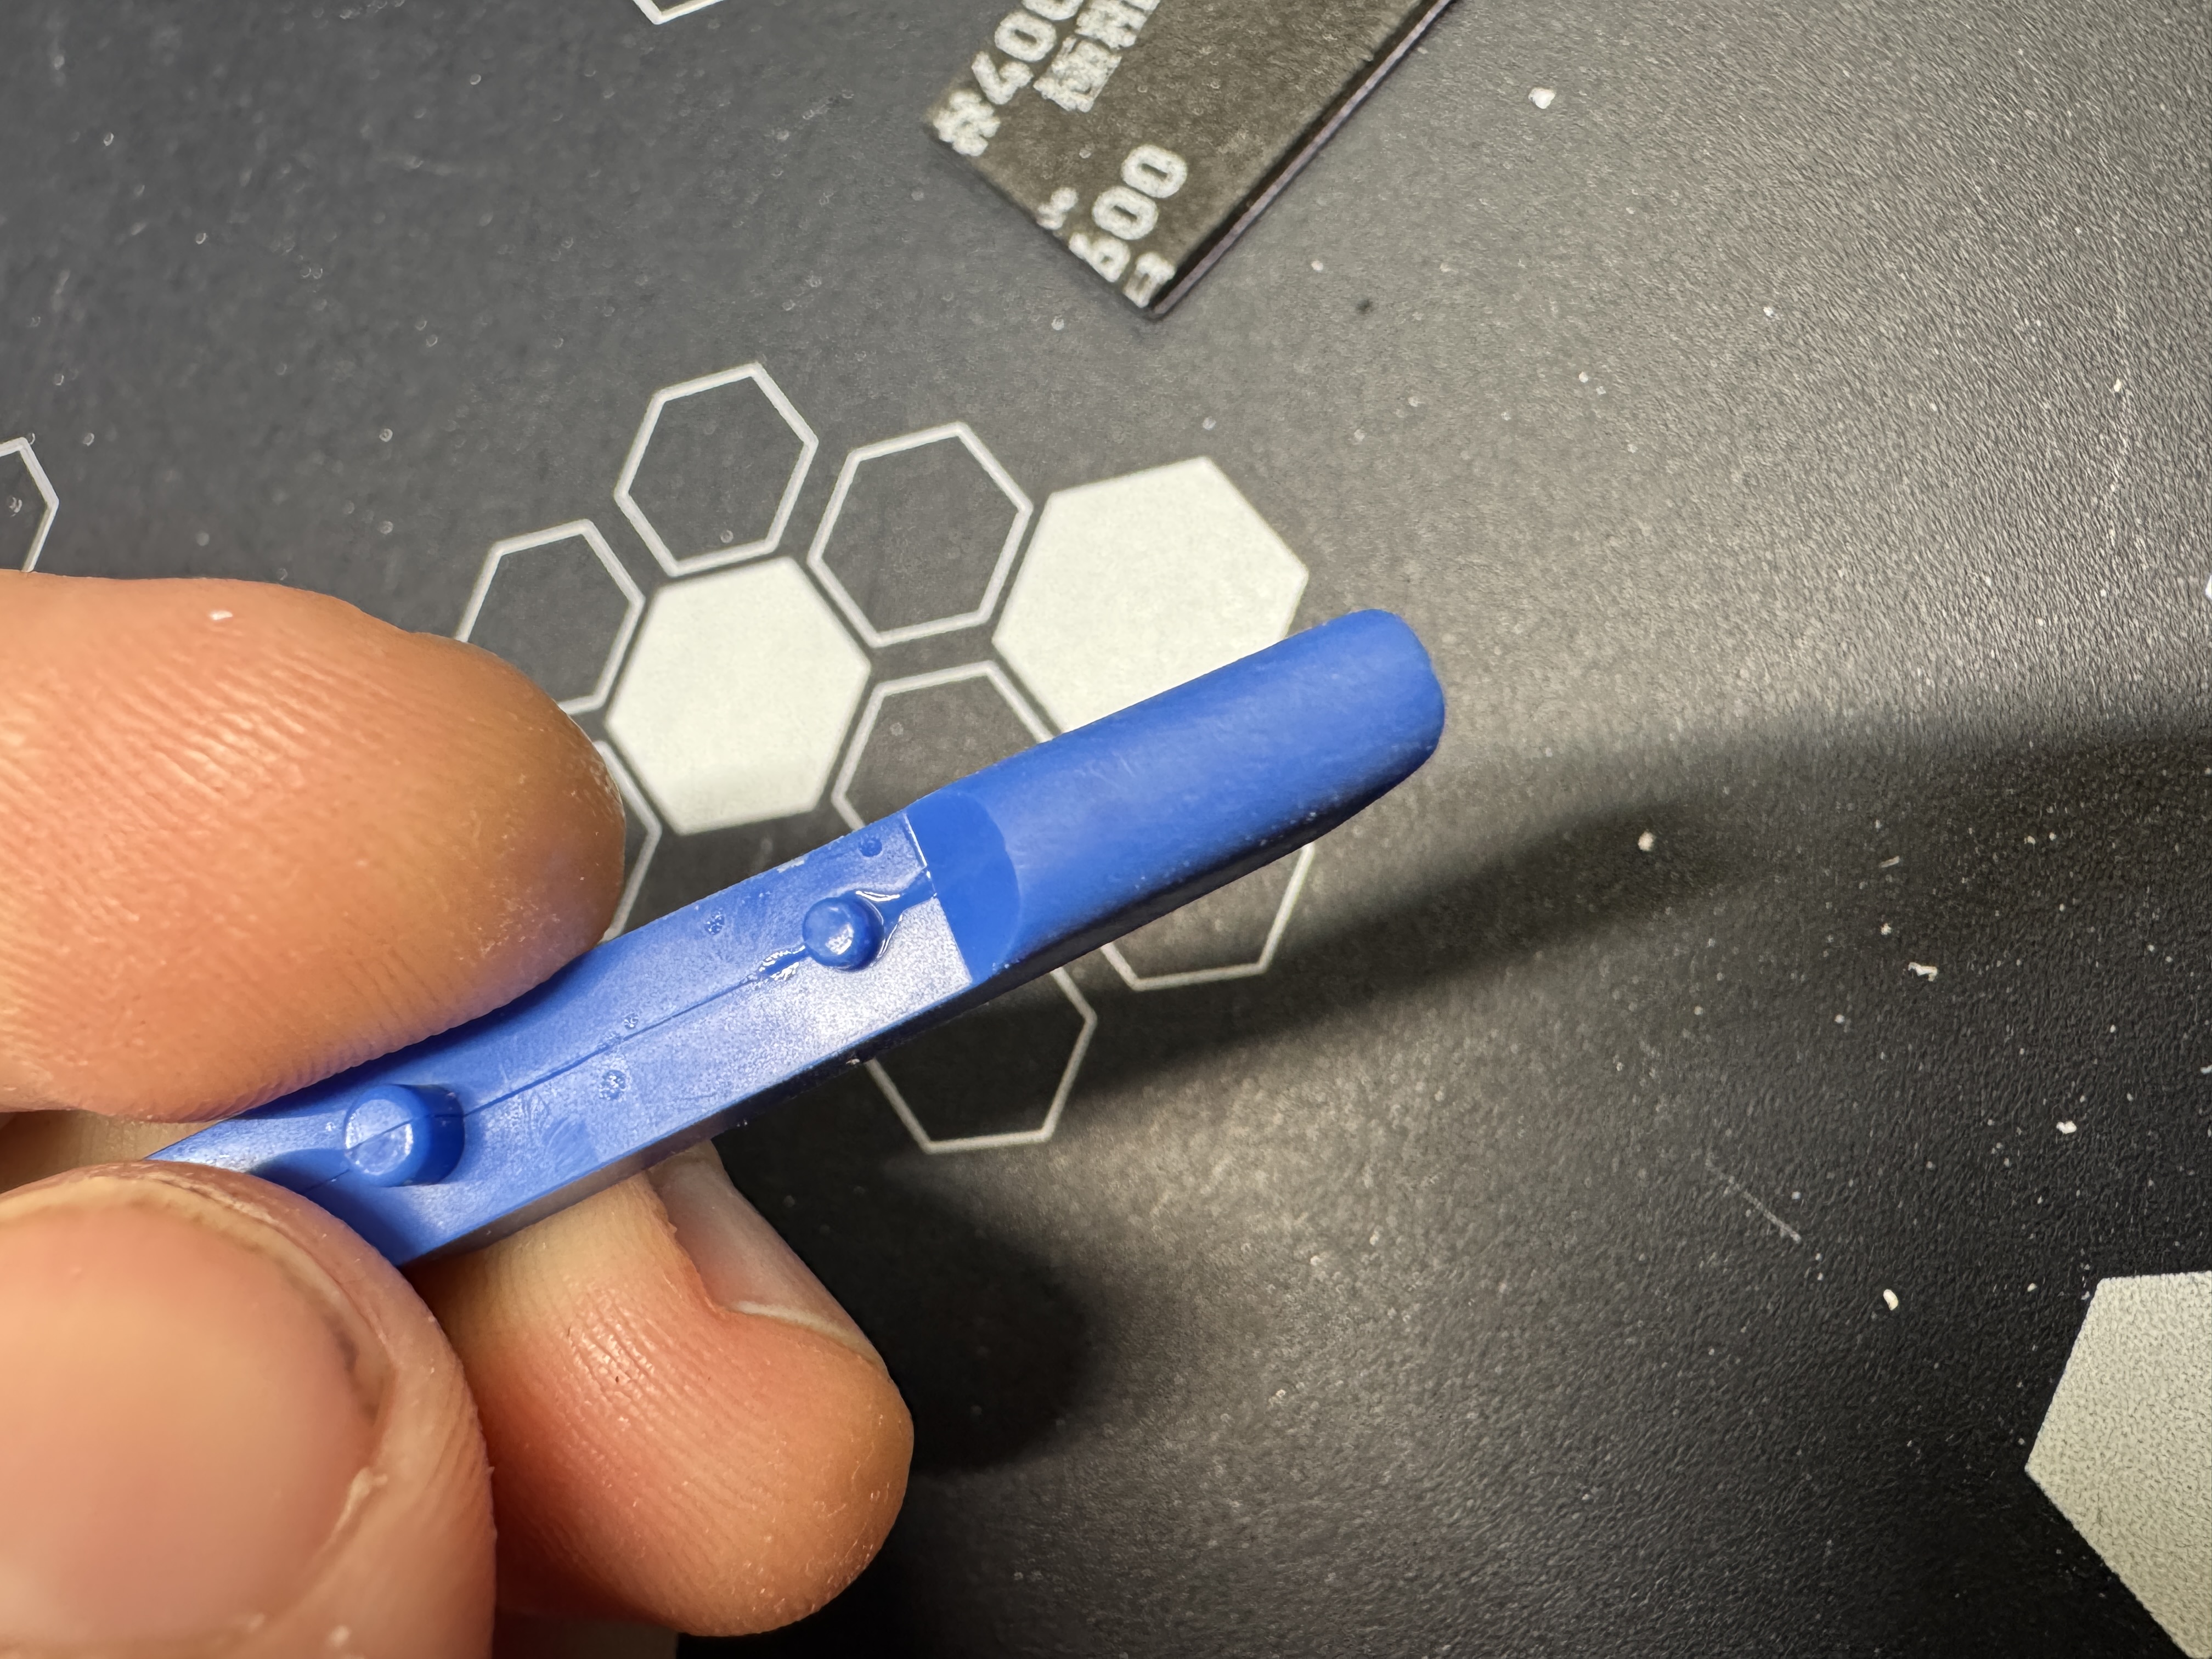
March 6, 2026
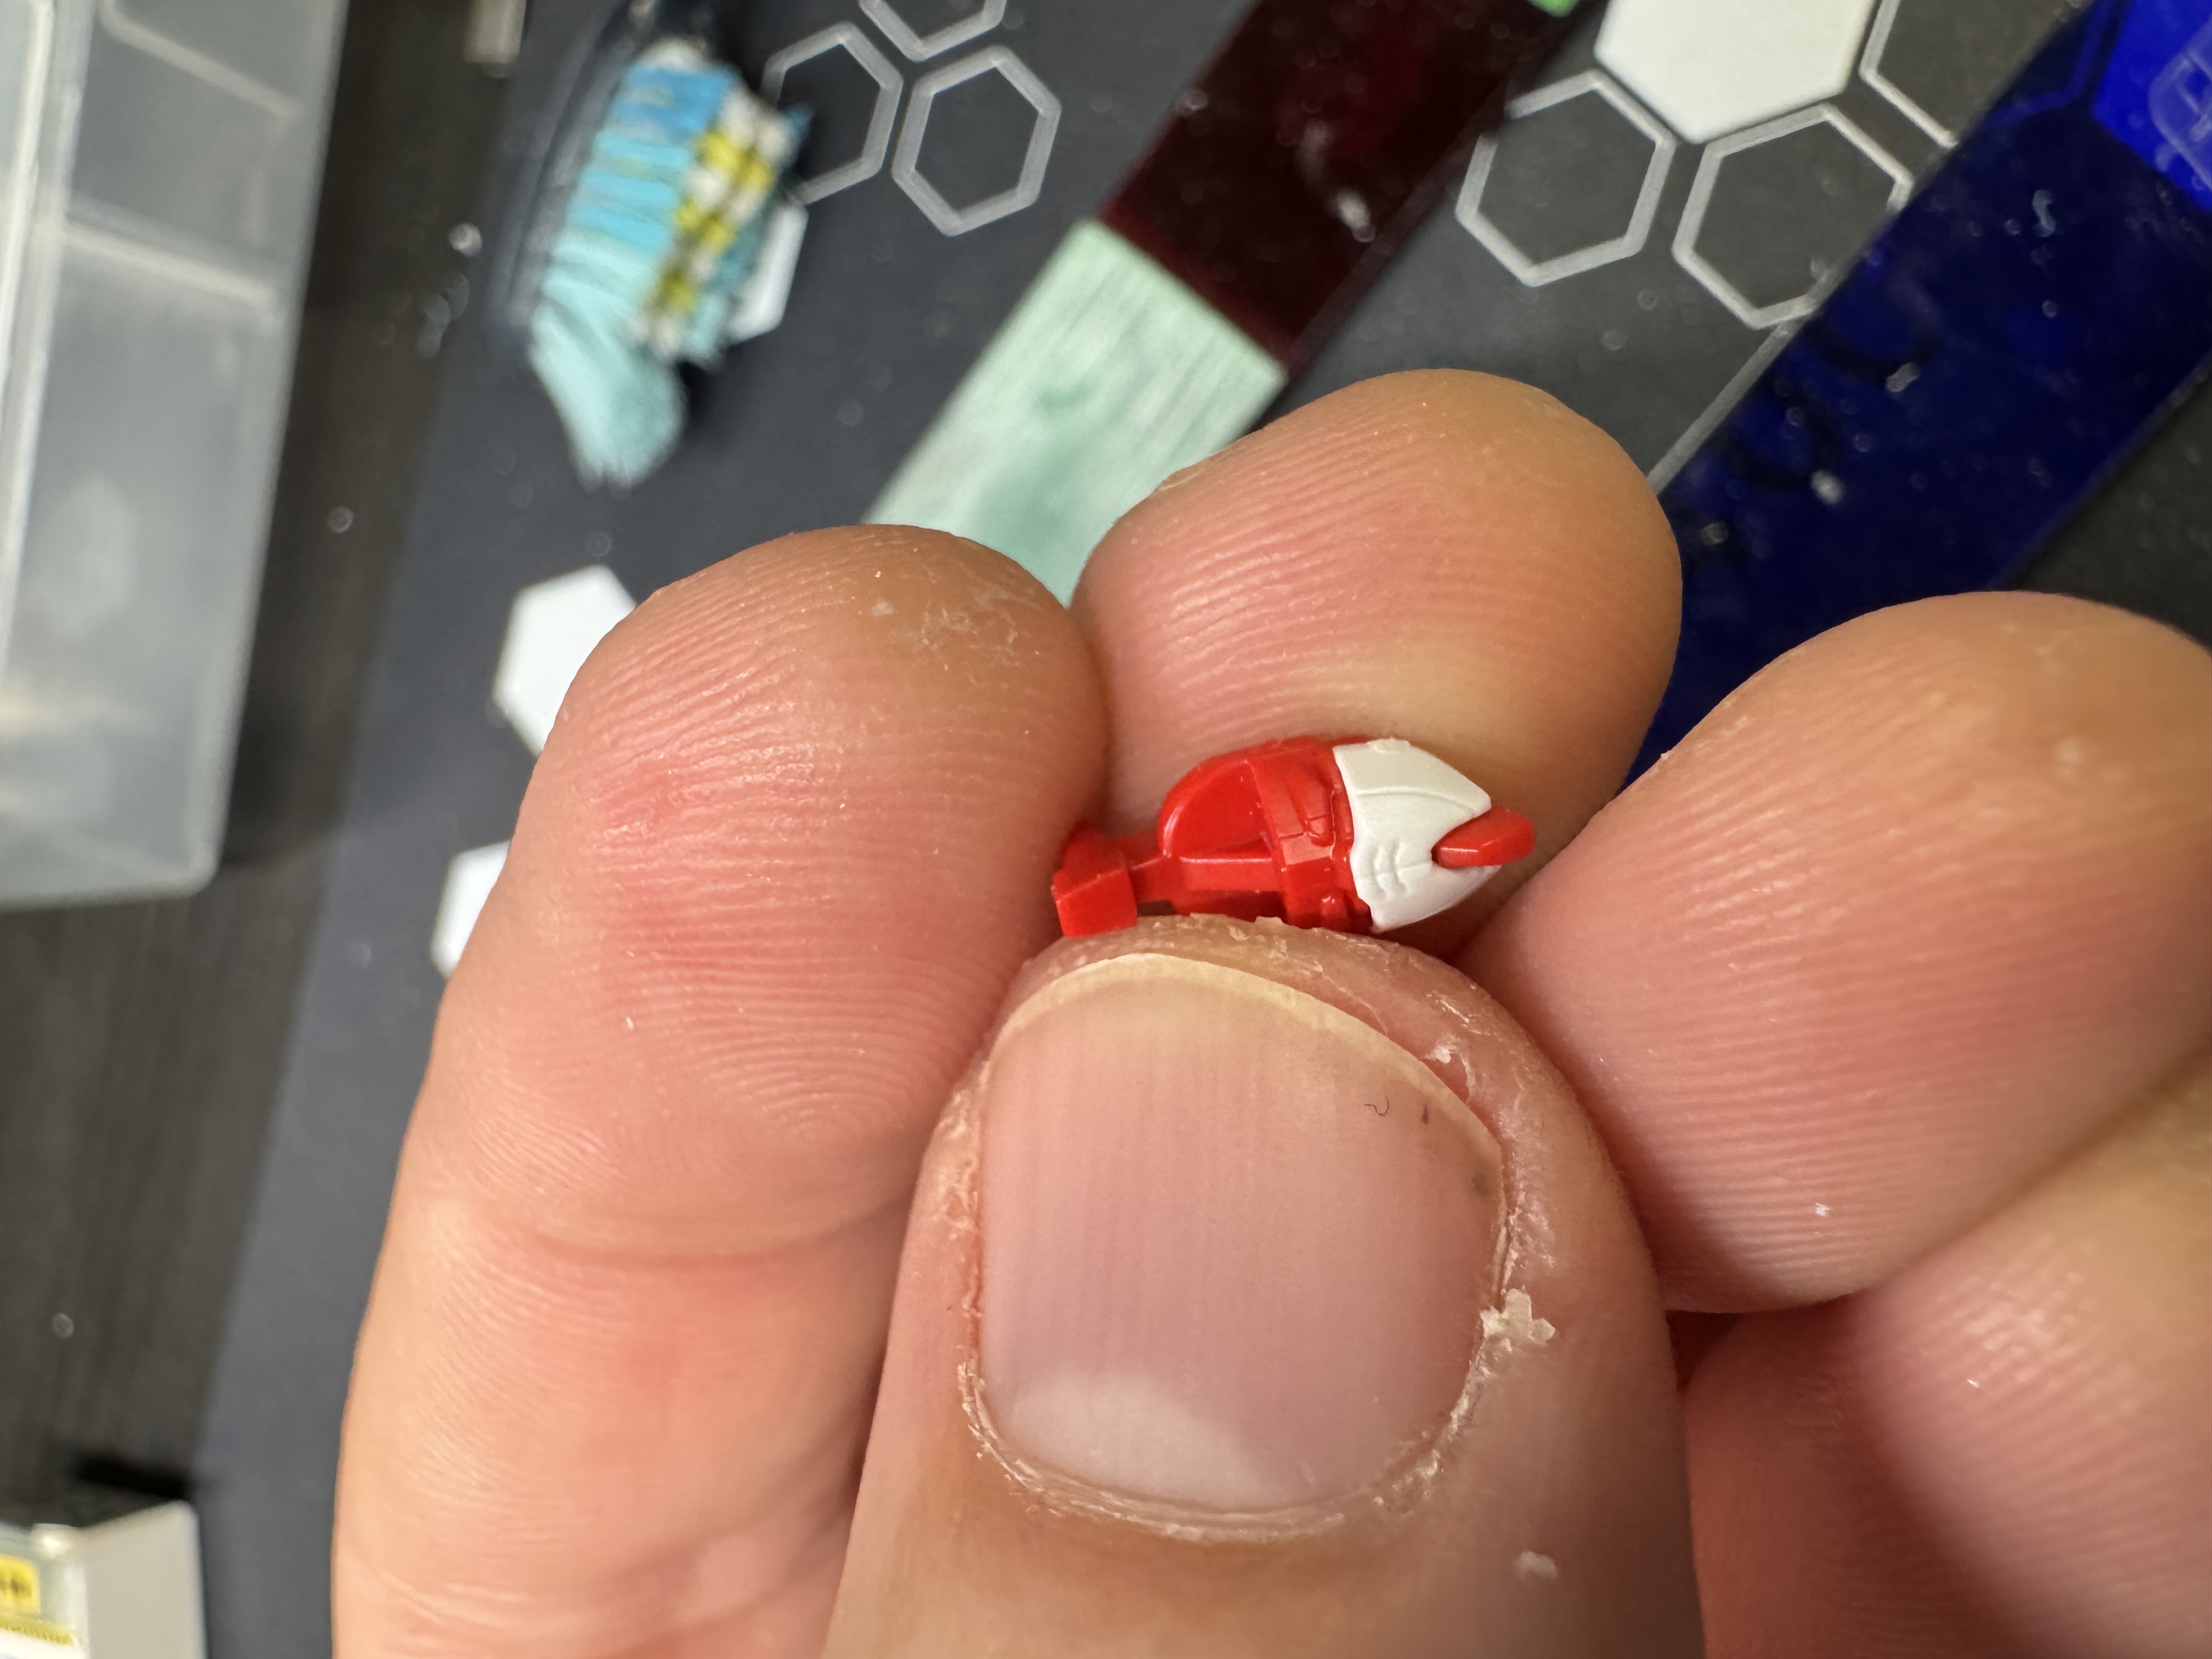
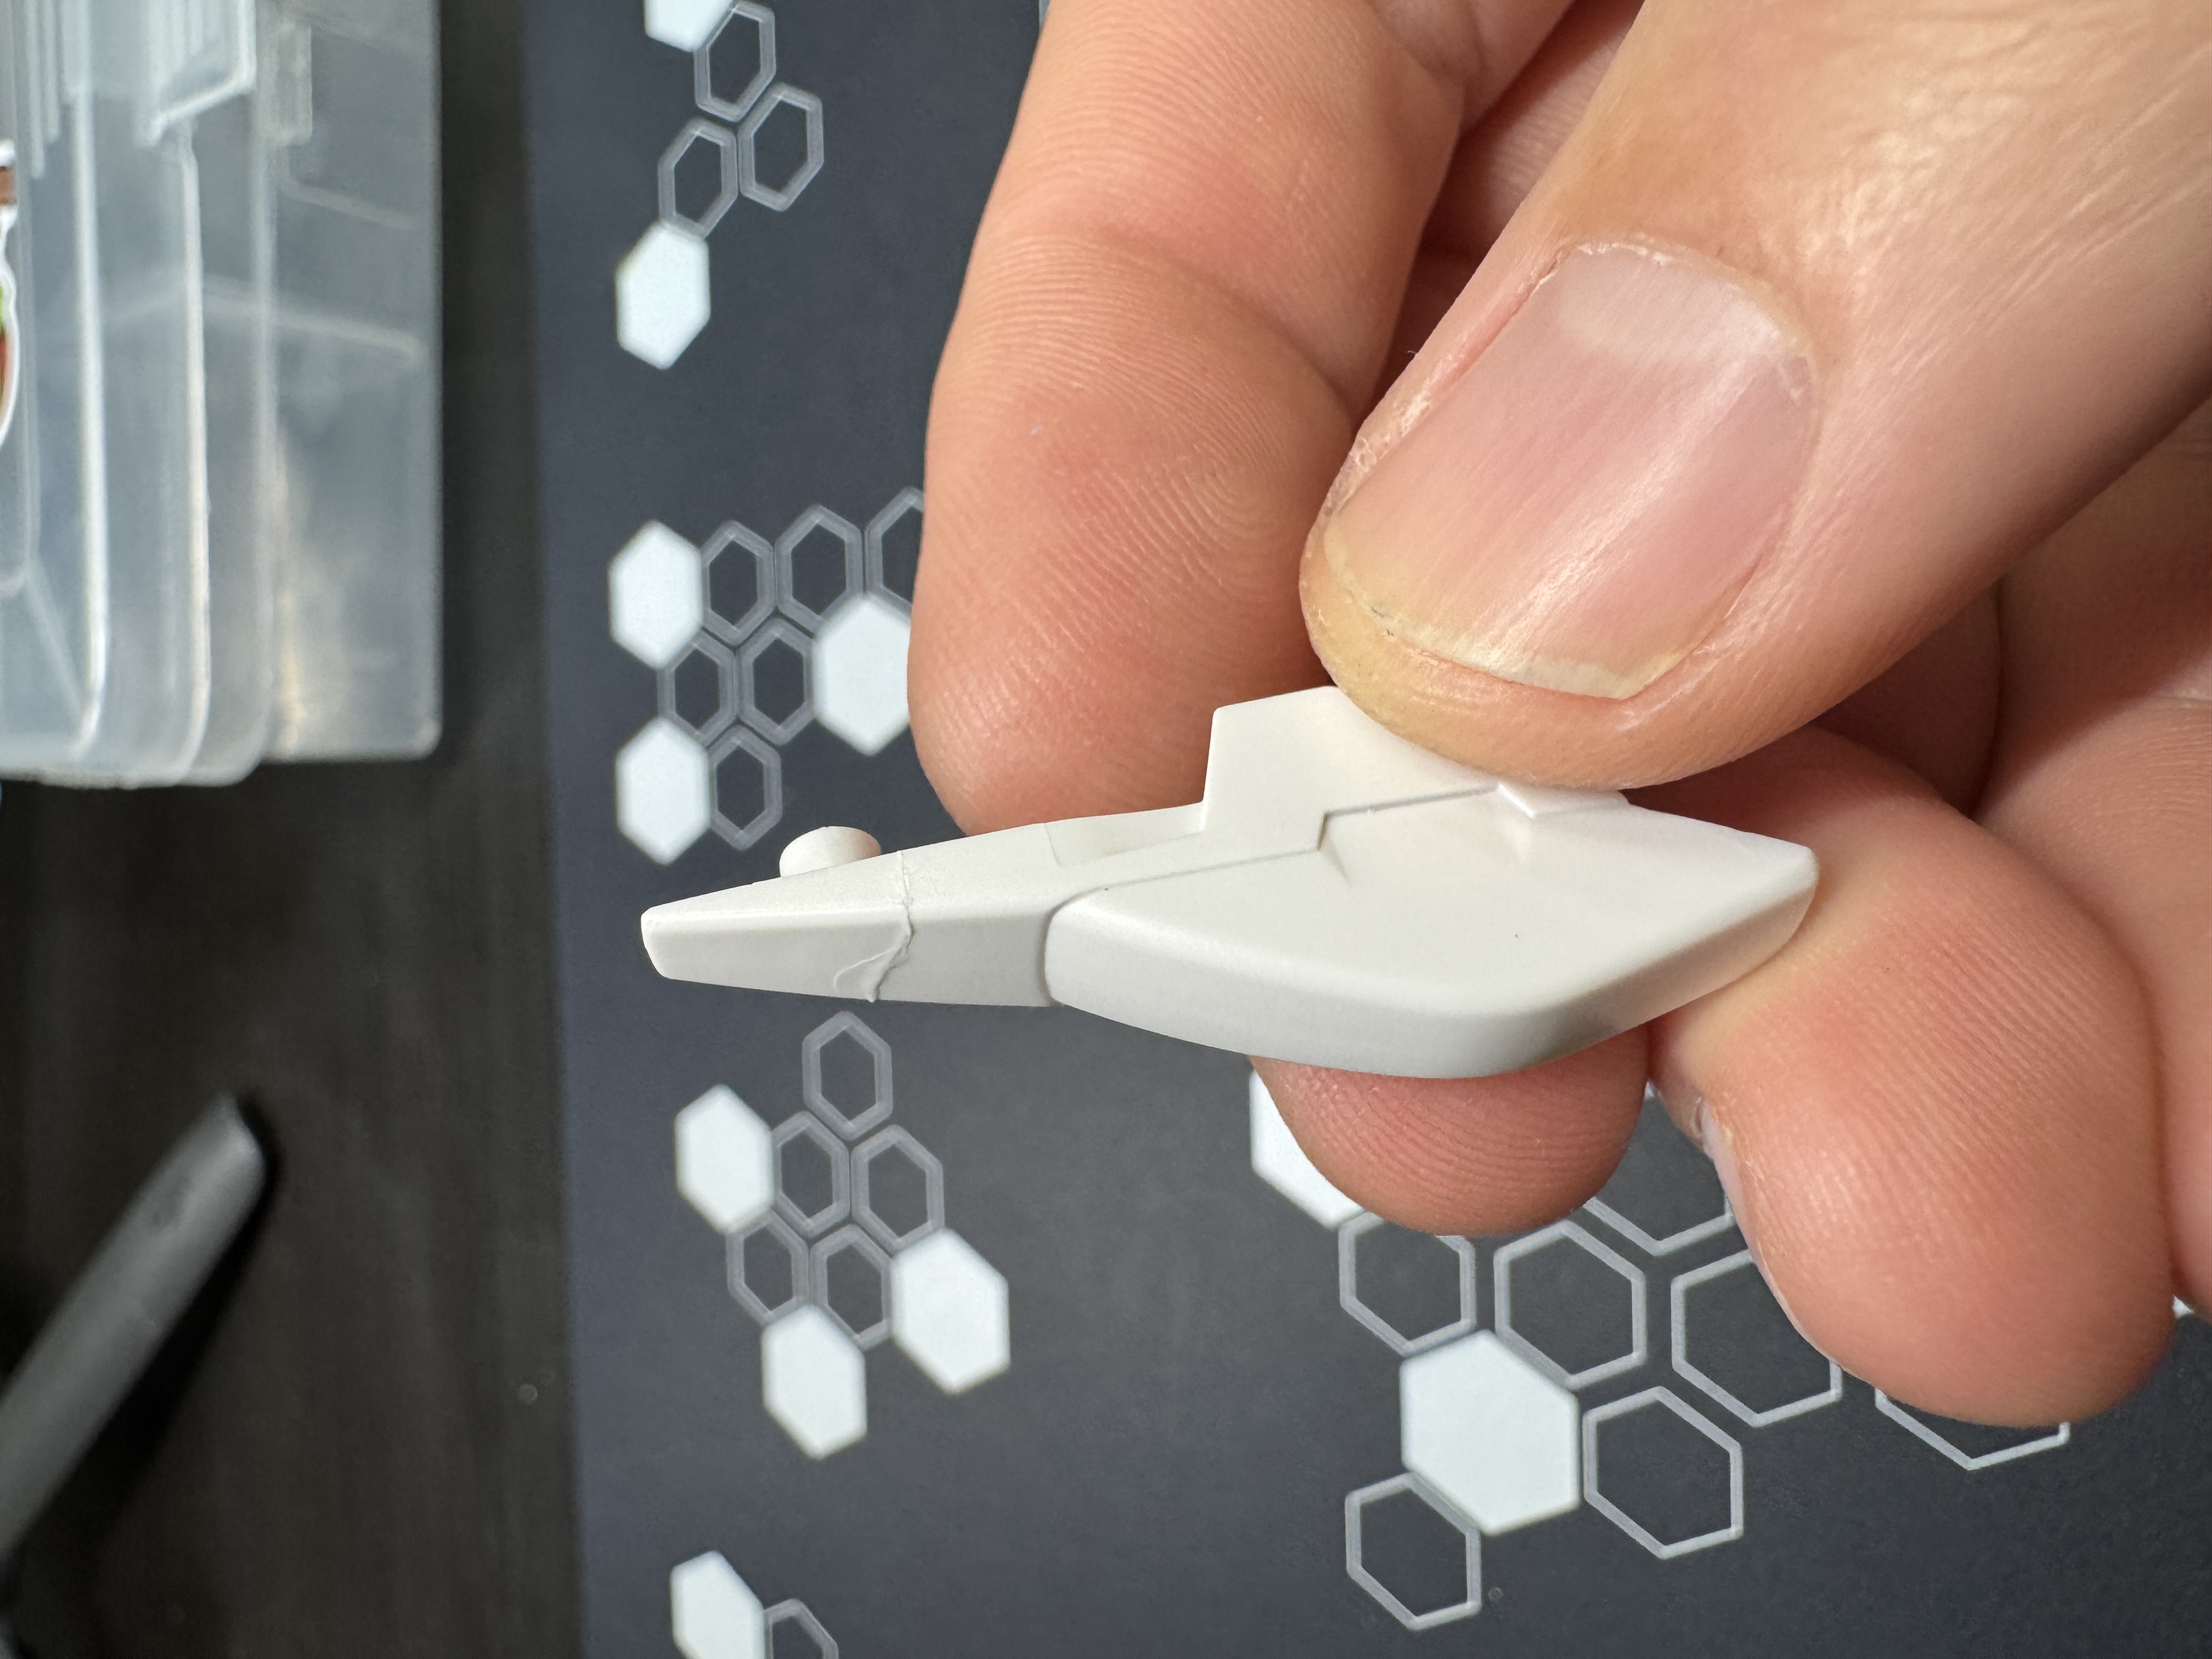
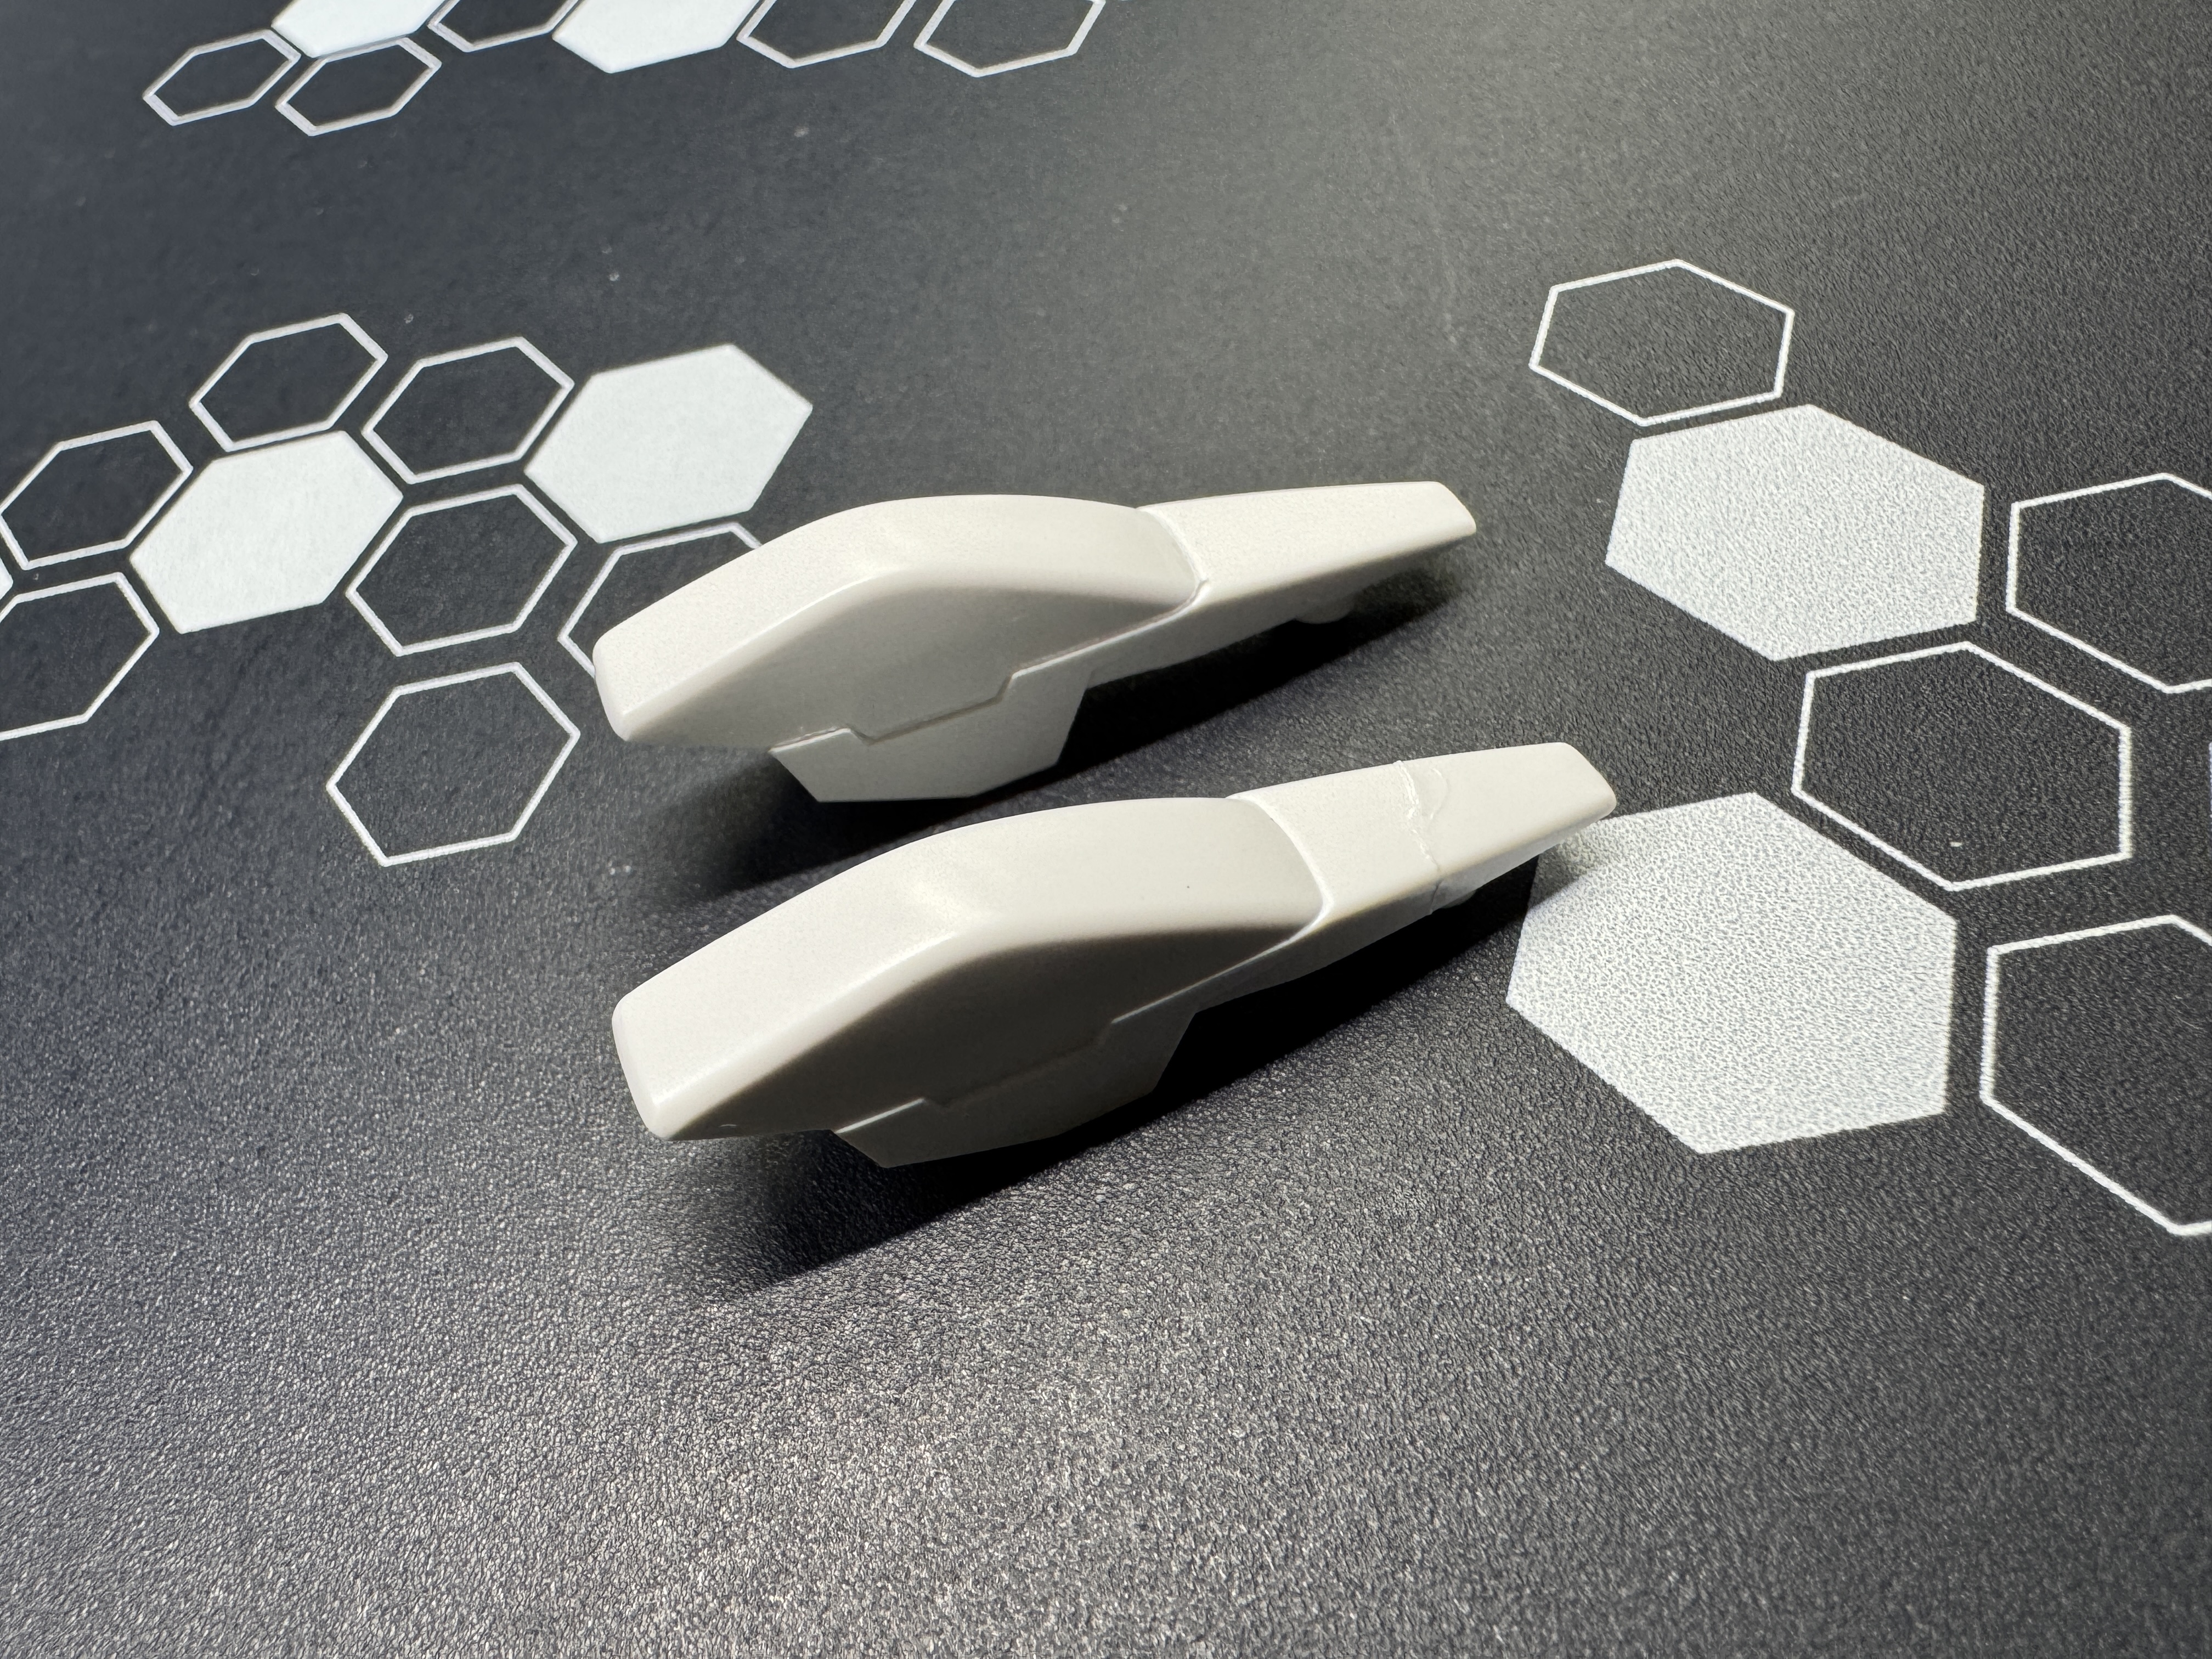
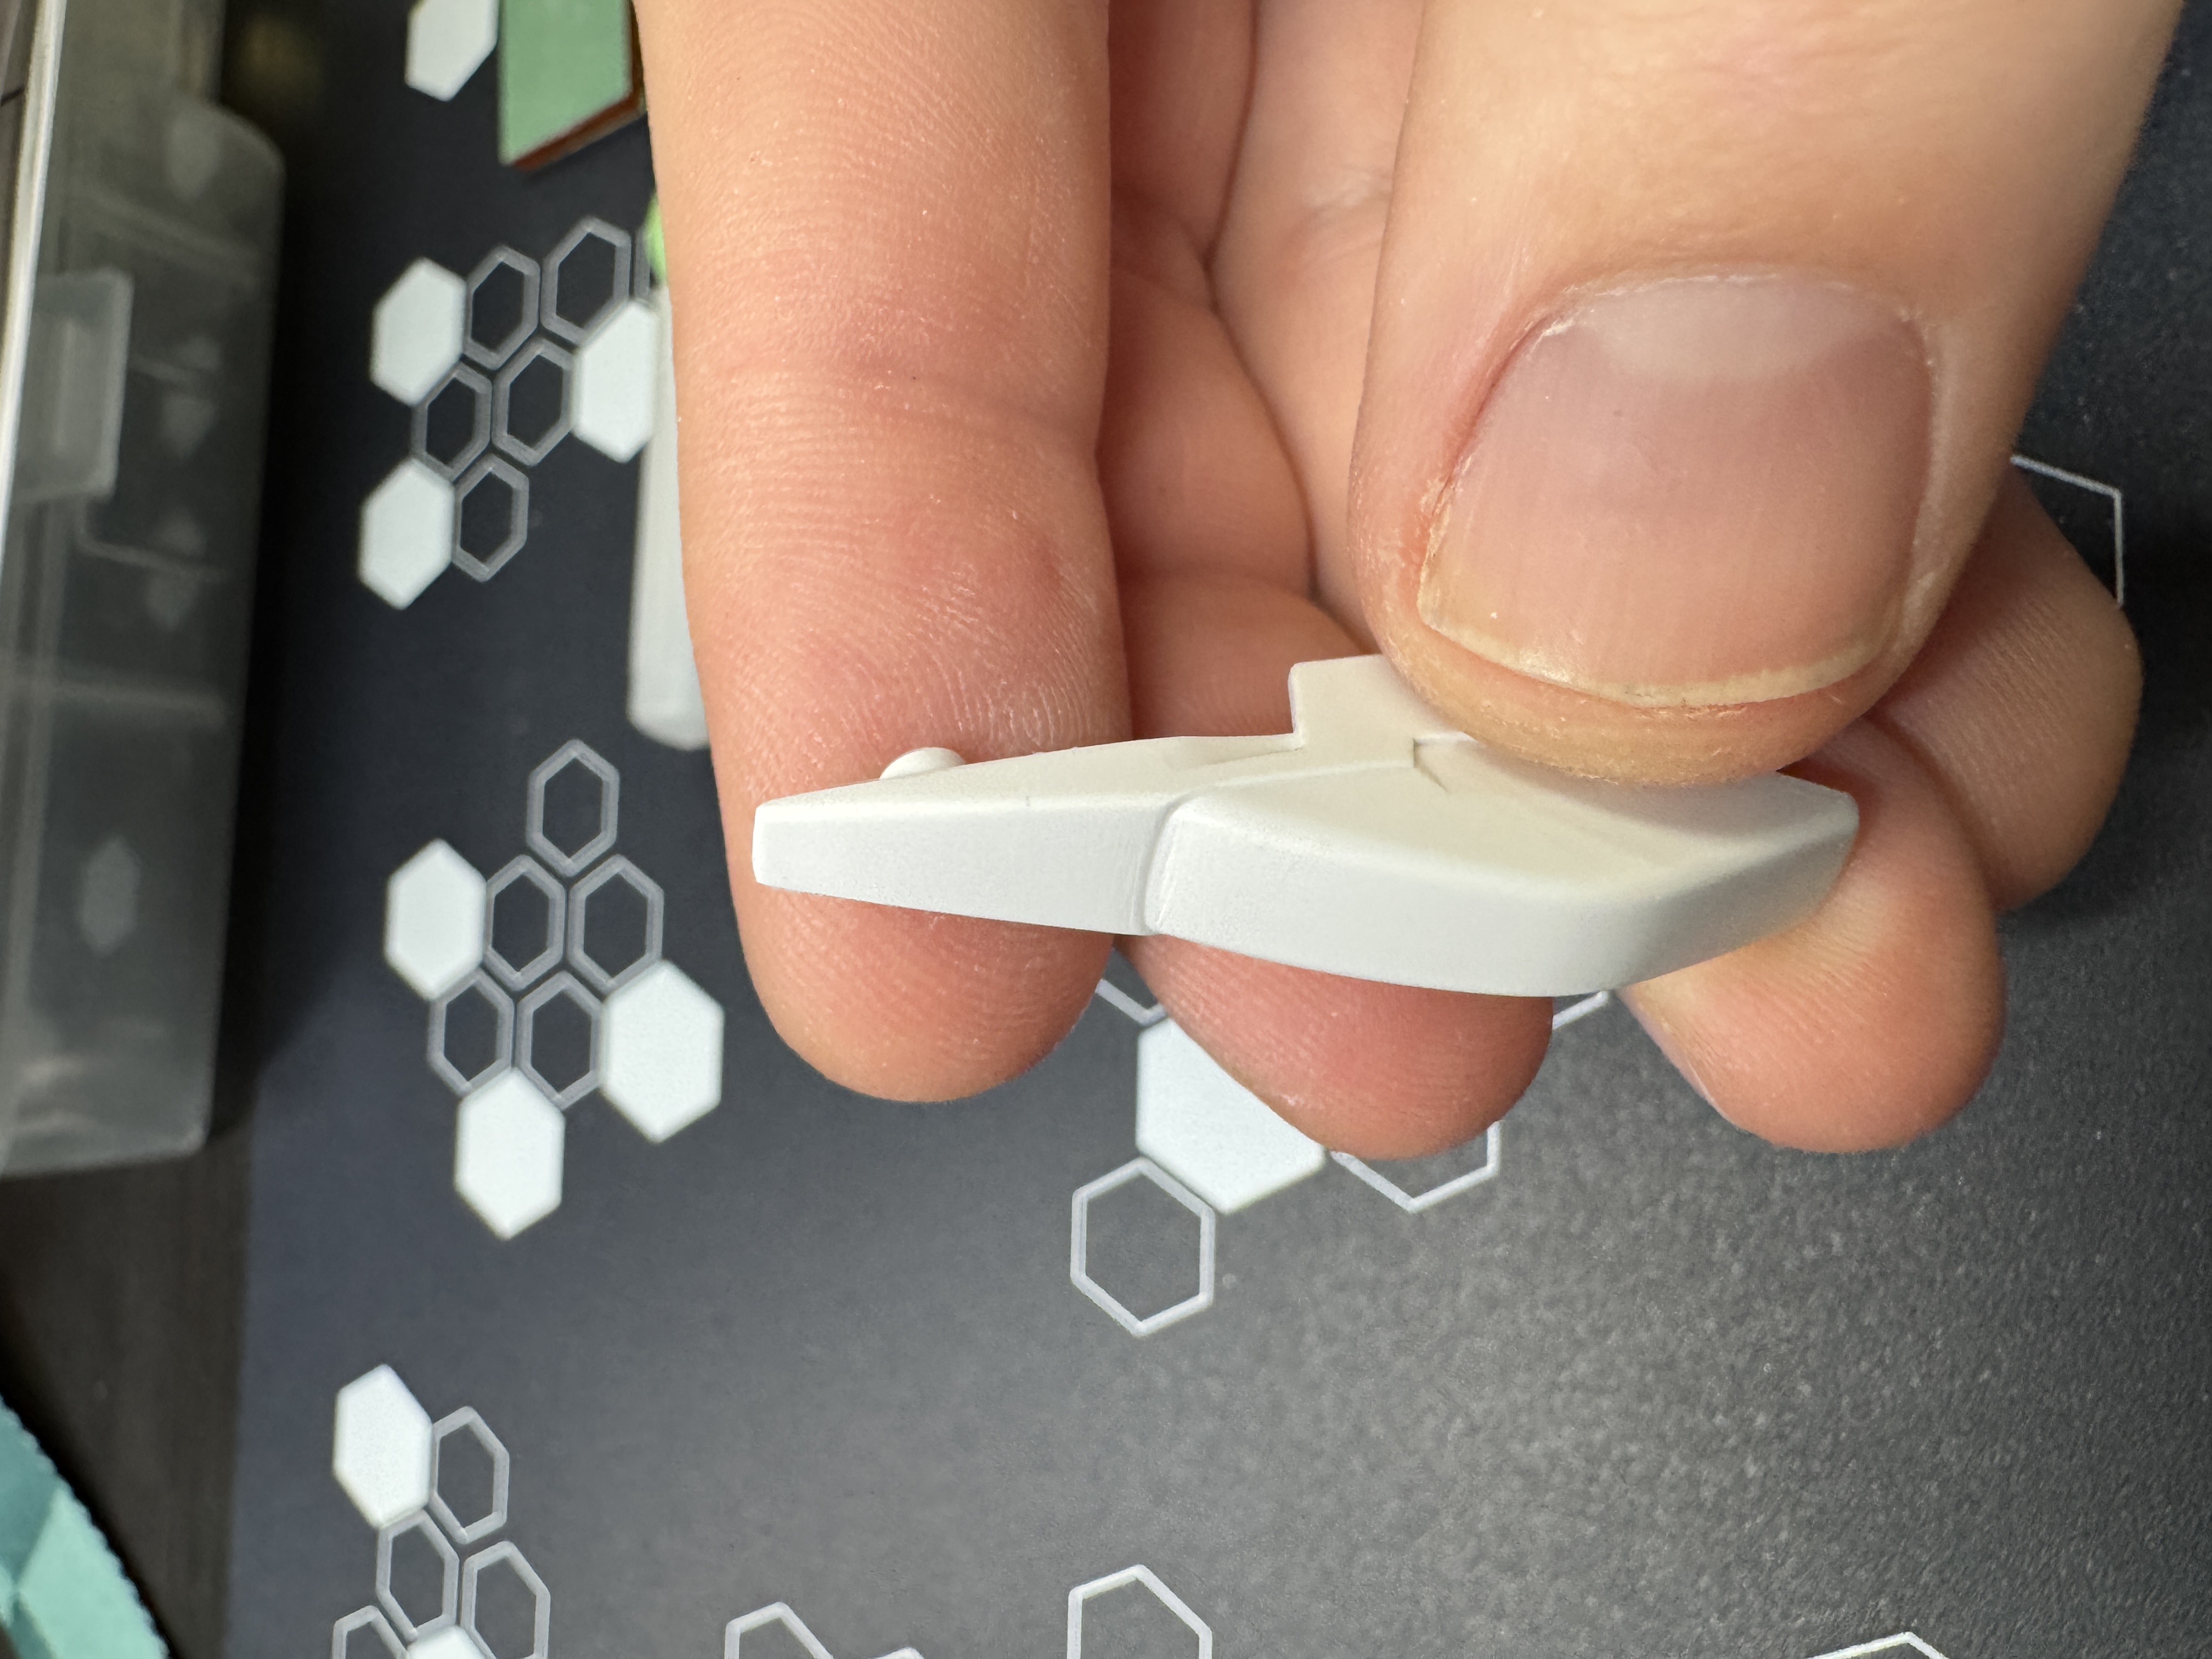
Back at it after a long break. Today was all about repair and cleanup — a few parts broke during disassembly months ago when I was a little too aggressive with pieces that were fitted too tightly. The glue had already cured so it was time to sand everything back to shape. Worked through several grits of sandpaper to get the repaired sections looking identical to the surrounding surface. Satisfying to see them blend in cleanly.

Pre-March 2026 — Snap Build & Disassembly
Completed the full snap build to check fit and get a feel for the kit, then disassembled everything to prep for paint. Learned a hard lesson about tight-fitting parts — a few pieces broke during teardown. Glued and set aside to cure. Next up: fixing the breaks.