The Plan
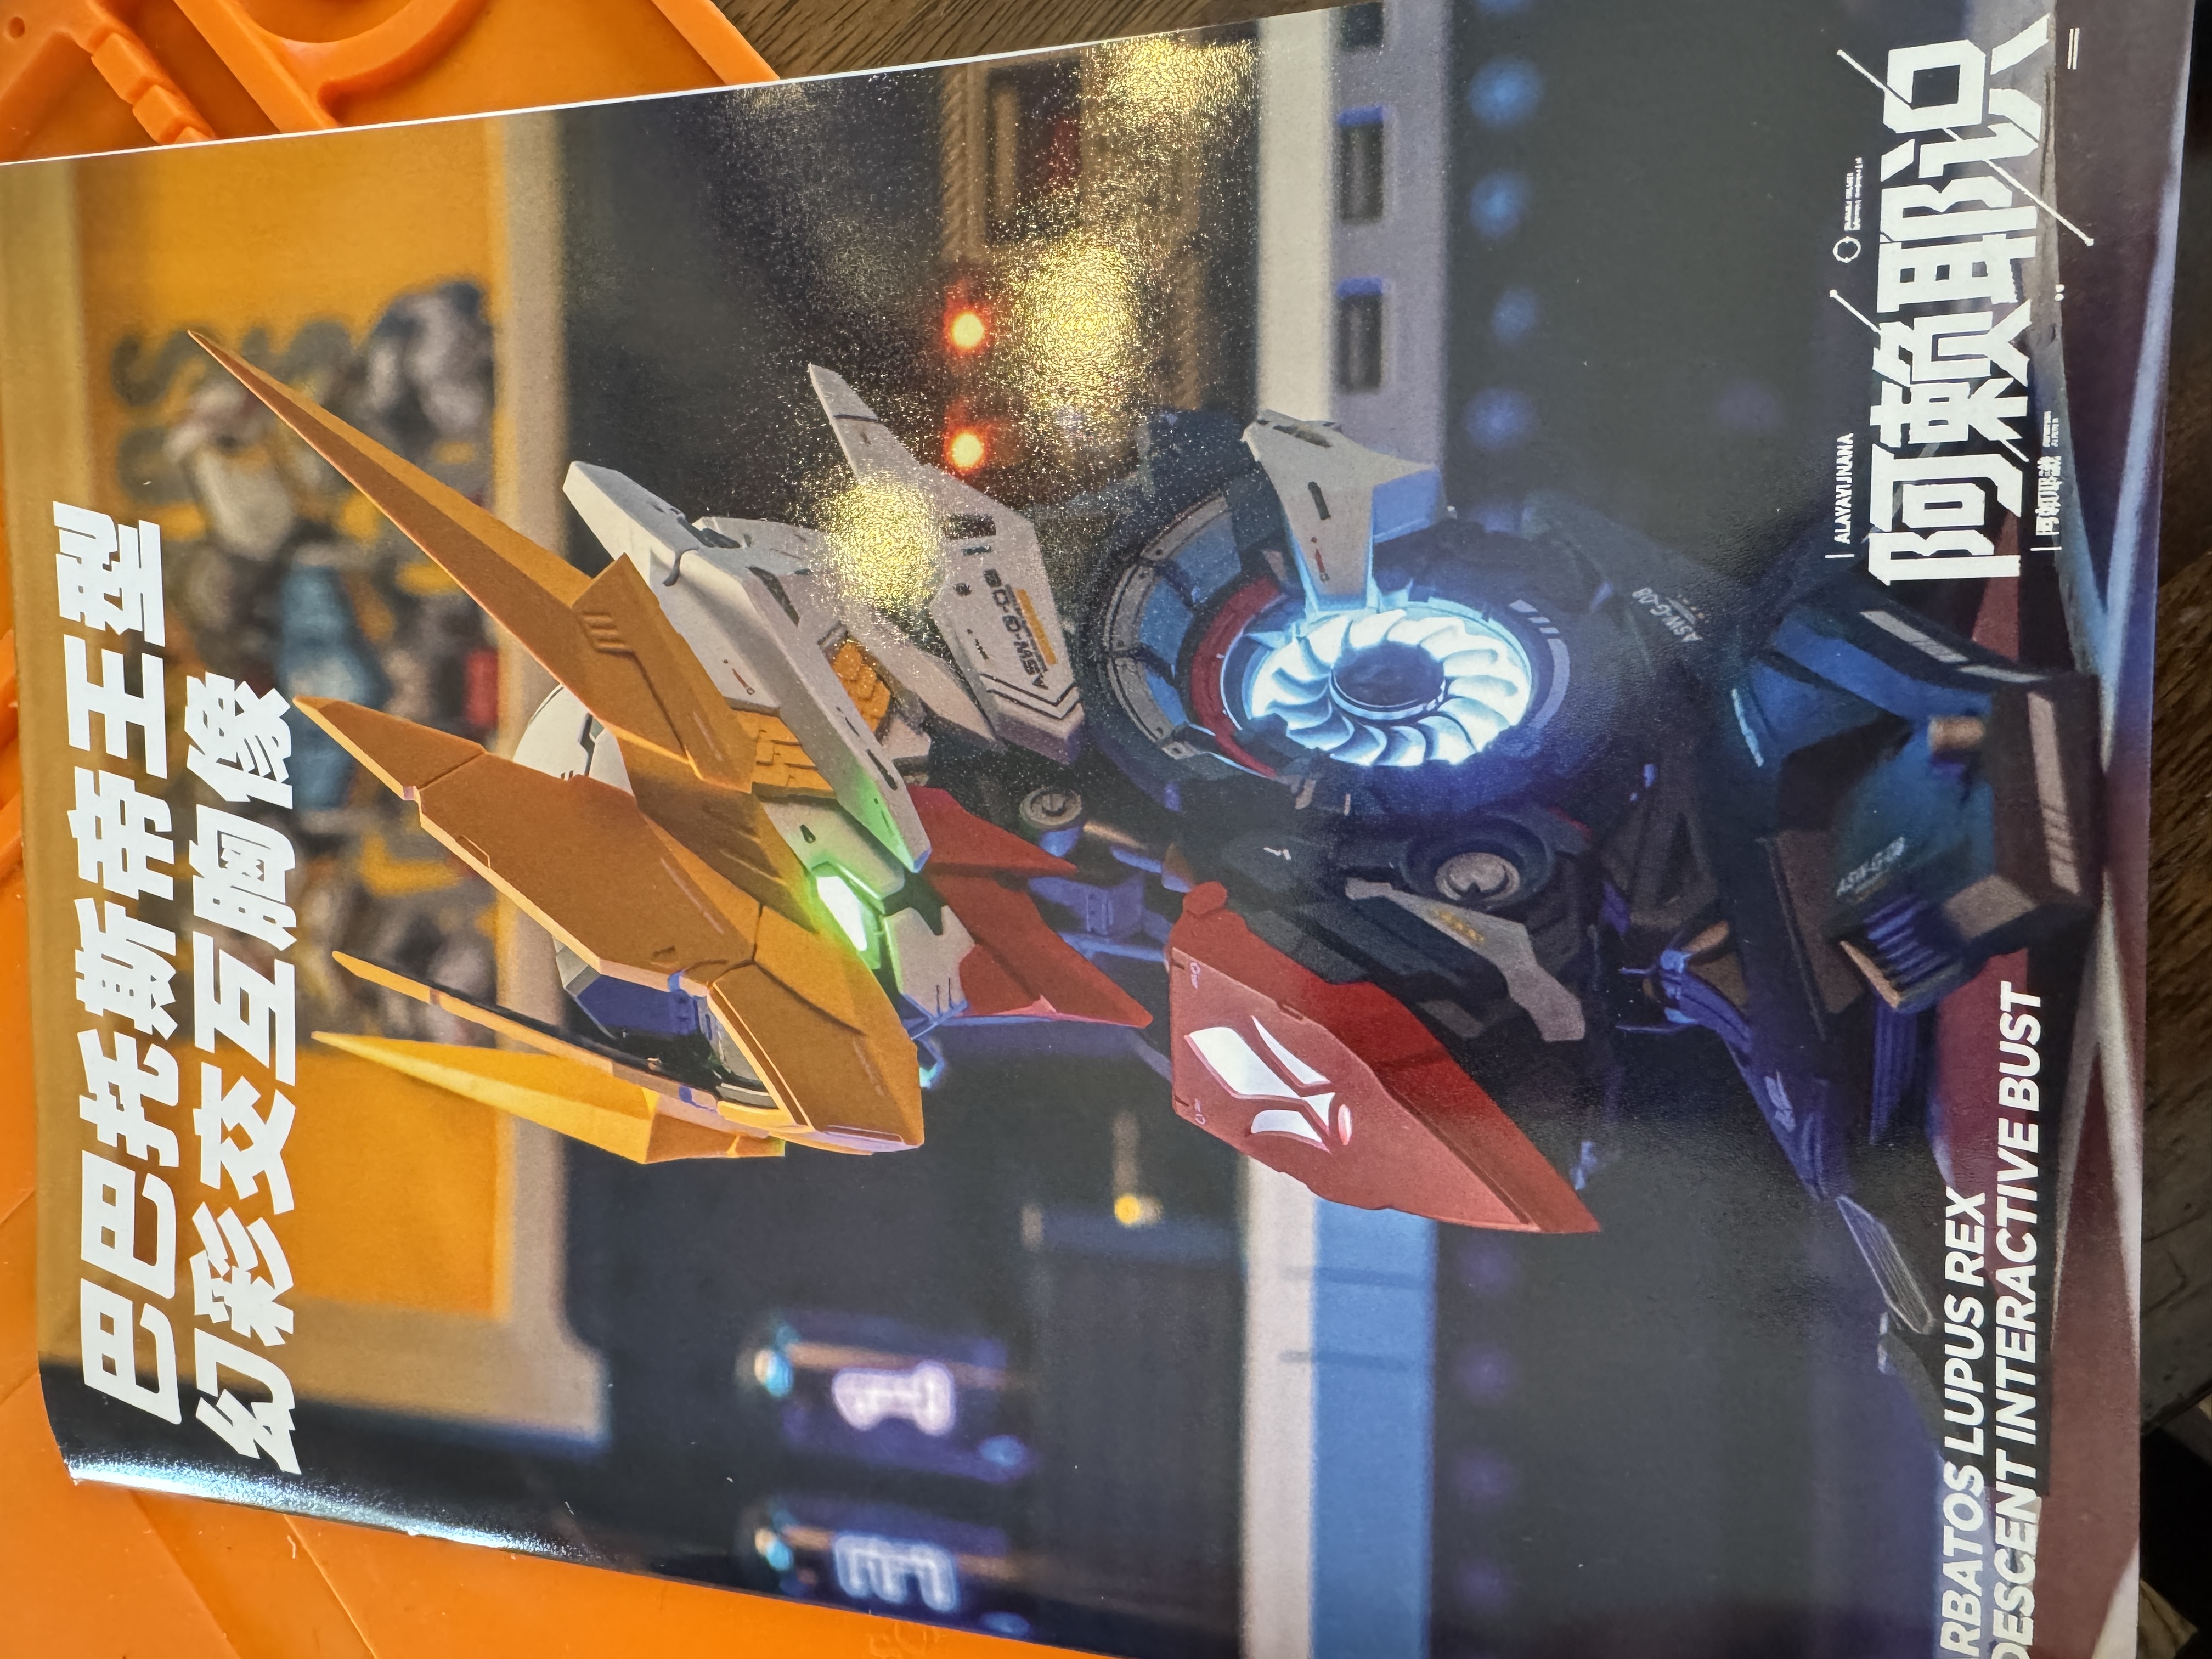
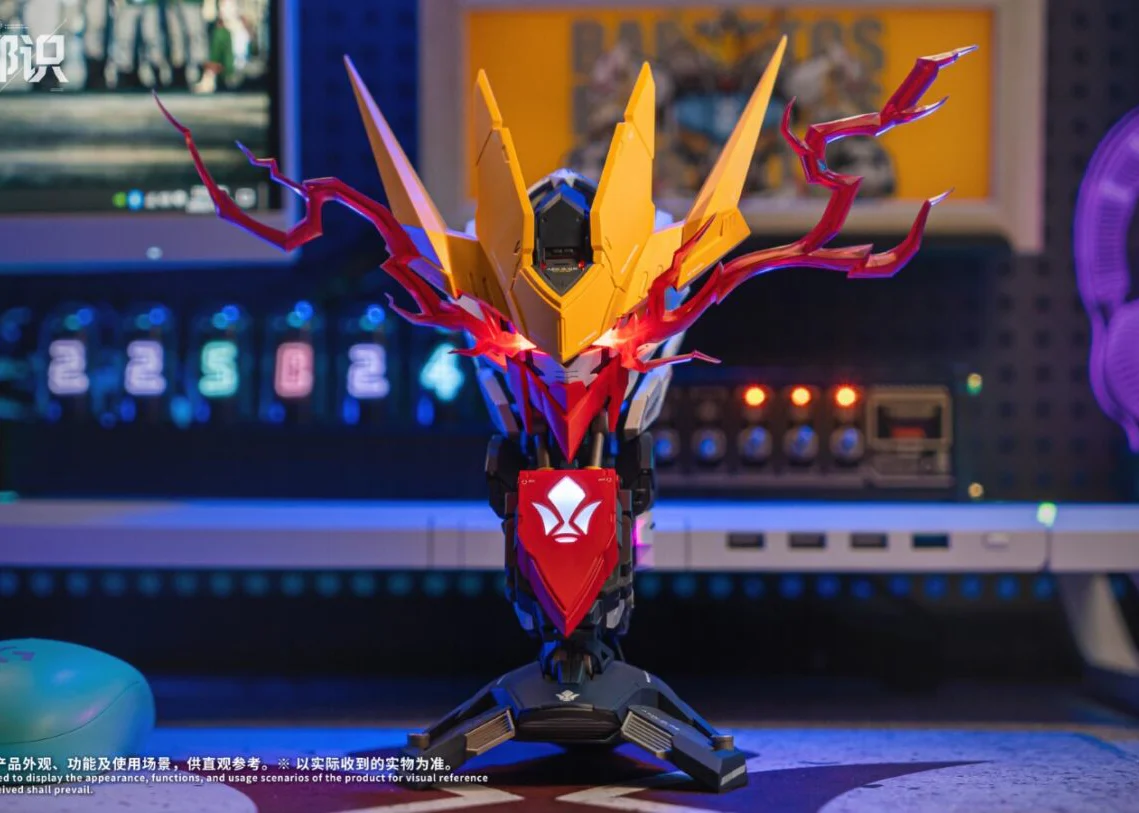
Picked this one up in person at the USA Gundam Store — which, if you haven’t been, is an experience worth having if you’re in the area. My son’s favorite Mobile Suit is the Barbatos Lupus Rex, and when I saw this bust modeled after it, the decision was easy.
This is a father-son build. We’ll be taking our time — think less “weekend project,” more “ongoing father-son tradition.” Somewhere between faster than the Dragon and slower than either of us would like. The goal isn’t speed. It’s the time spent building together.
Build Log
May 9, 2026
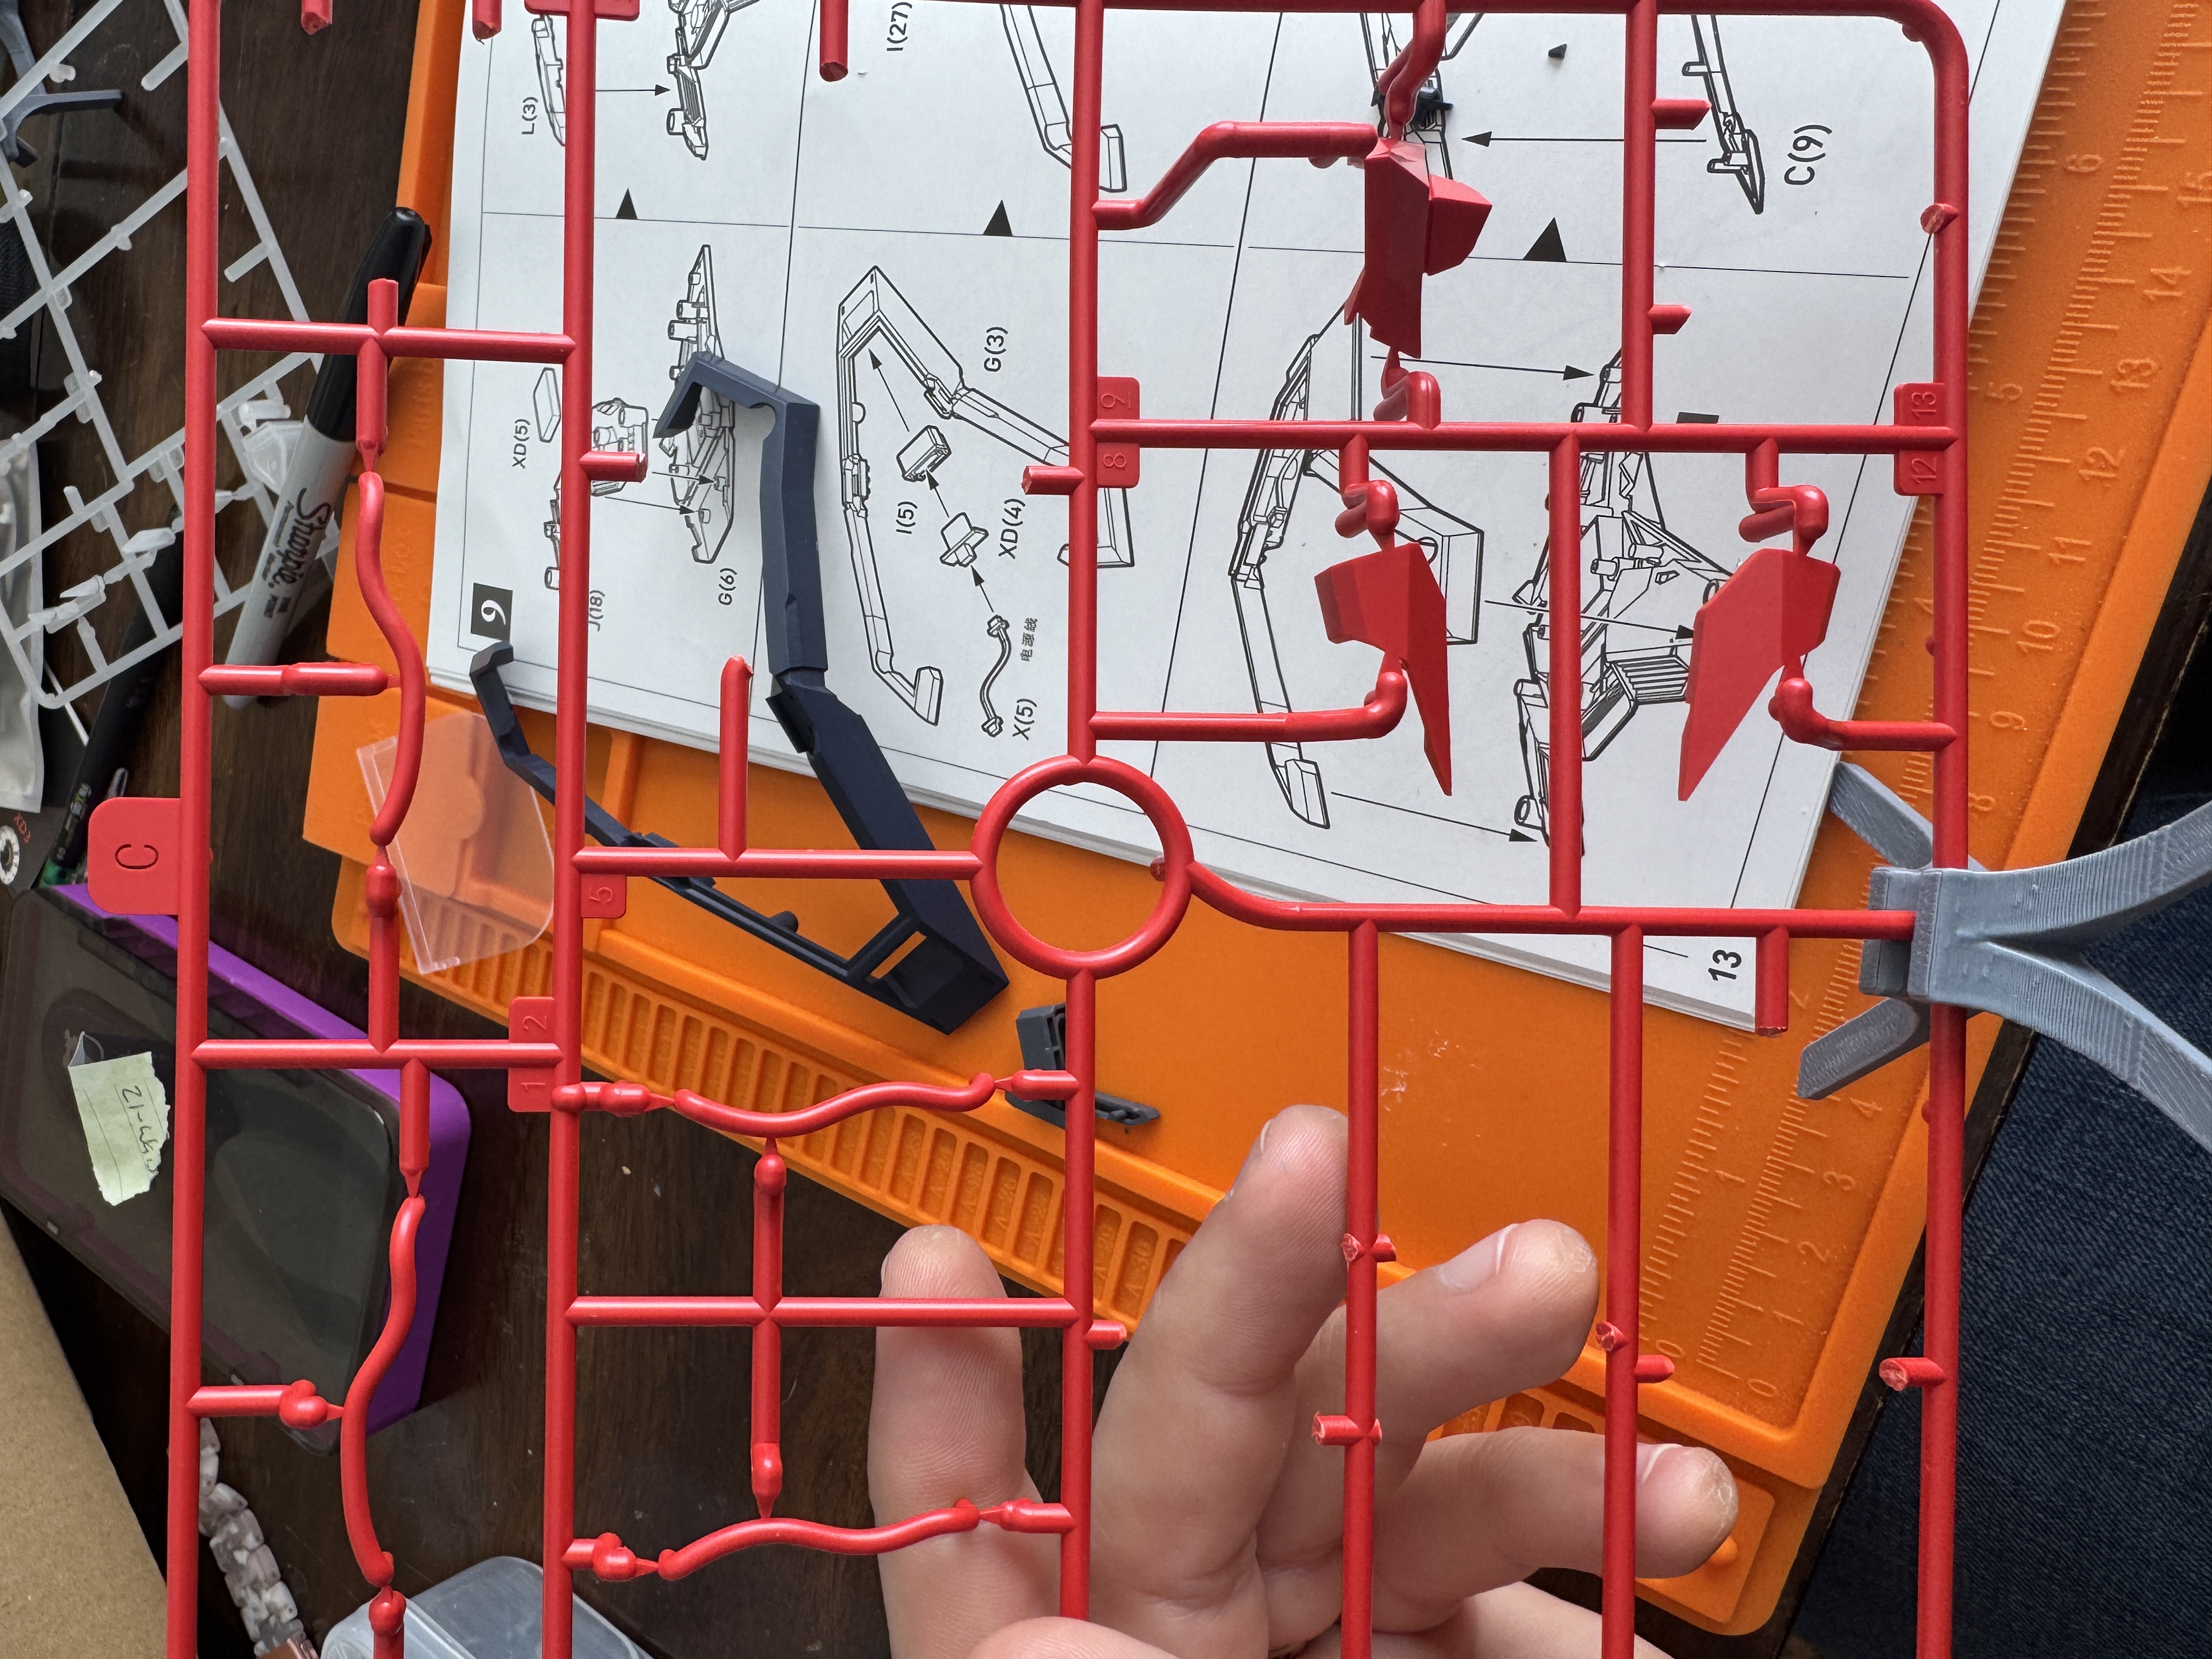
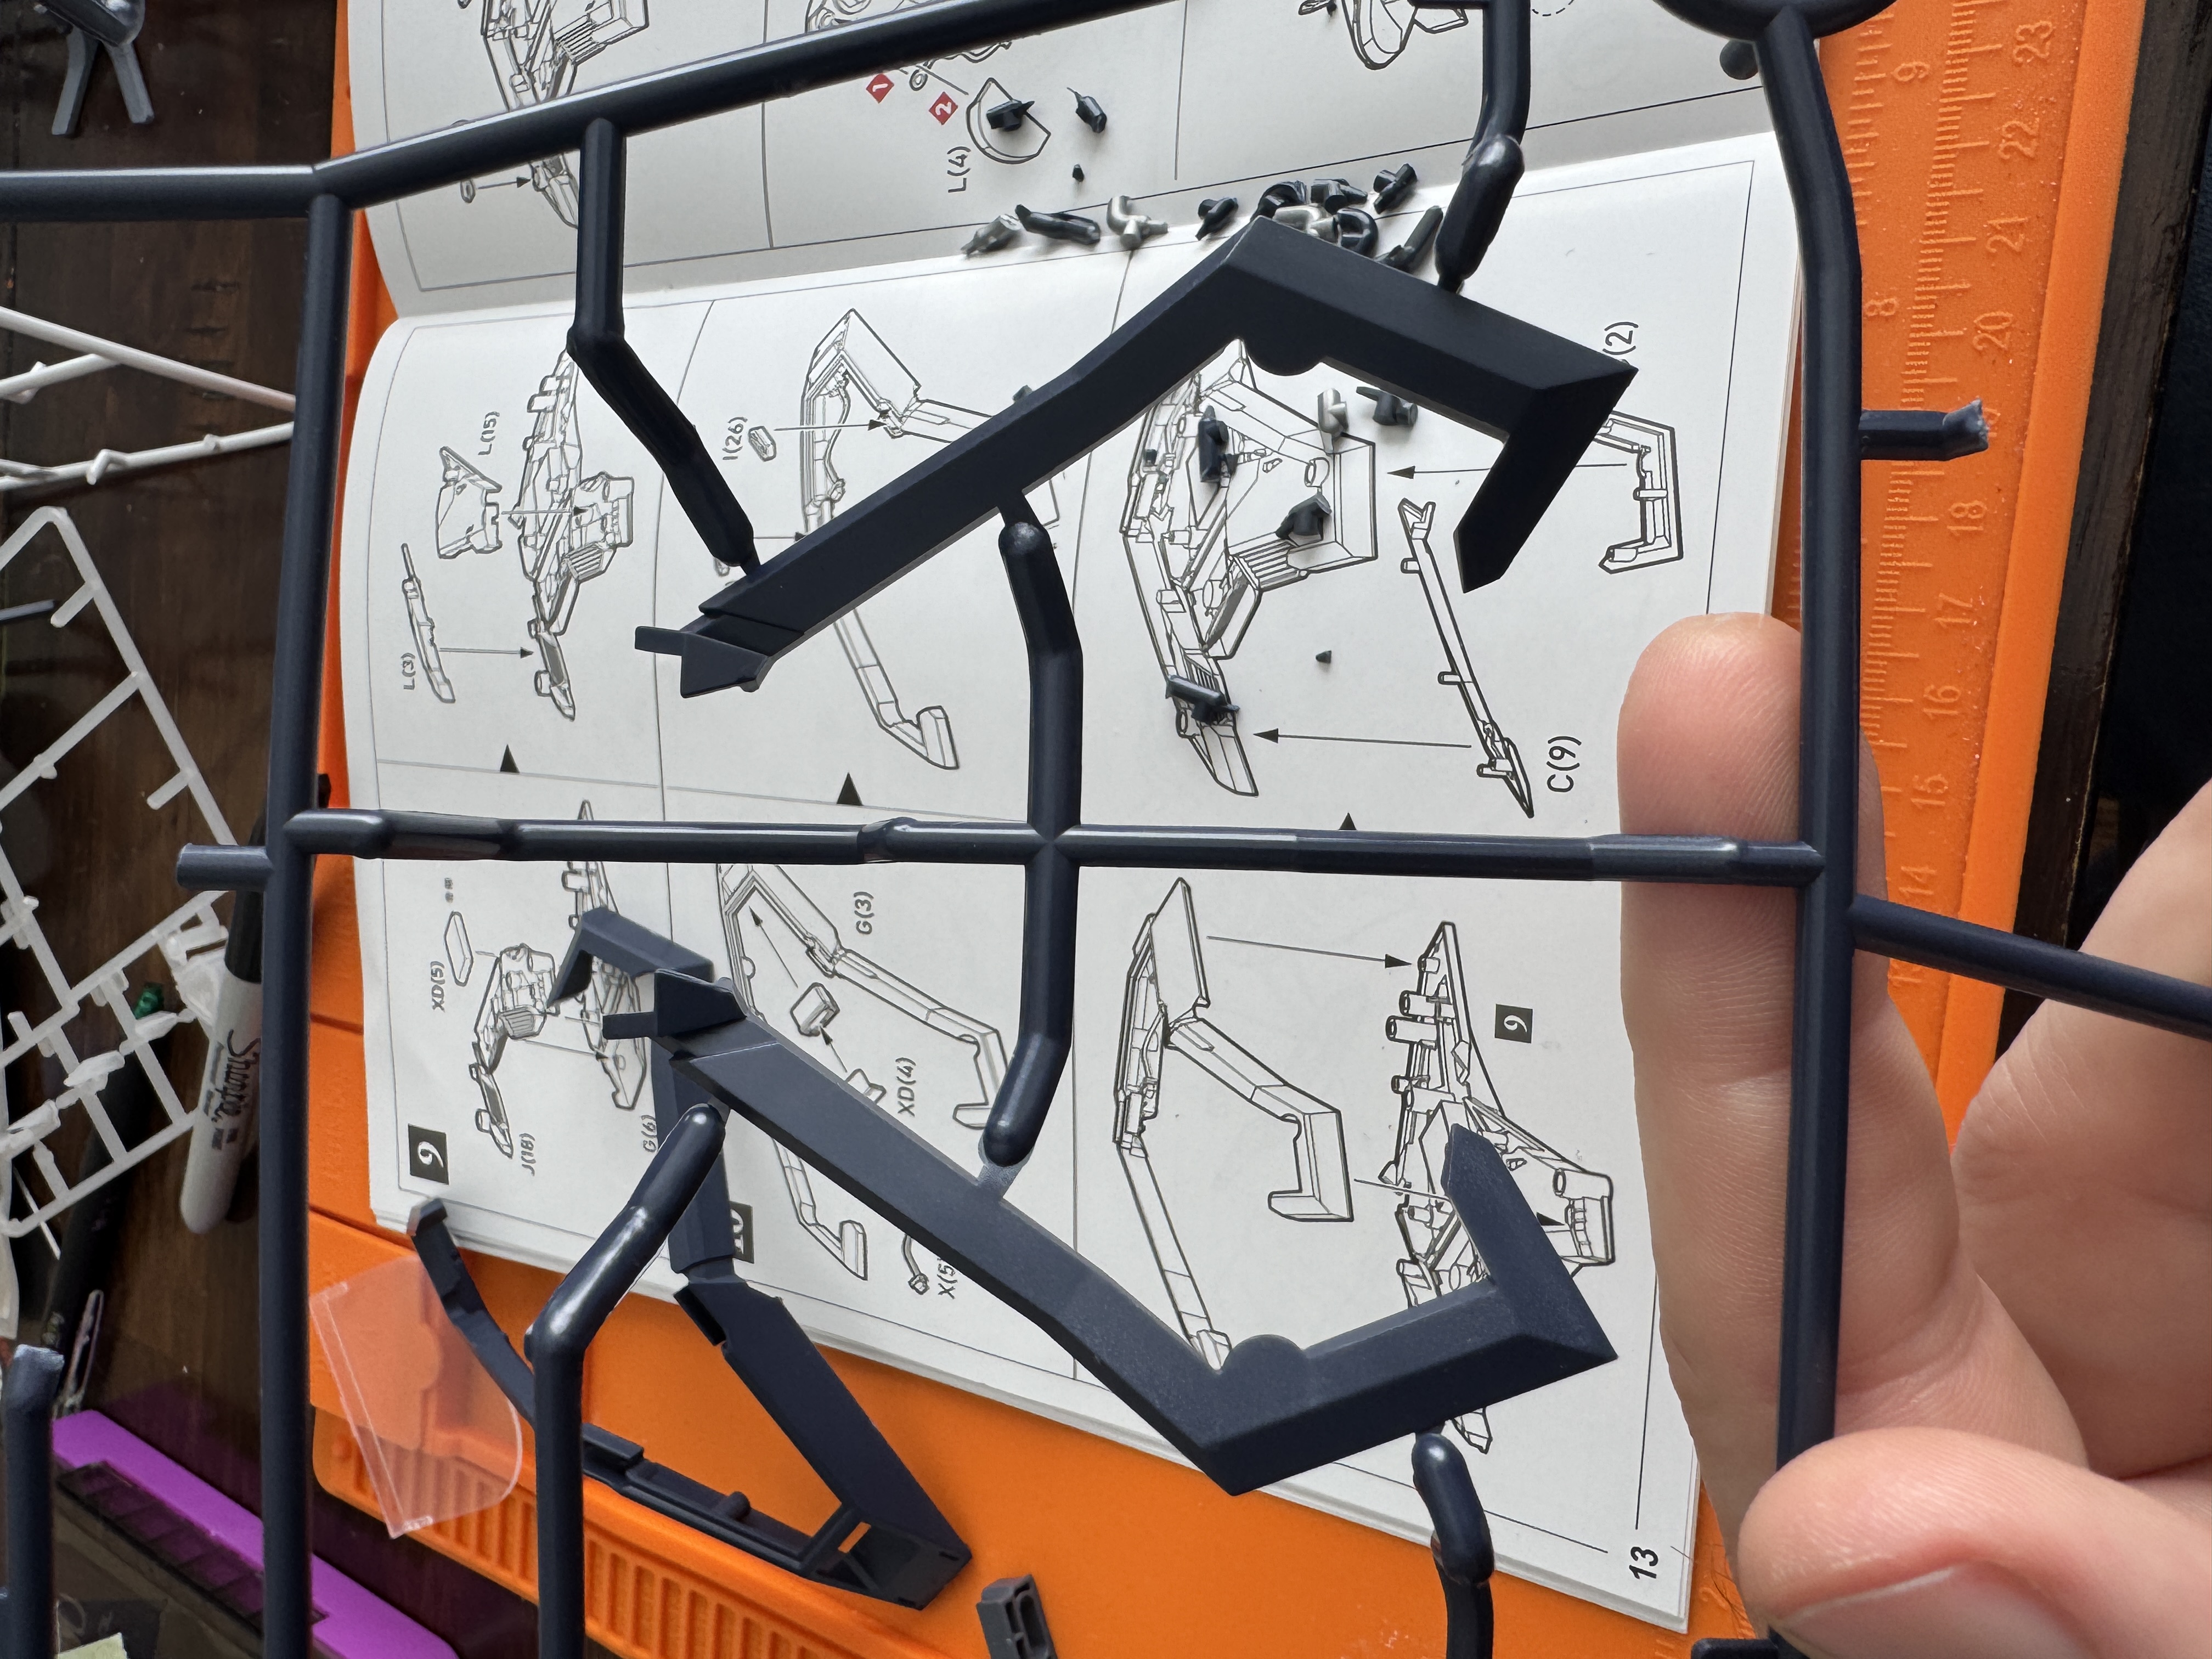
During the last session I realized that my son spent a lot of time waiting on me to find parts on the runners, clip them out, and remove nubs. After sitting there for several minutes he would finally get to put something together. This is clearly an efficiency and until he moves past his runner clipping phobia (well, more like the sound of clipping the runners) I need to come up with a better method so we can have fun just building.
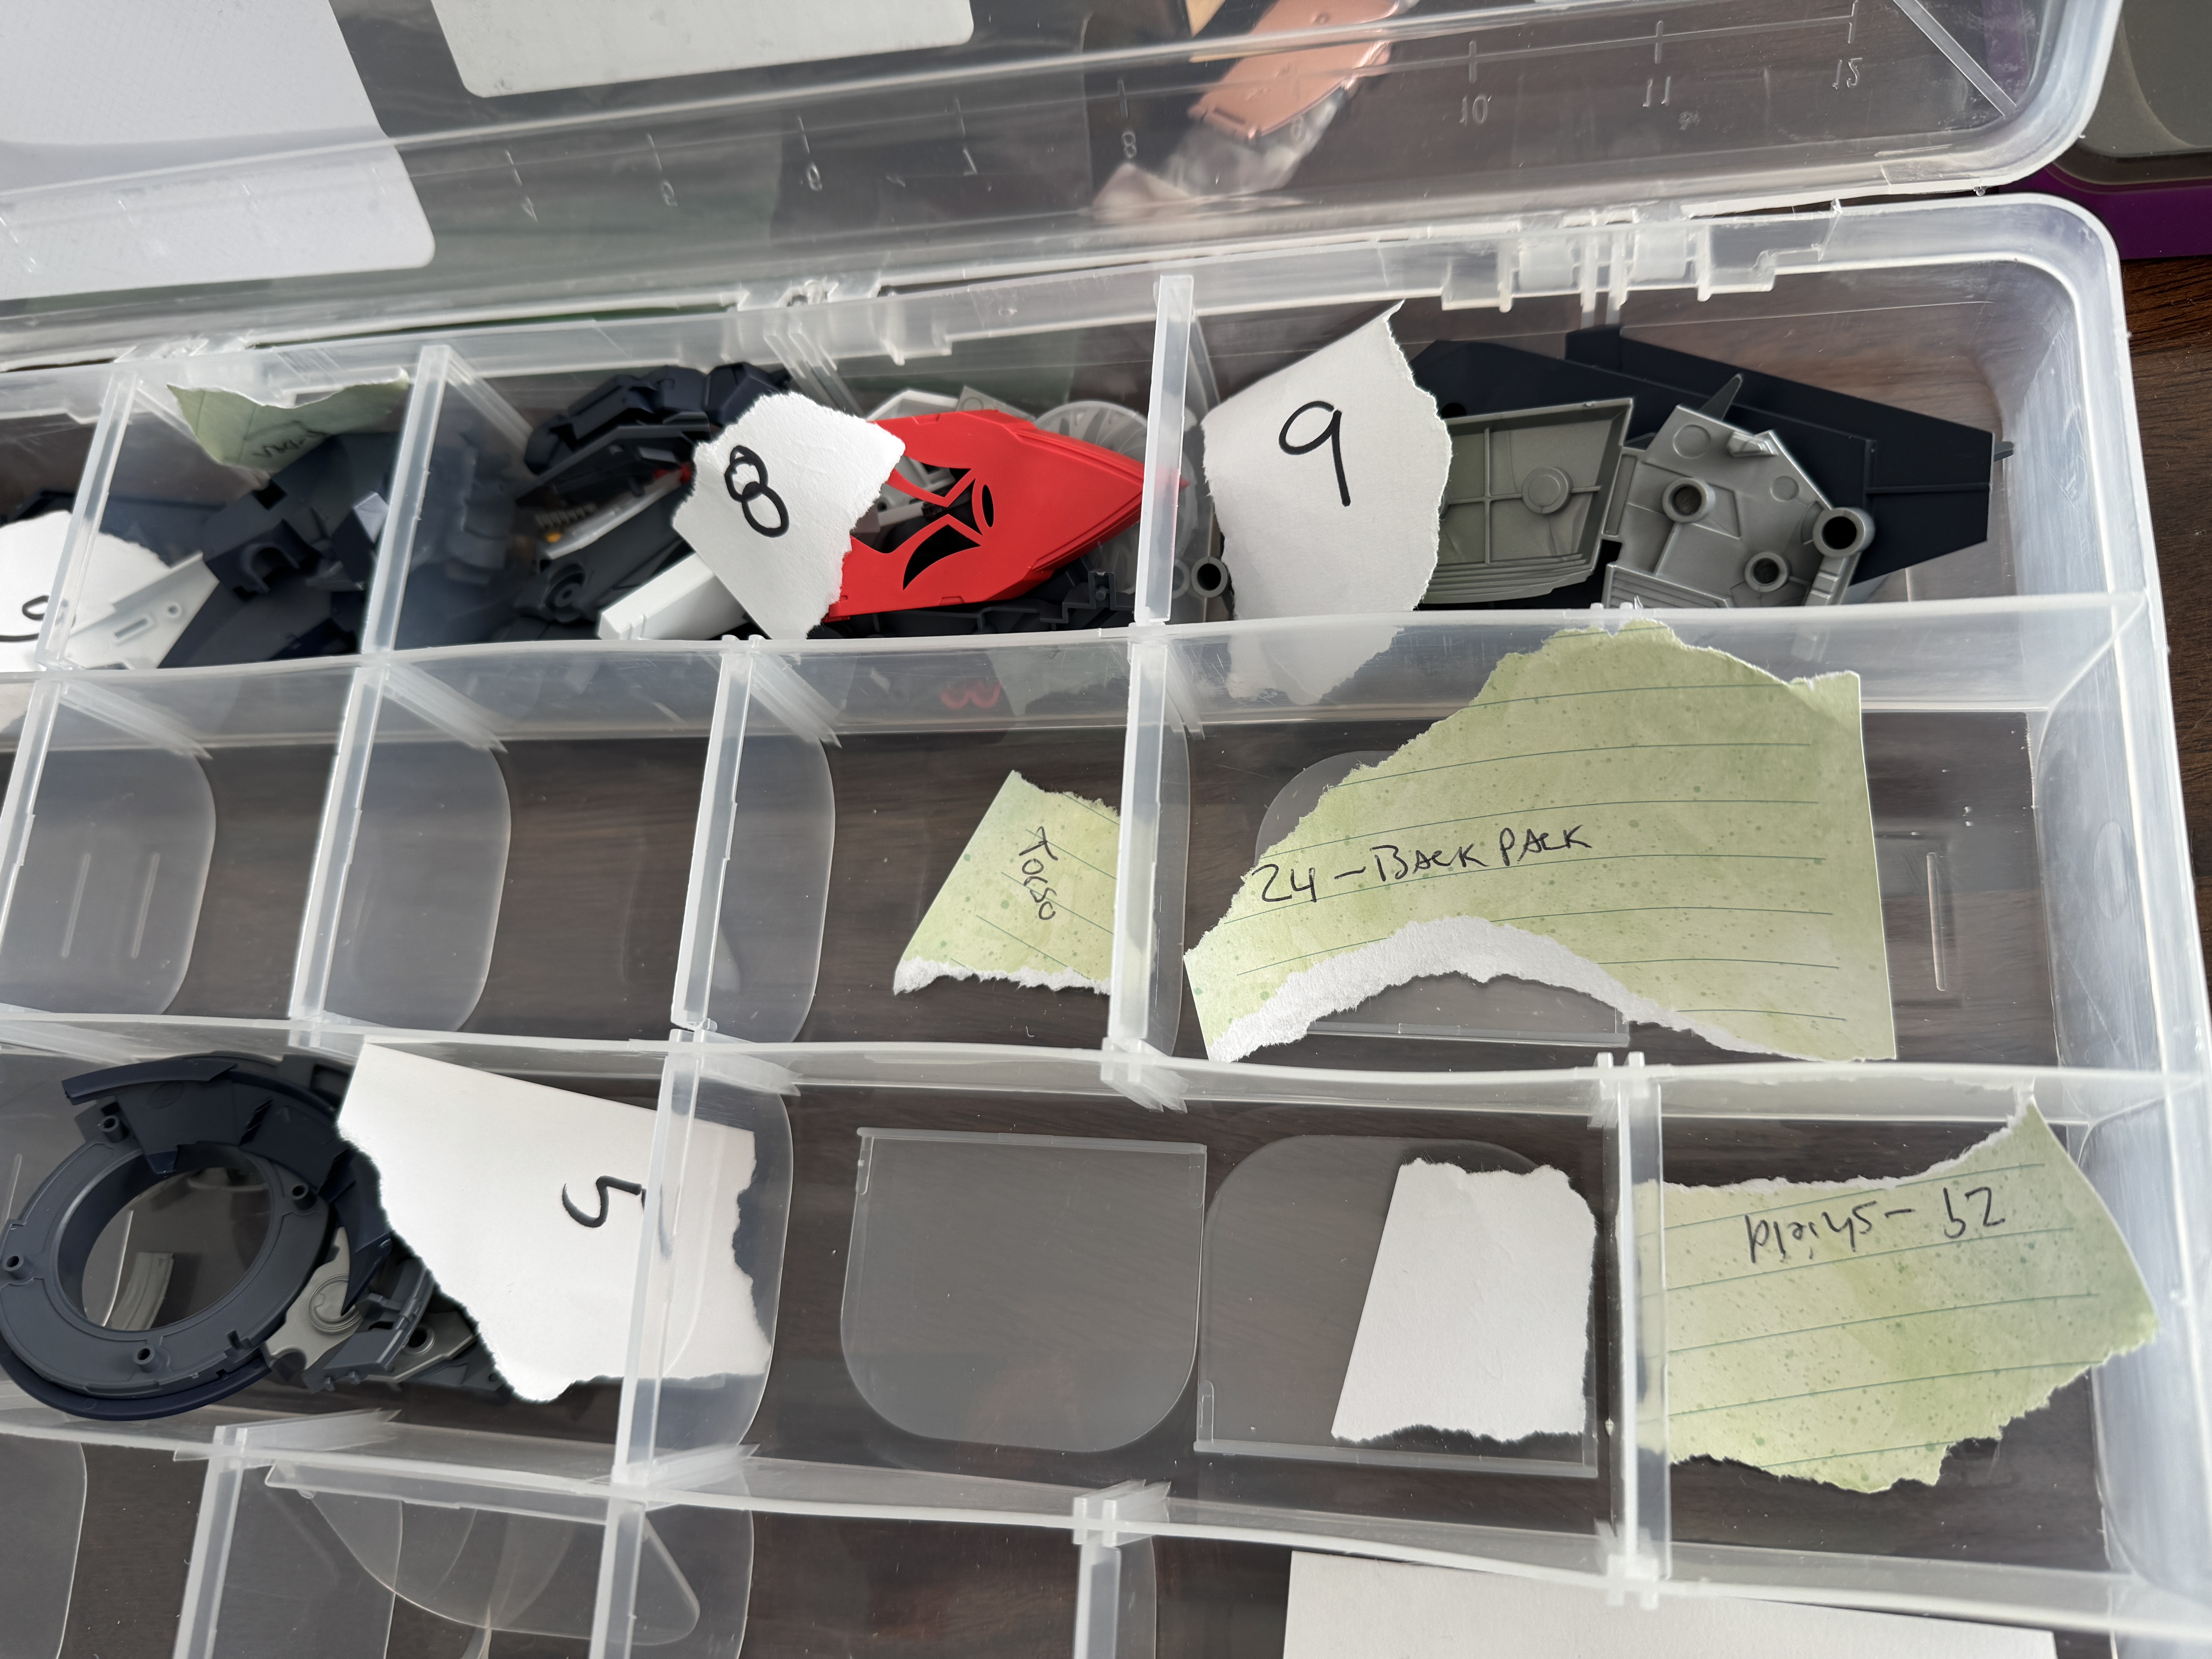
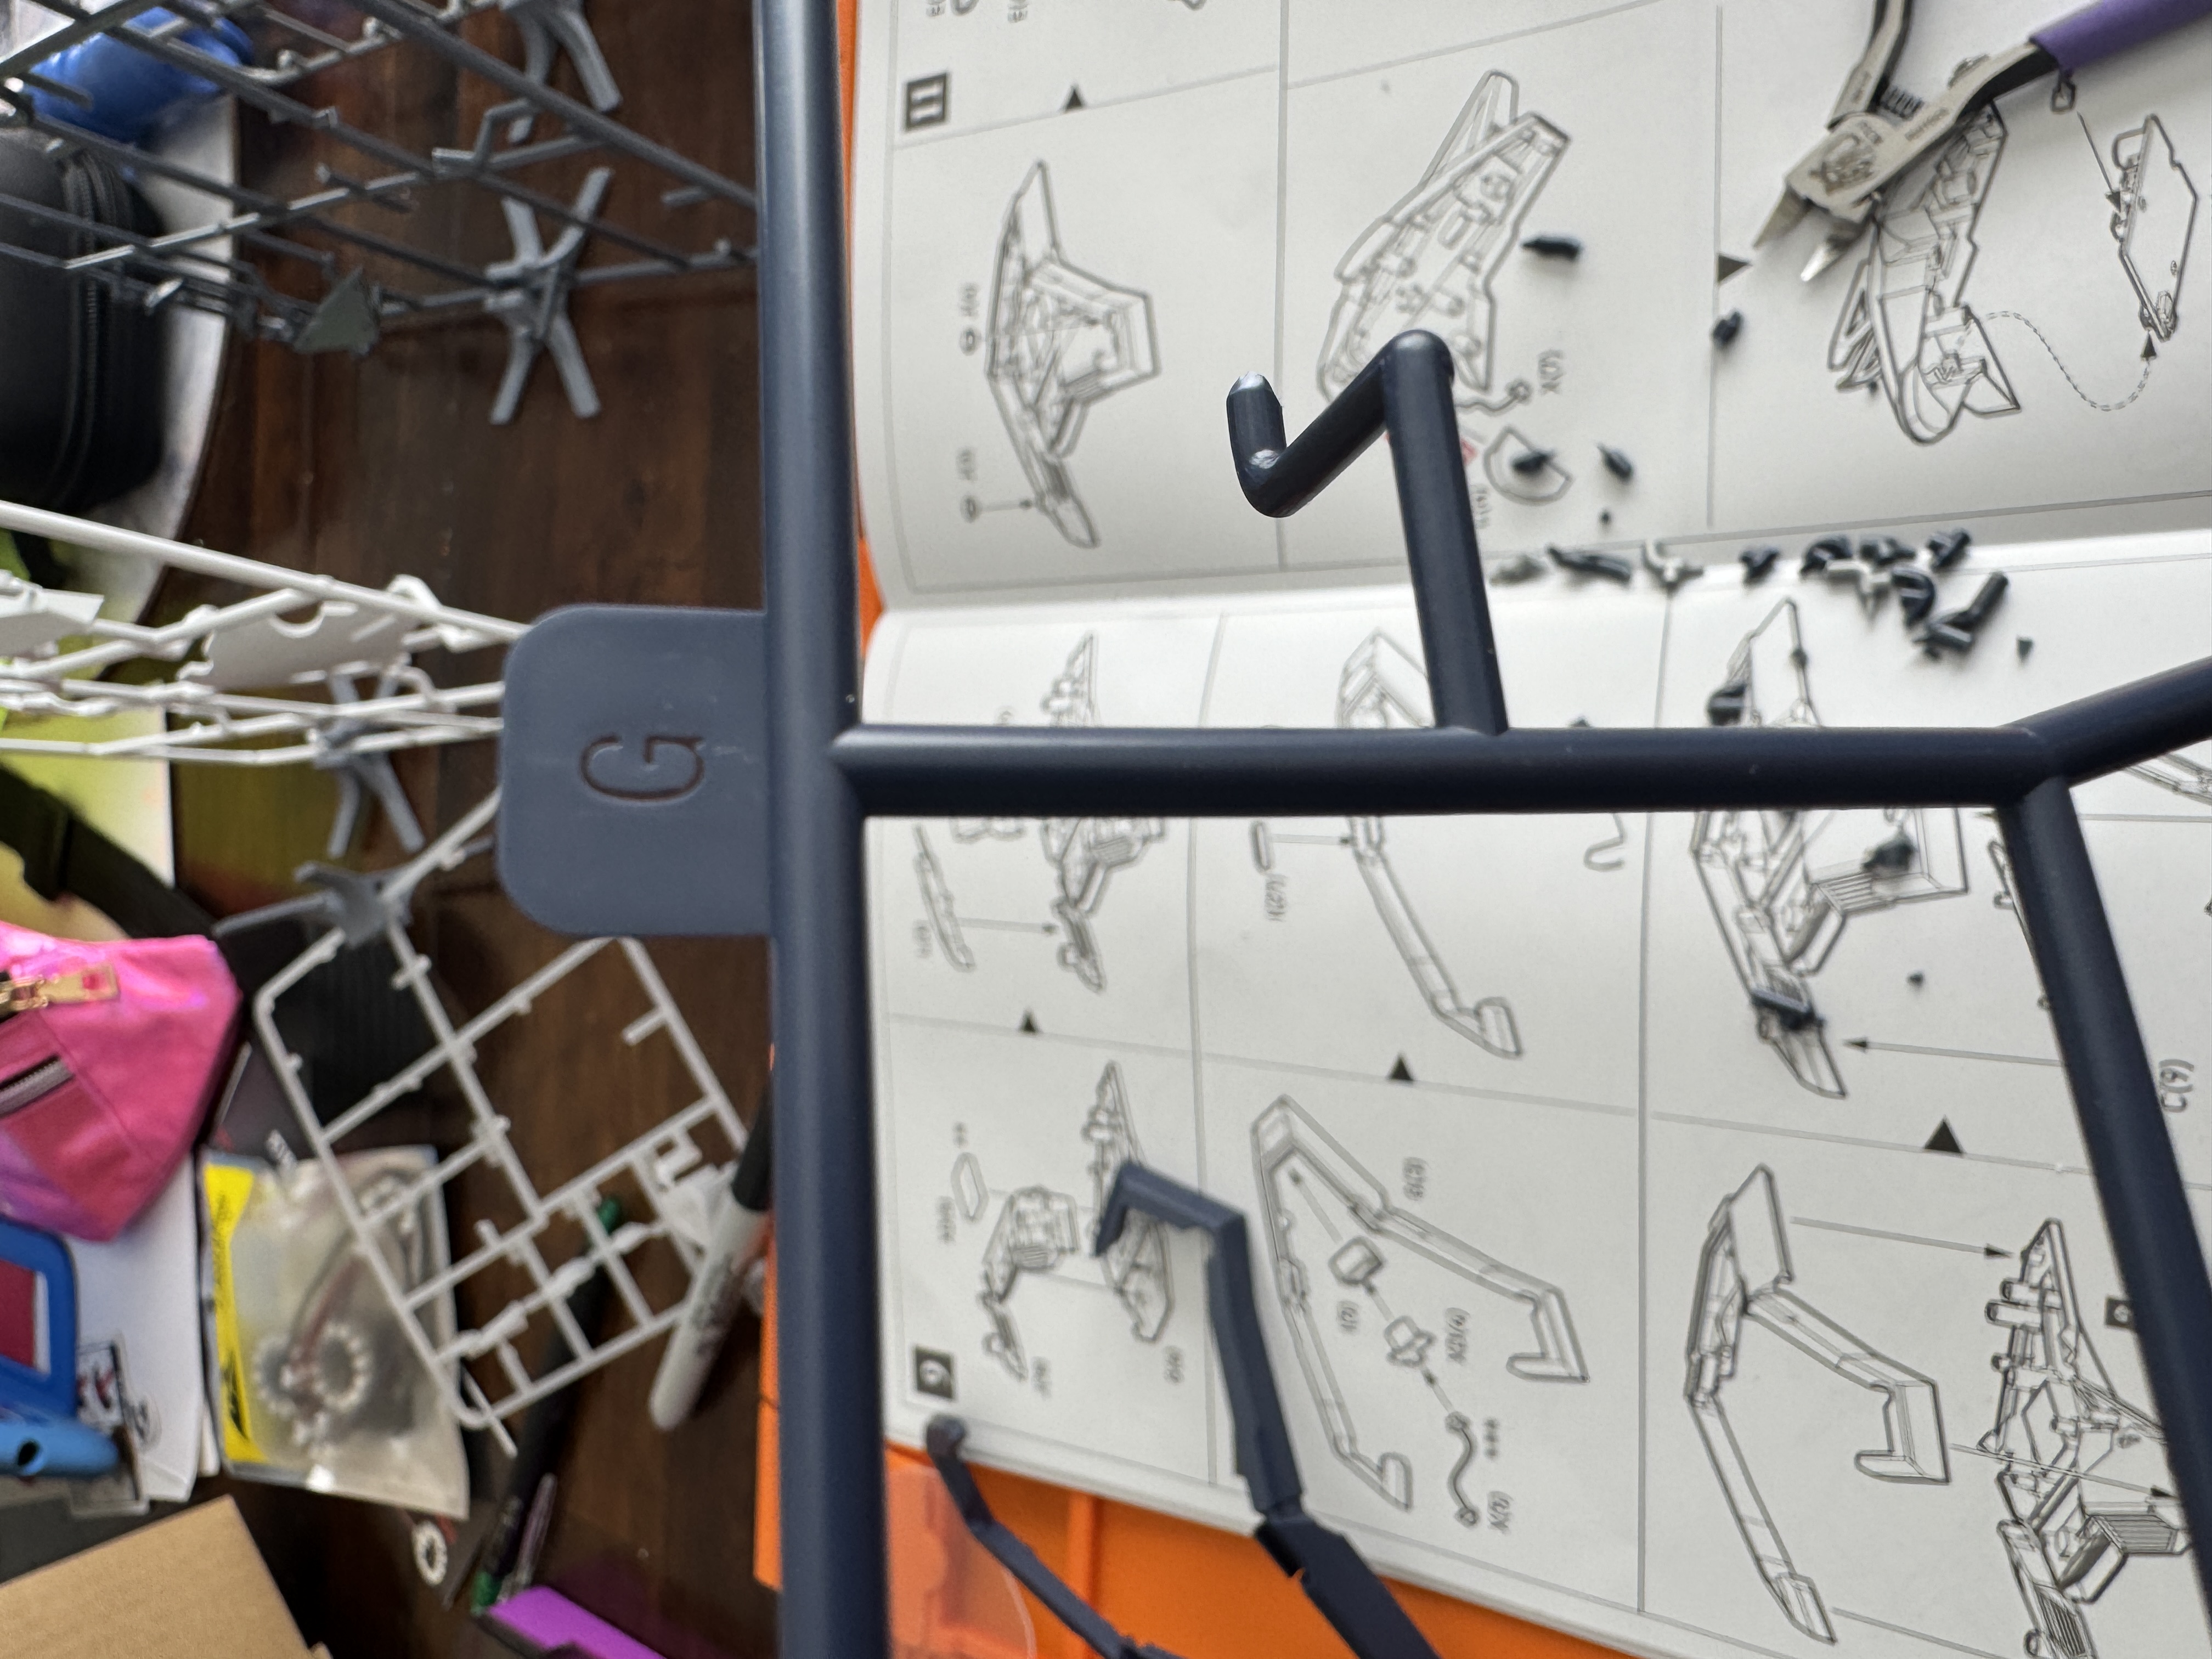
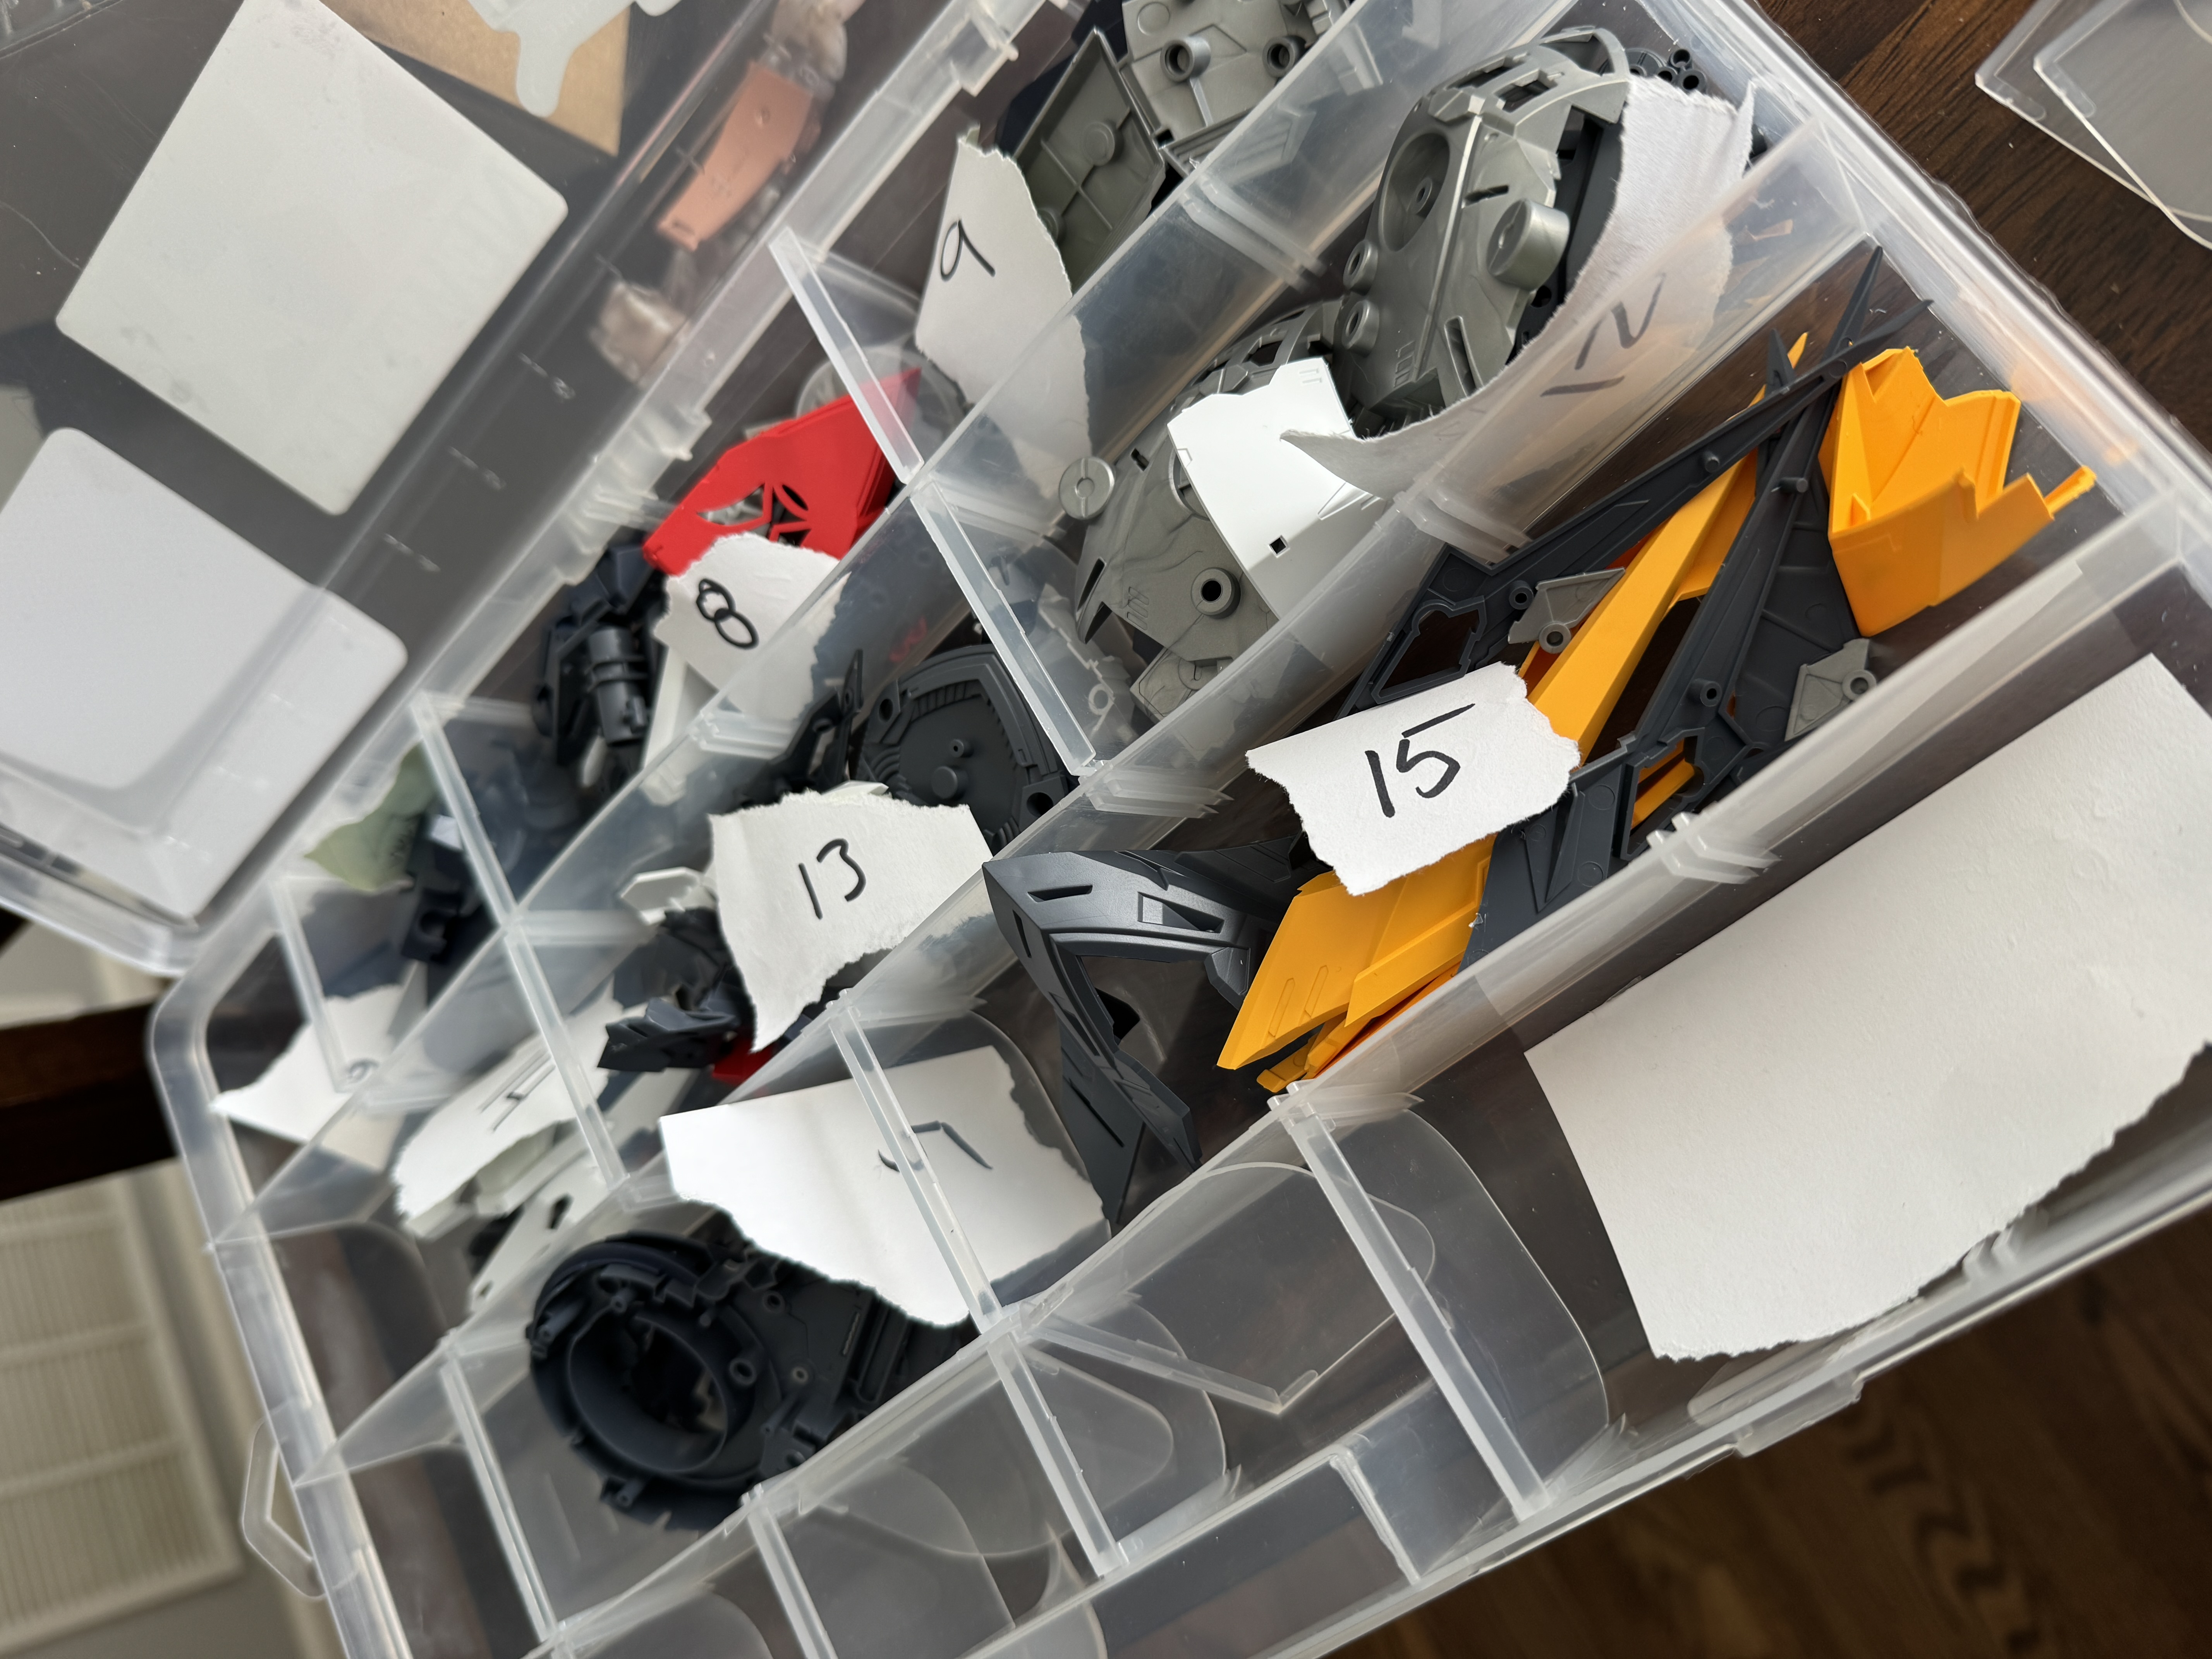
So today, I spent a couple of hours trimming parts and sorting them in plastic bins grouped by the step that the pieces are used on. I’m hoping this allows us to just sit down and build together. I had a few observations in the process.
- Still impressed with the plastic quality of this kit
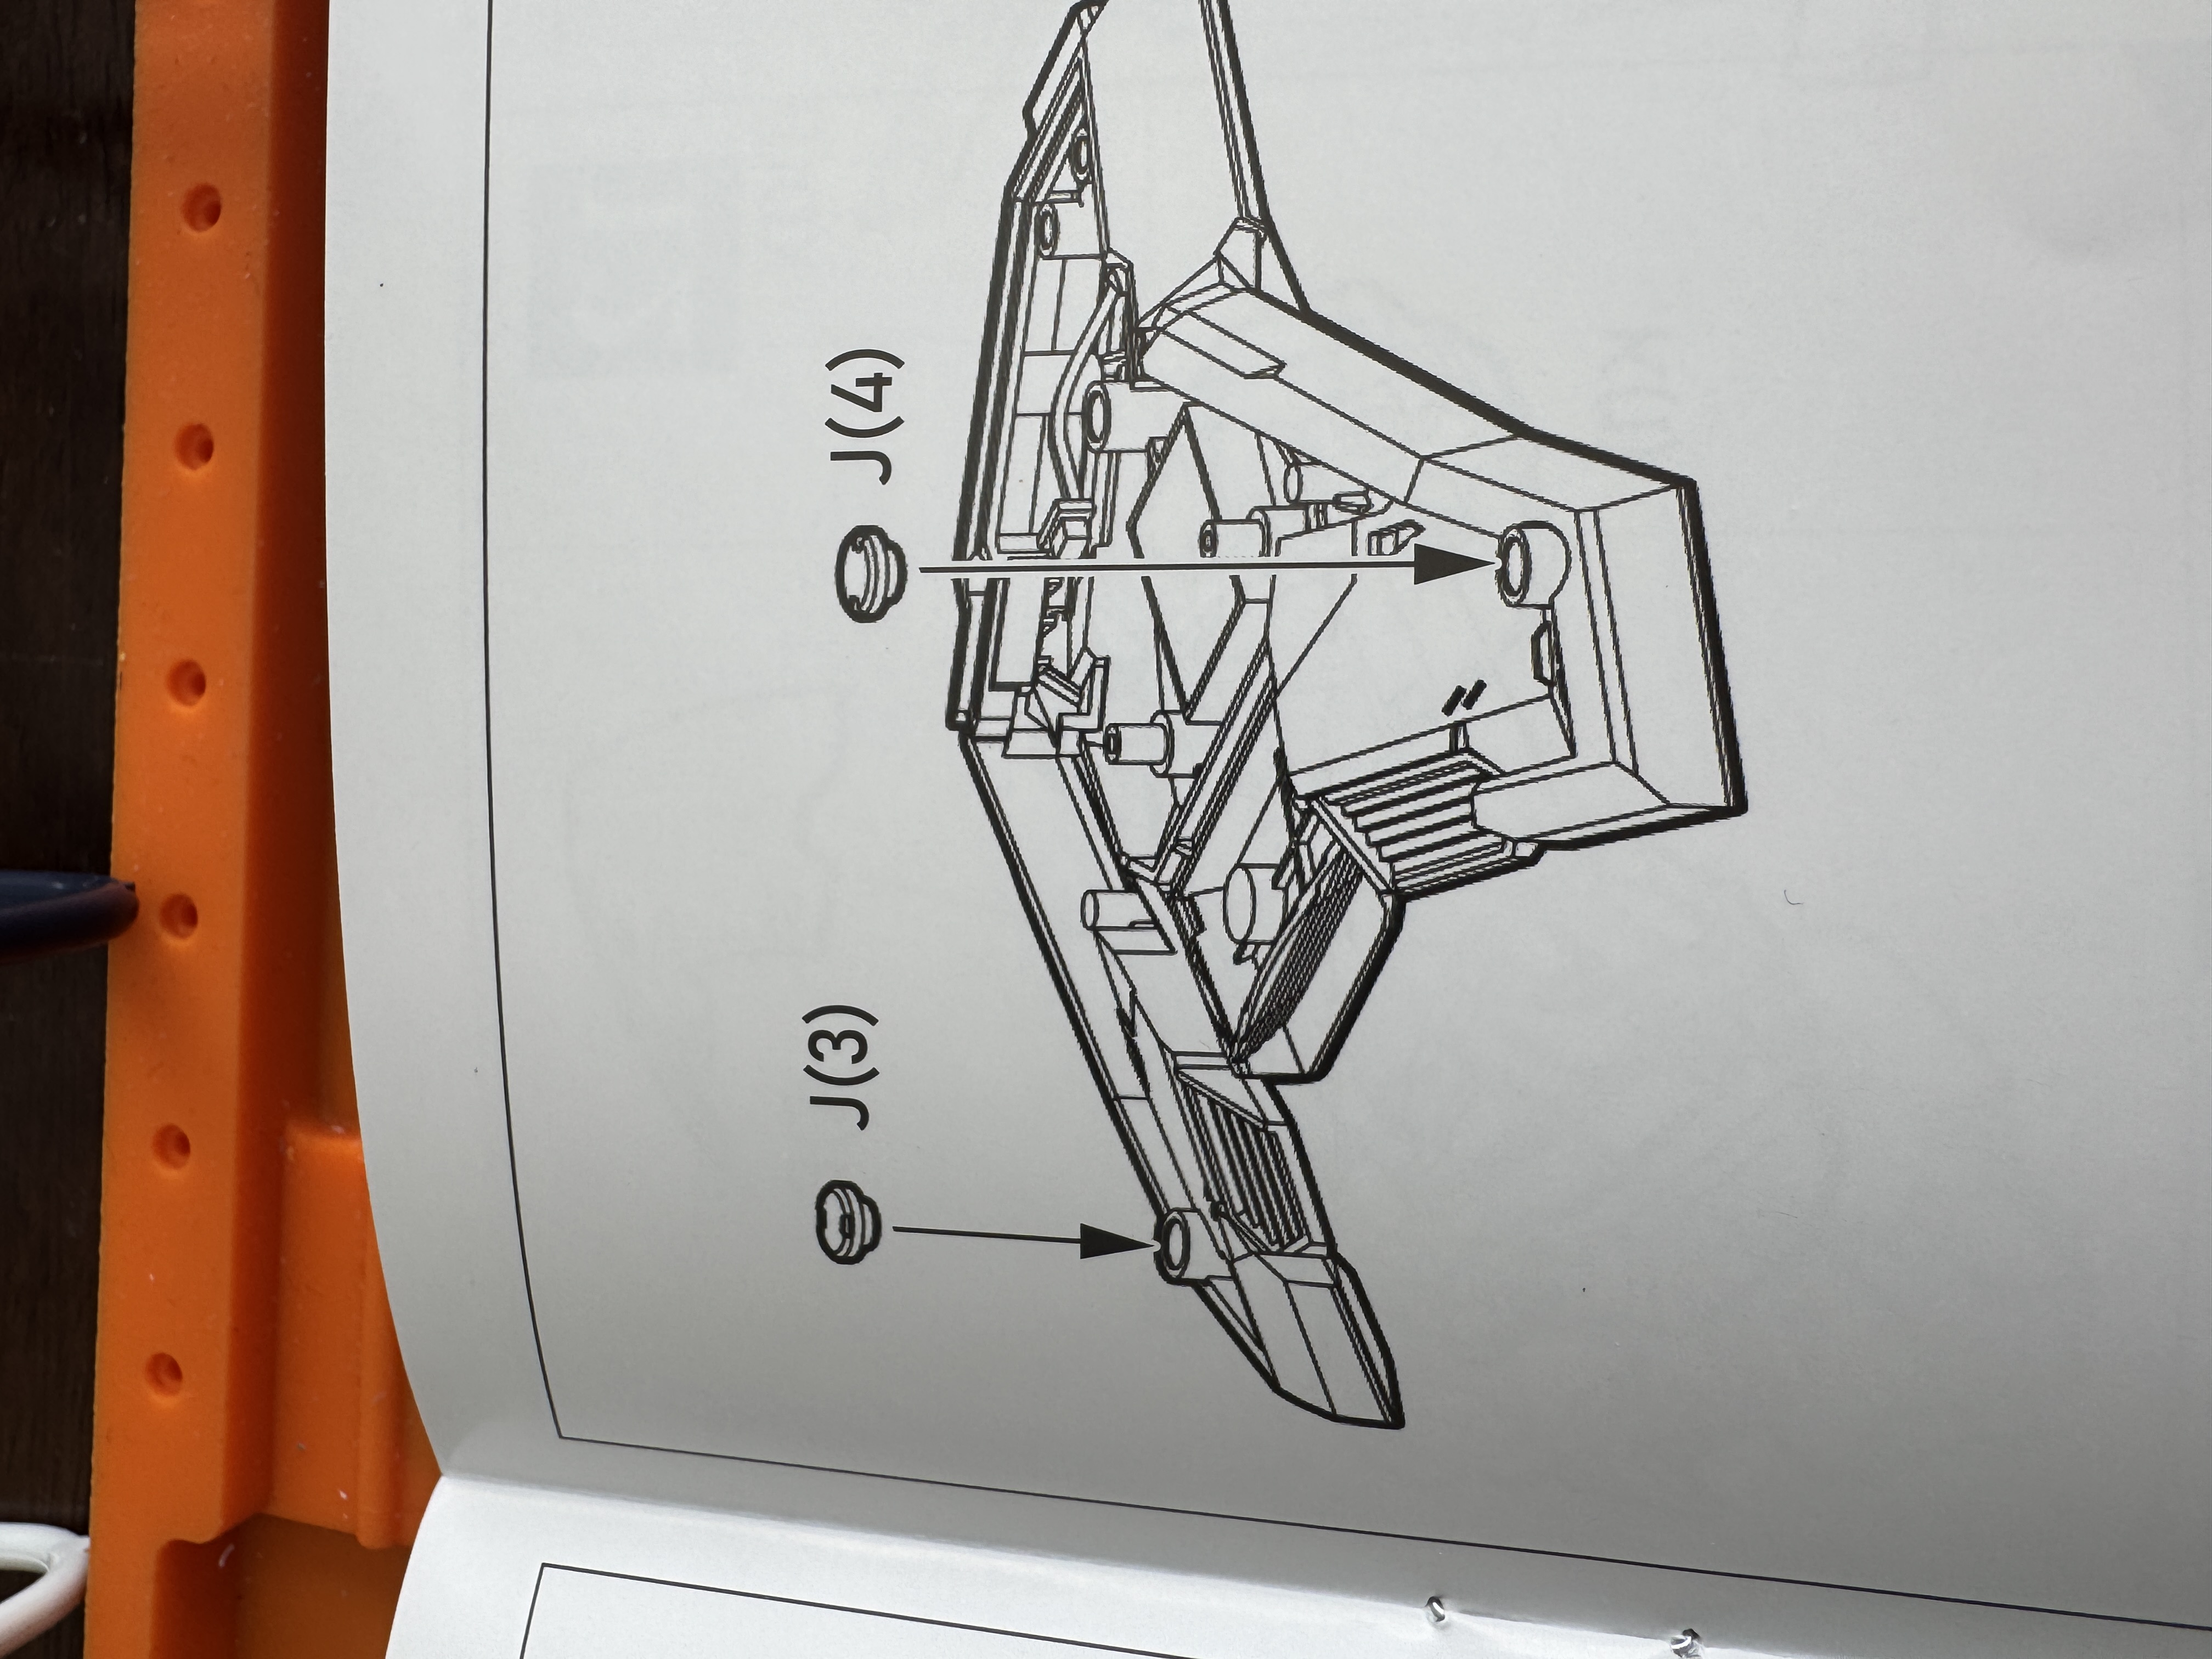
- I appreciate the amount of parts that are undergated…this saves a lot of numb mark removal steps
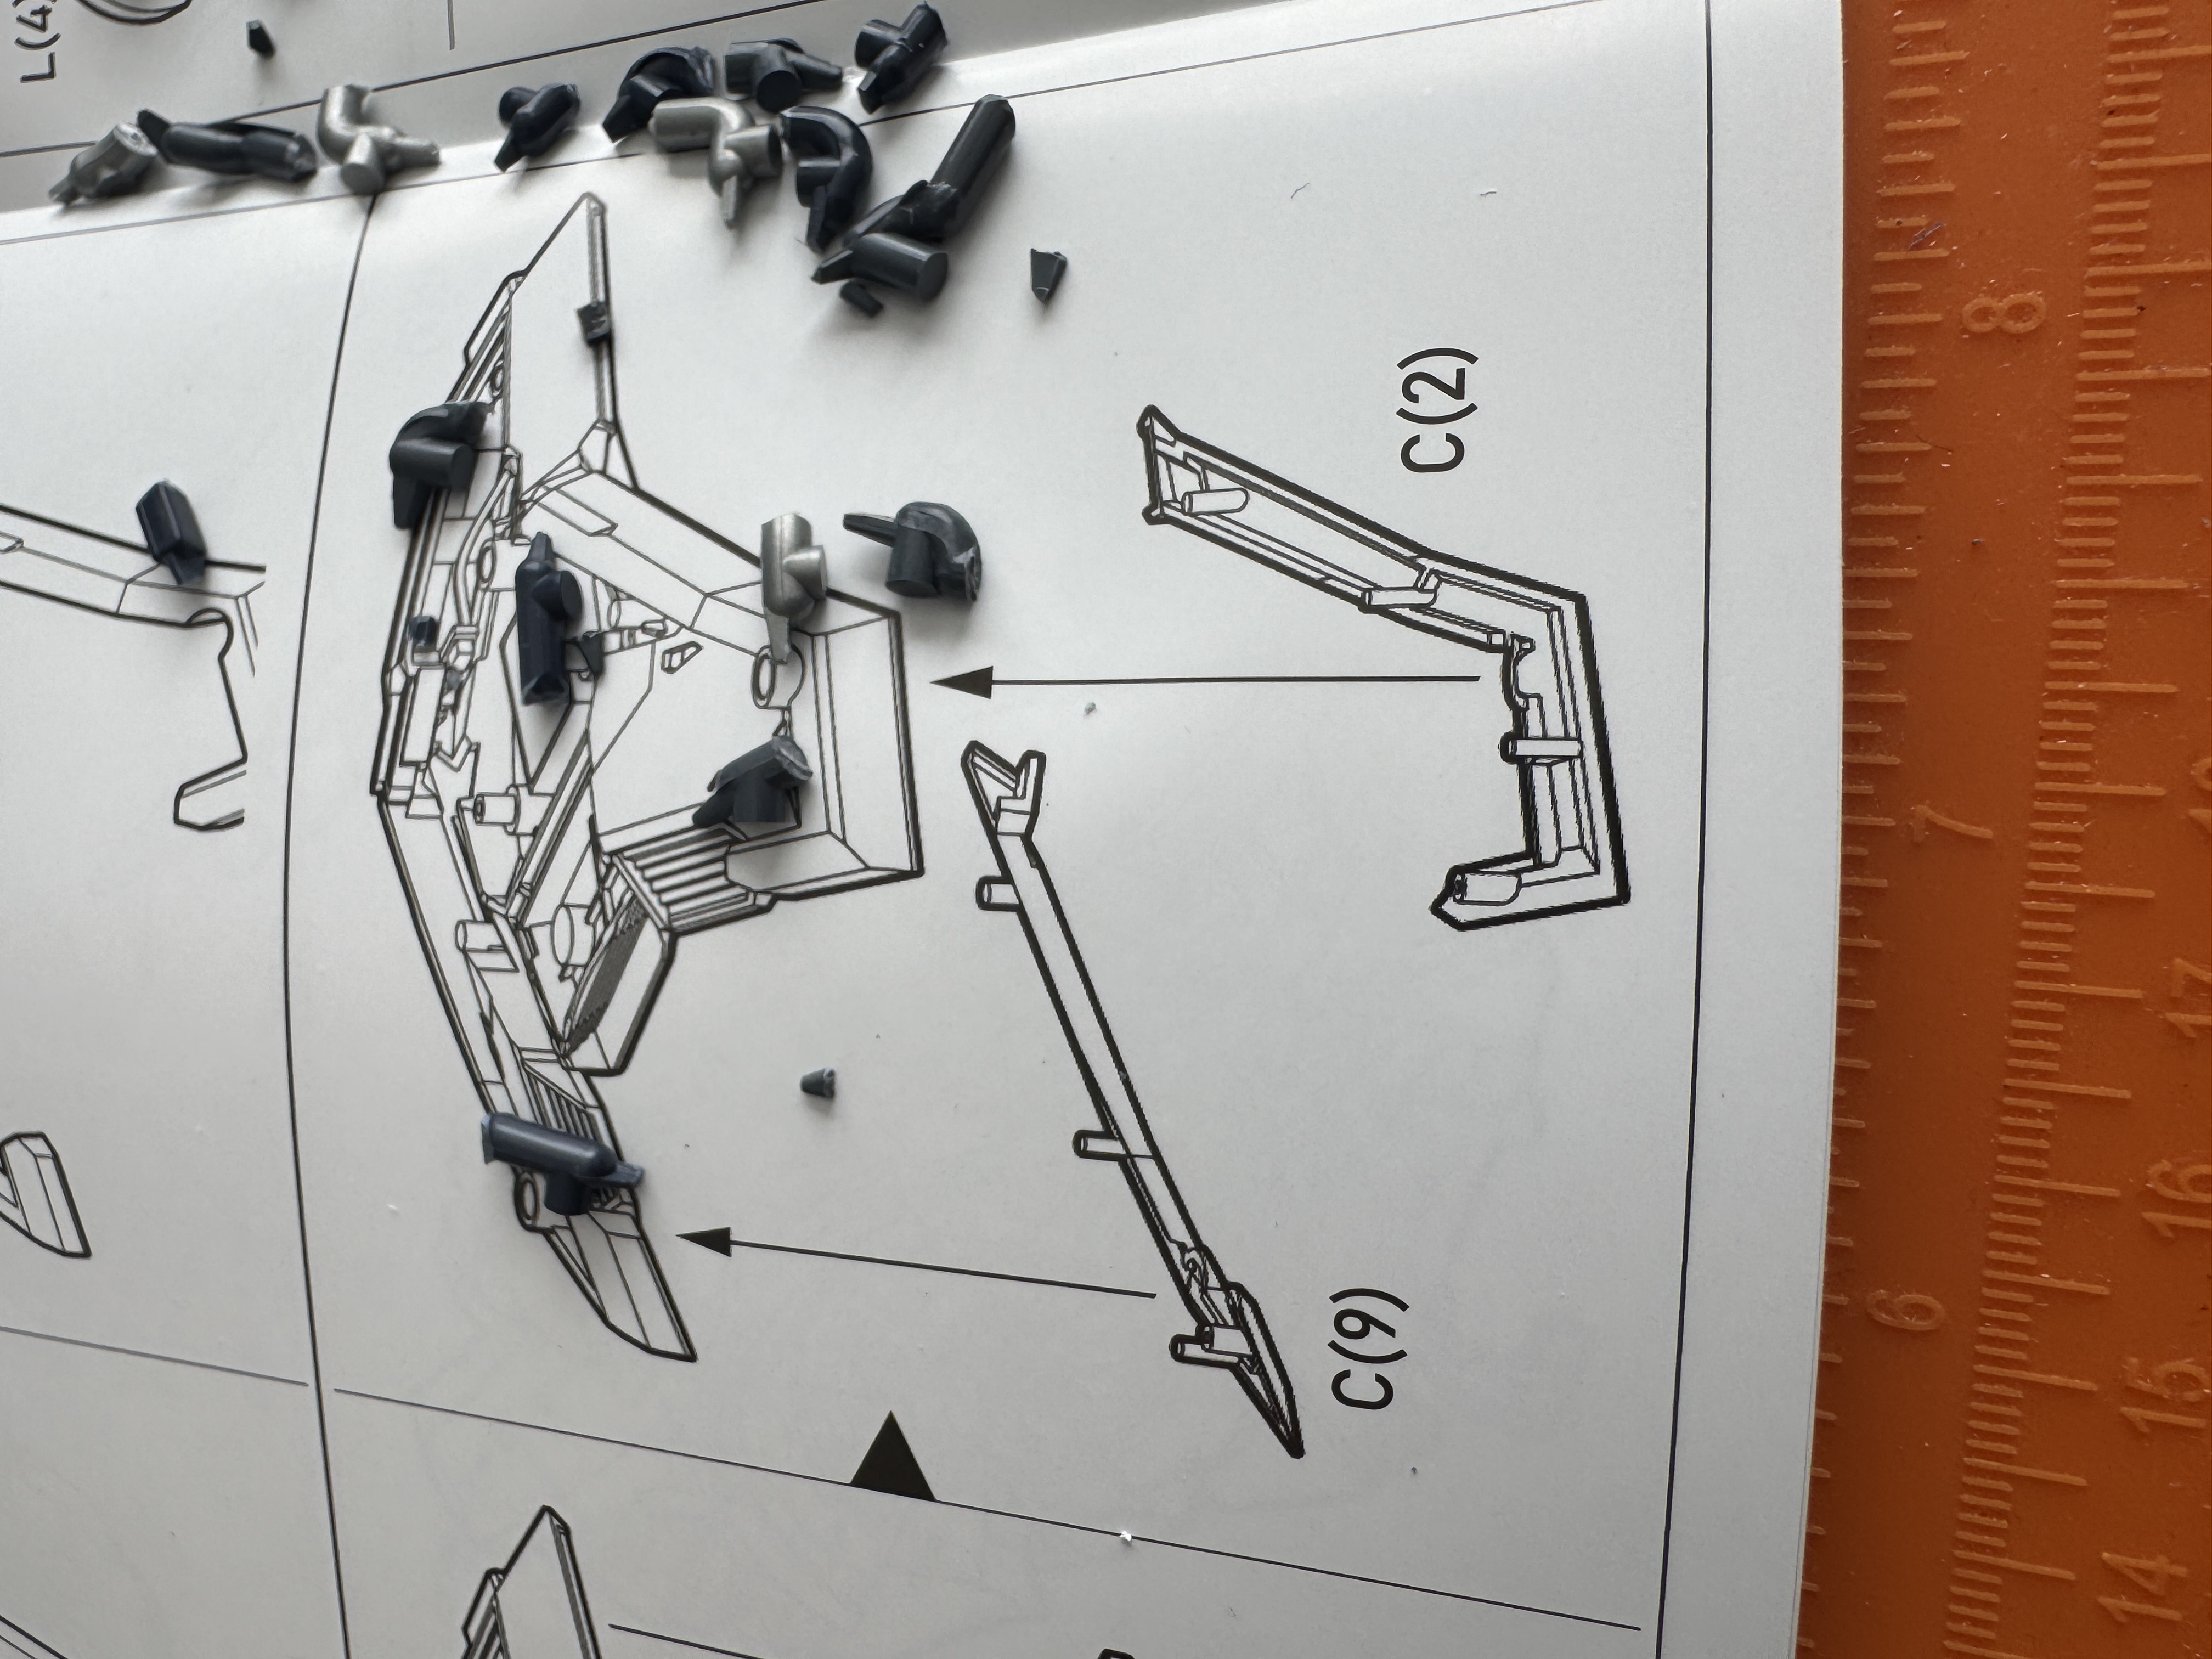
- There were two distinct steps where parts were labeled wrong - either incorrect runner or #. No worries I was able to figure it out, but that definitely would have thrown my son if he were doing this by himself.
In the end I have a nice tidy bin that has all the parts sorted…Now we can build!!

May 1, 2026
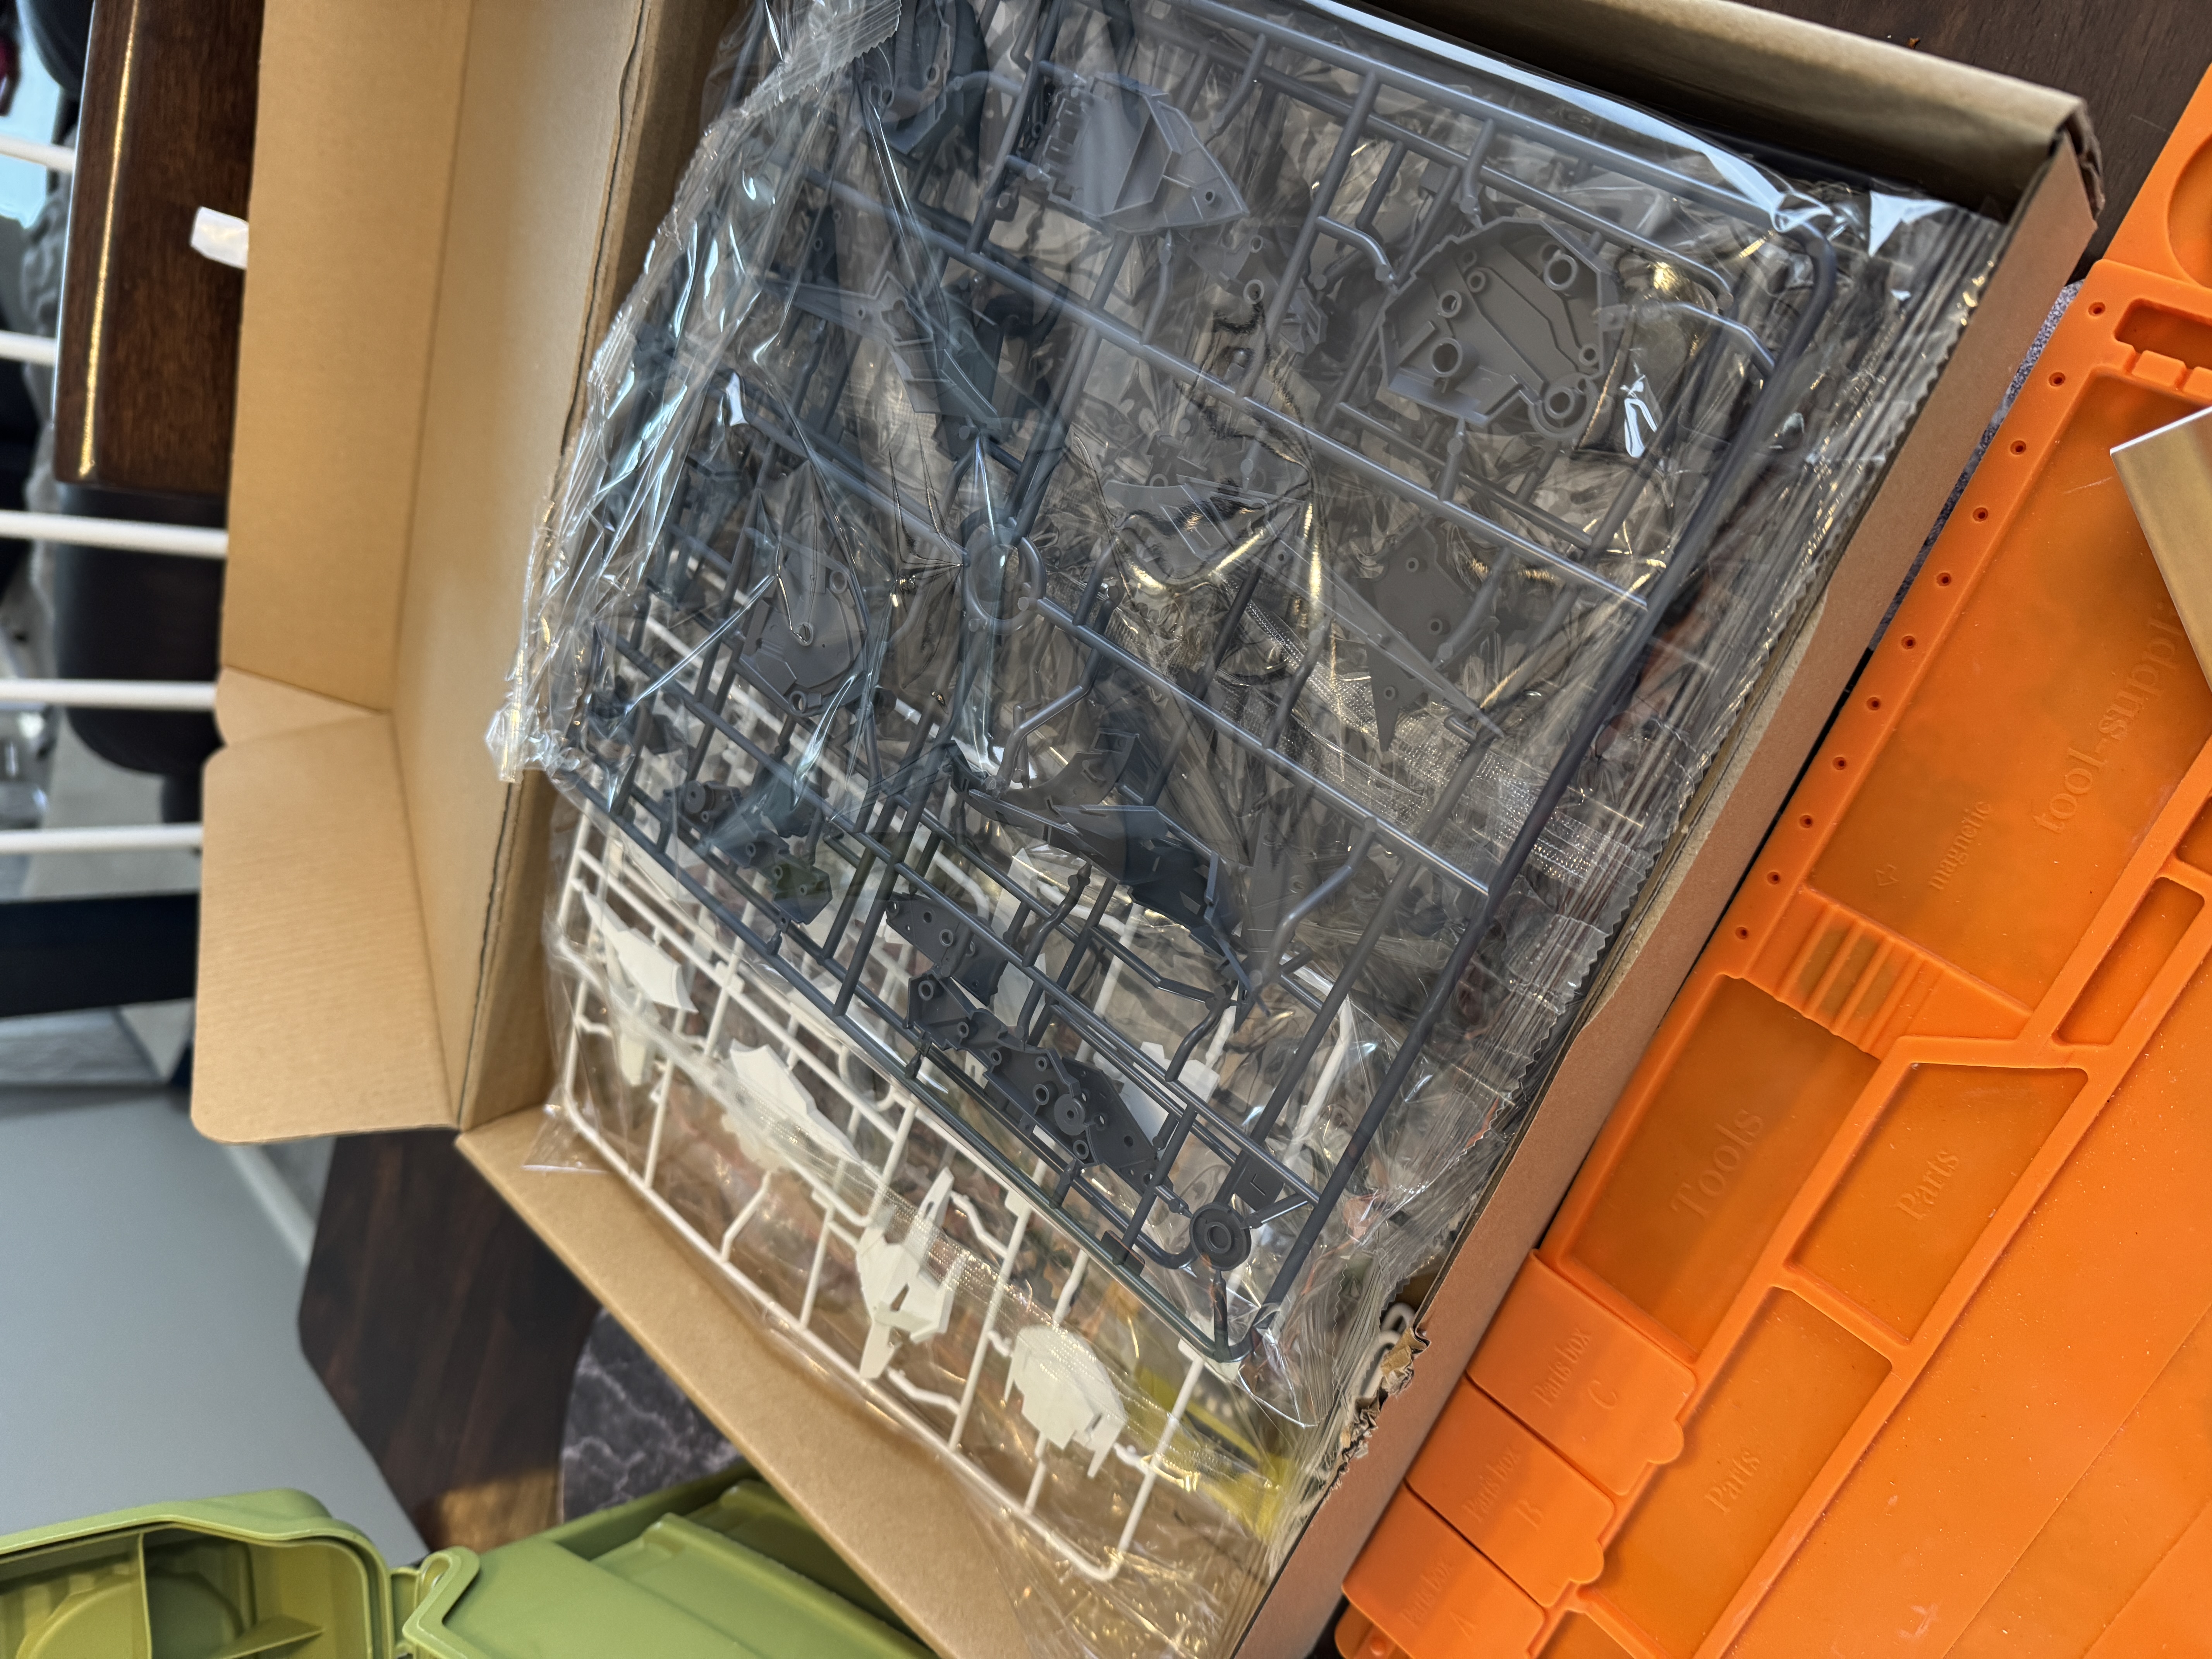
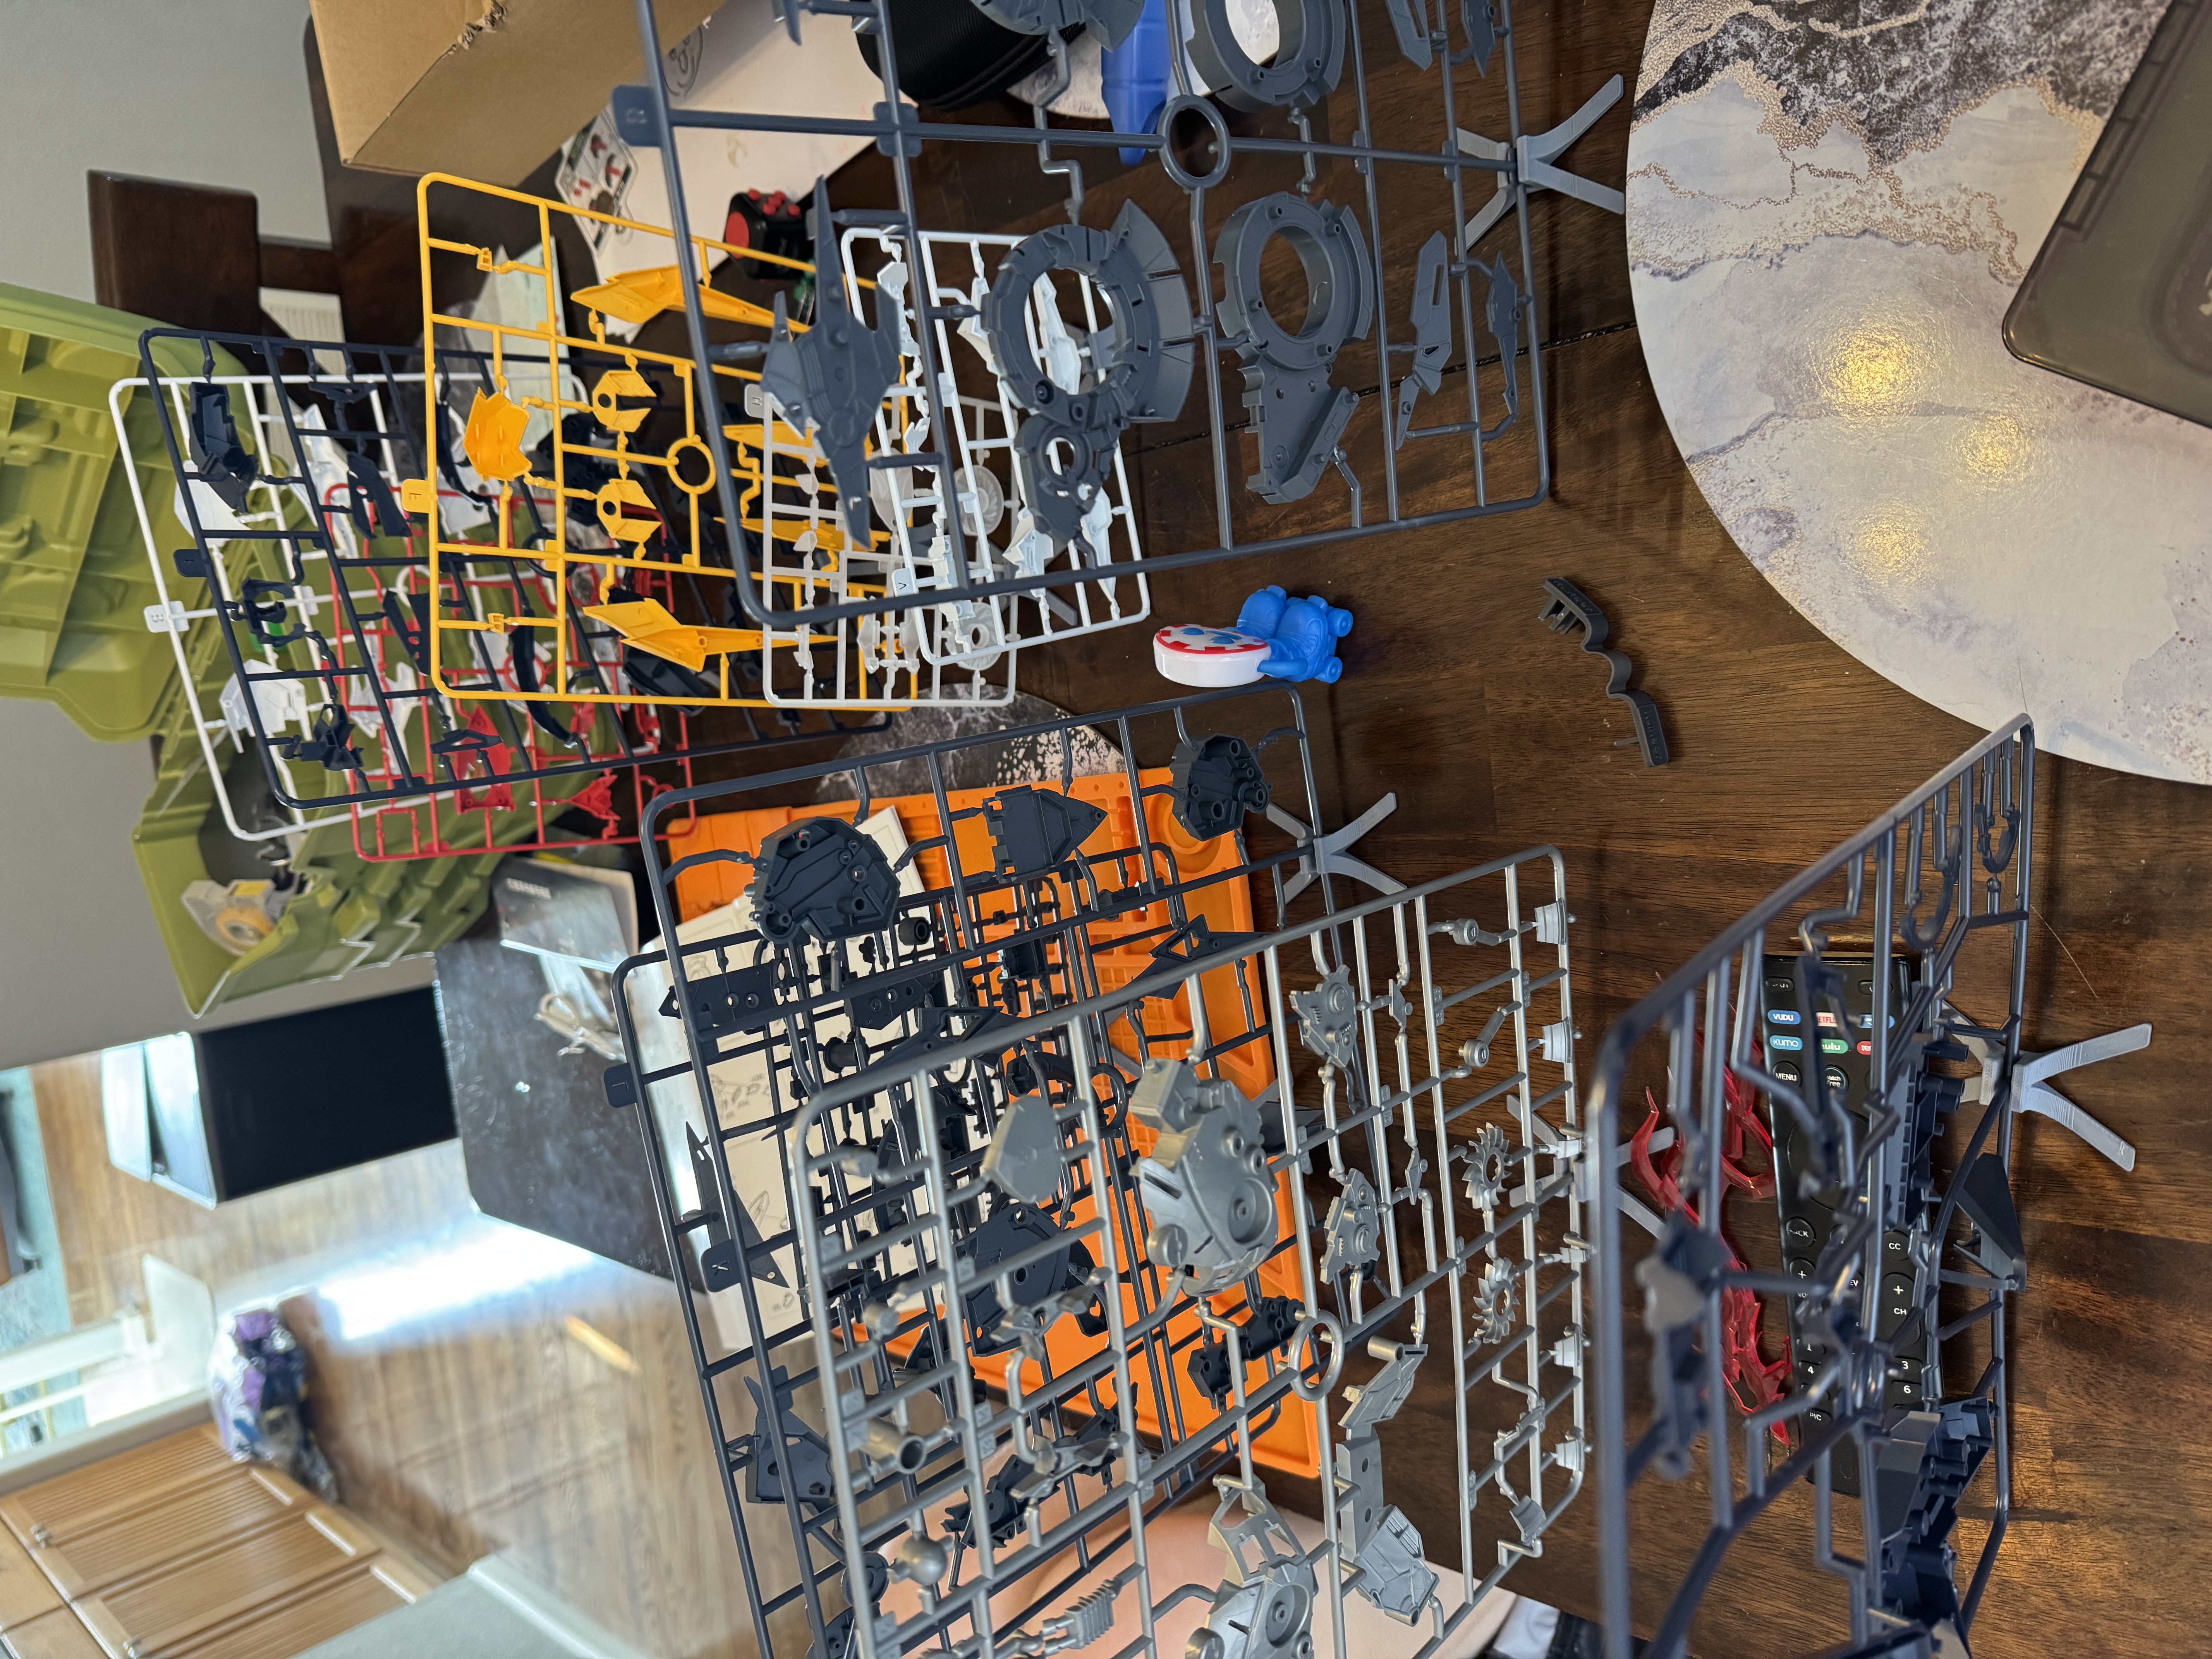
Cracked open the box and immediately recalibrated expectations. This is a significantly more involved build than either of us anticipated — my son took one look at the runners spread across the table and delivered what may be the quote of the year: “Why are there so many runners?!”
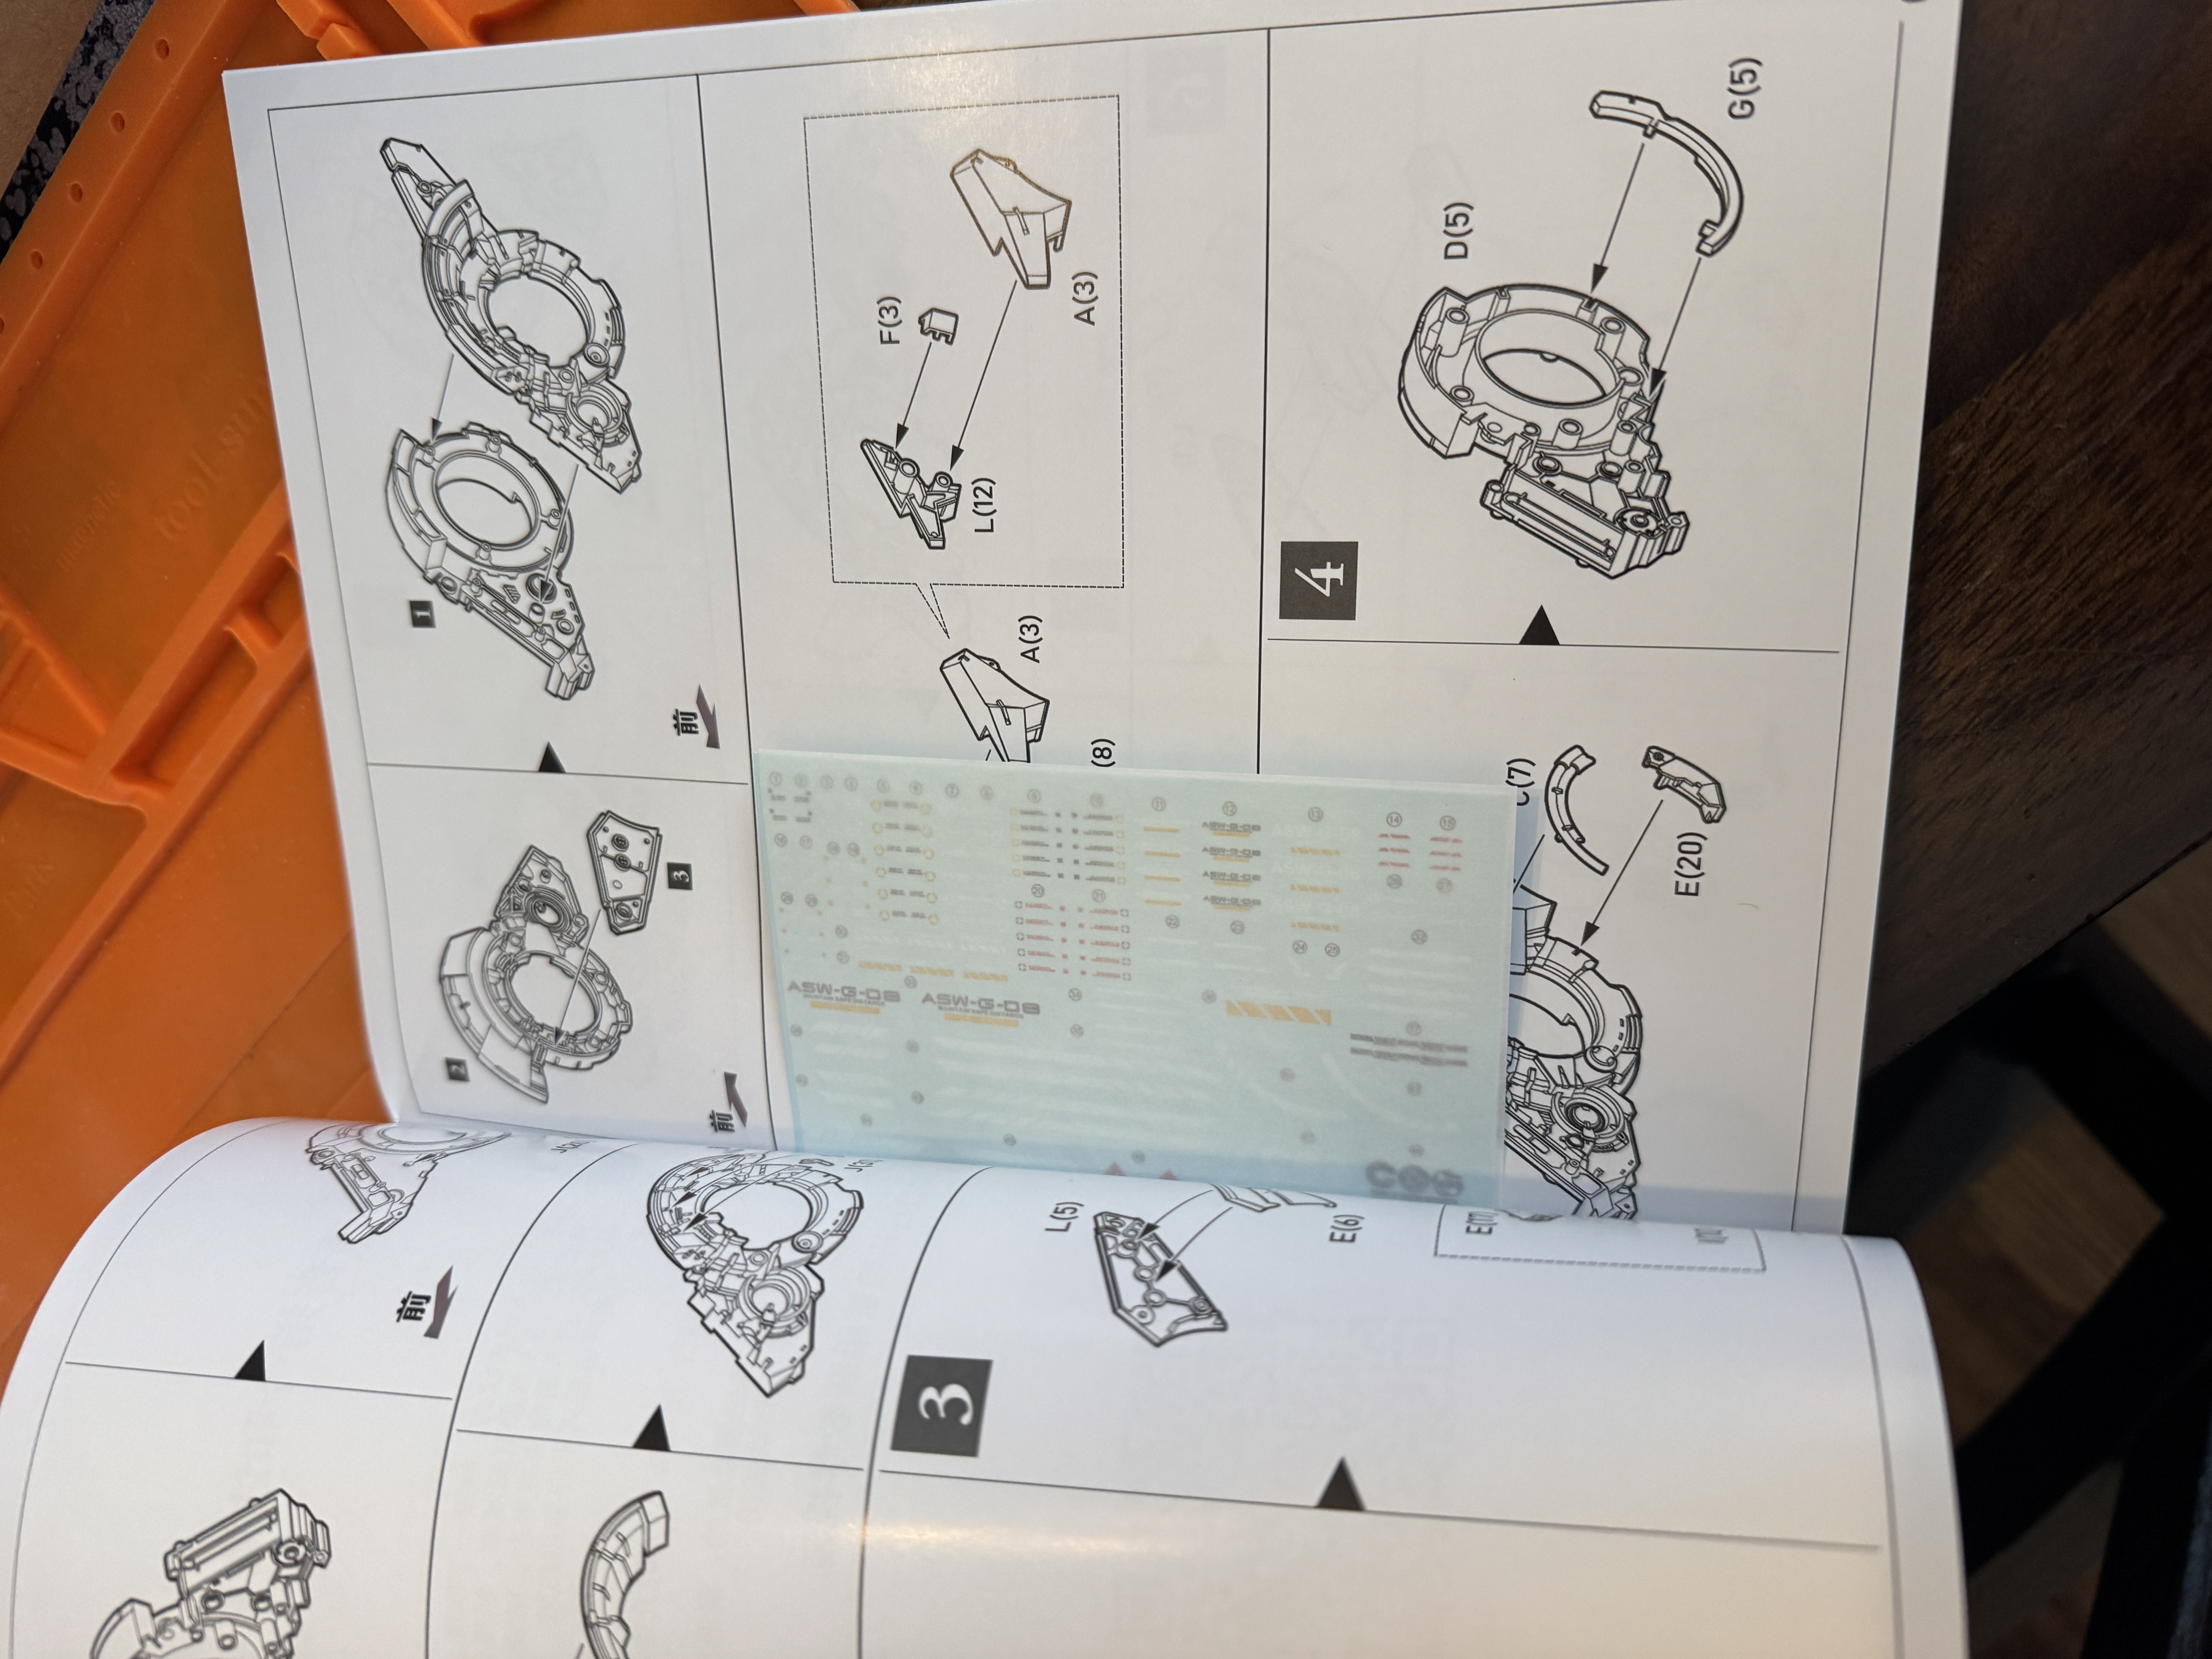
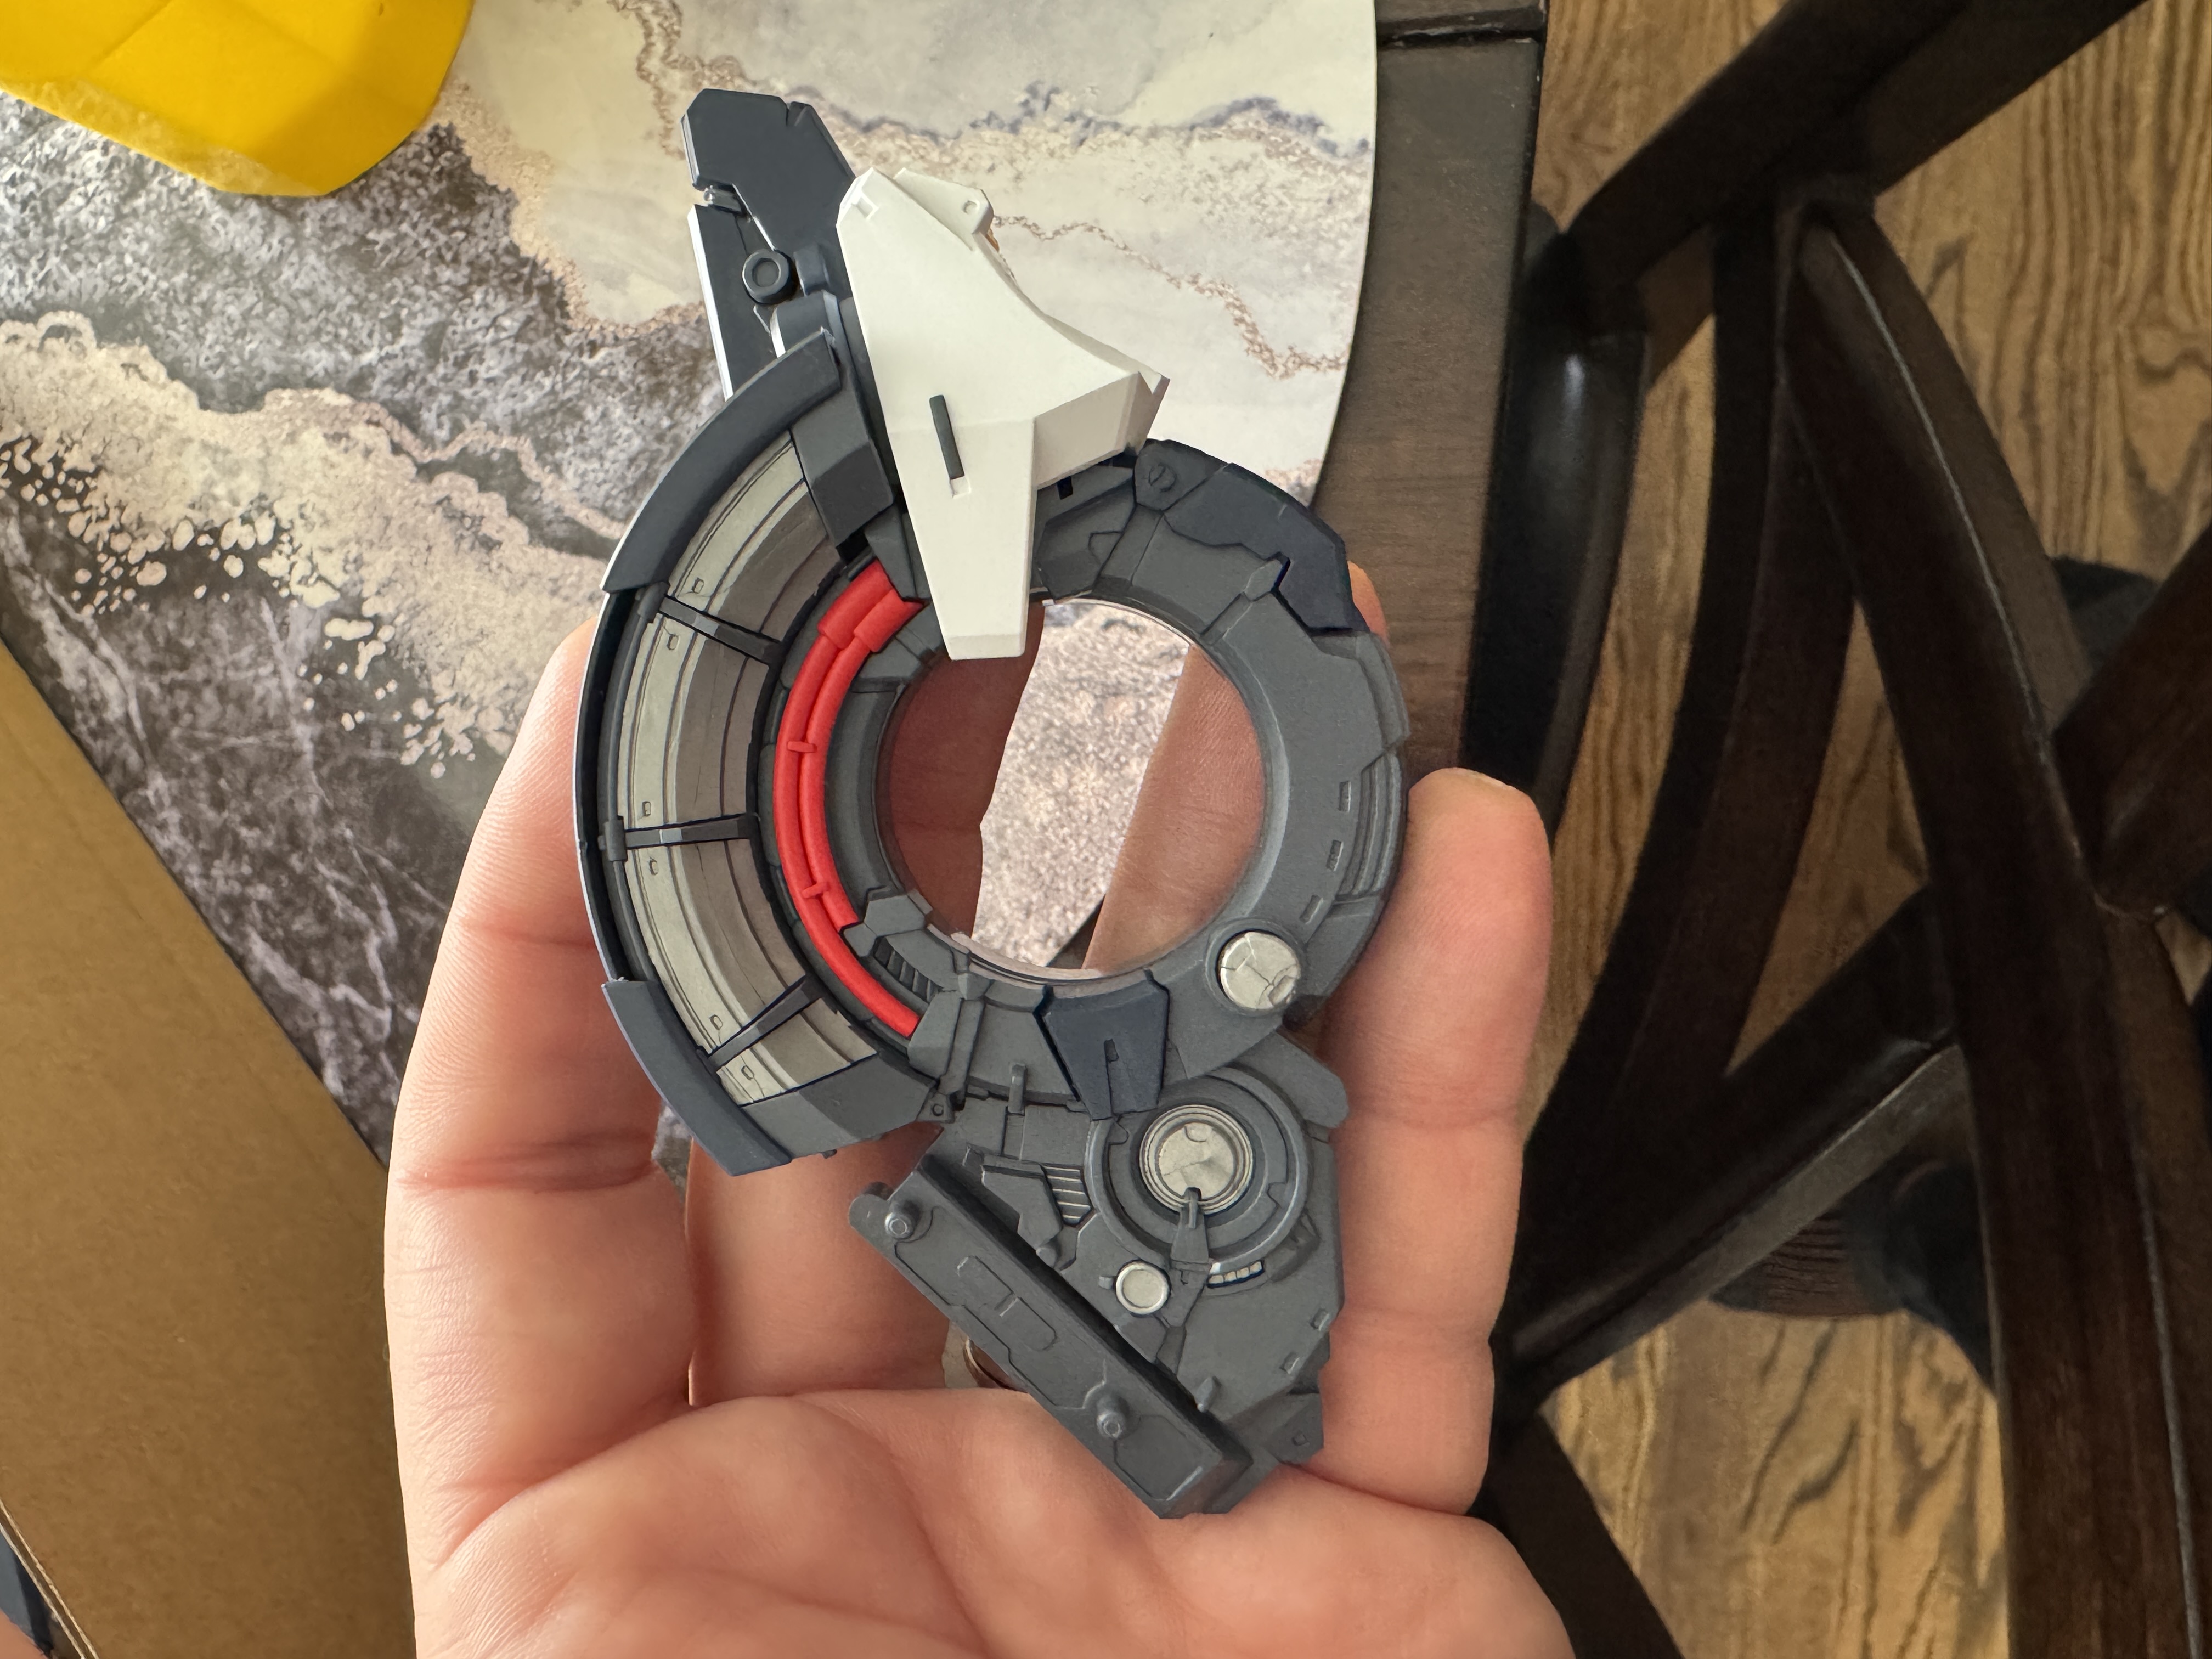
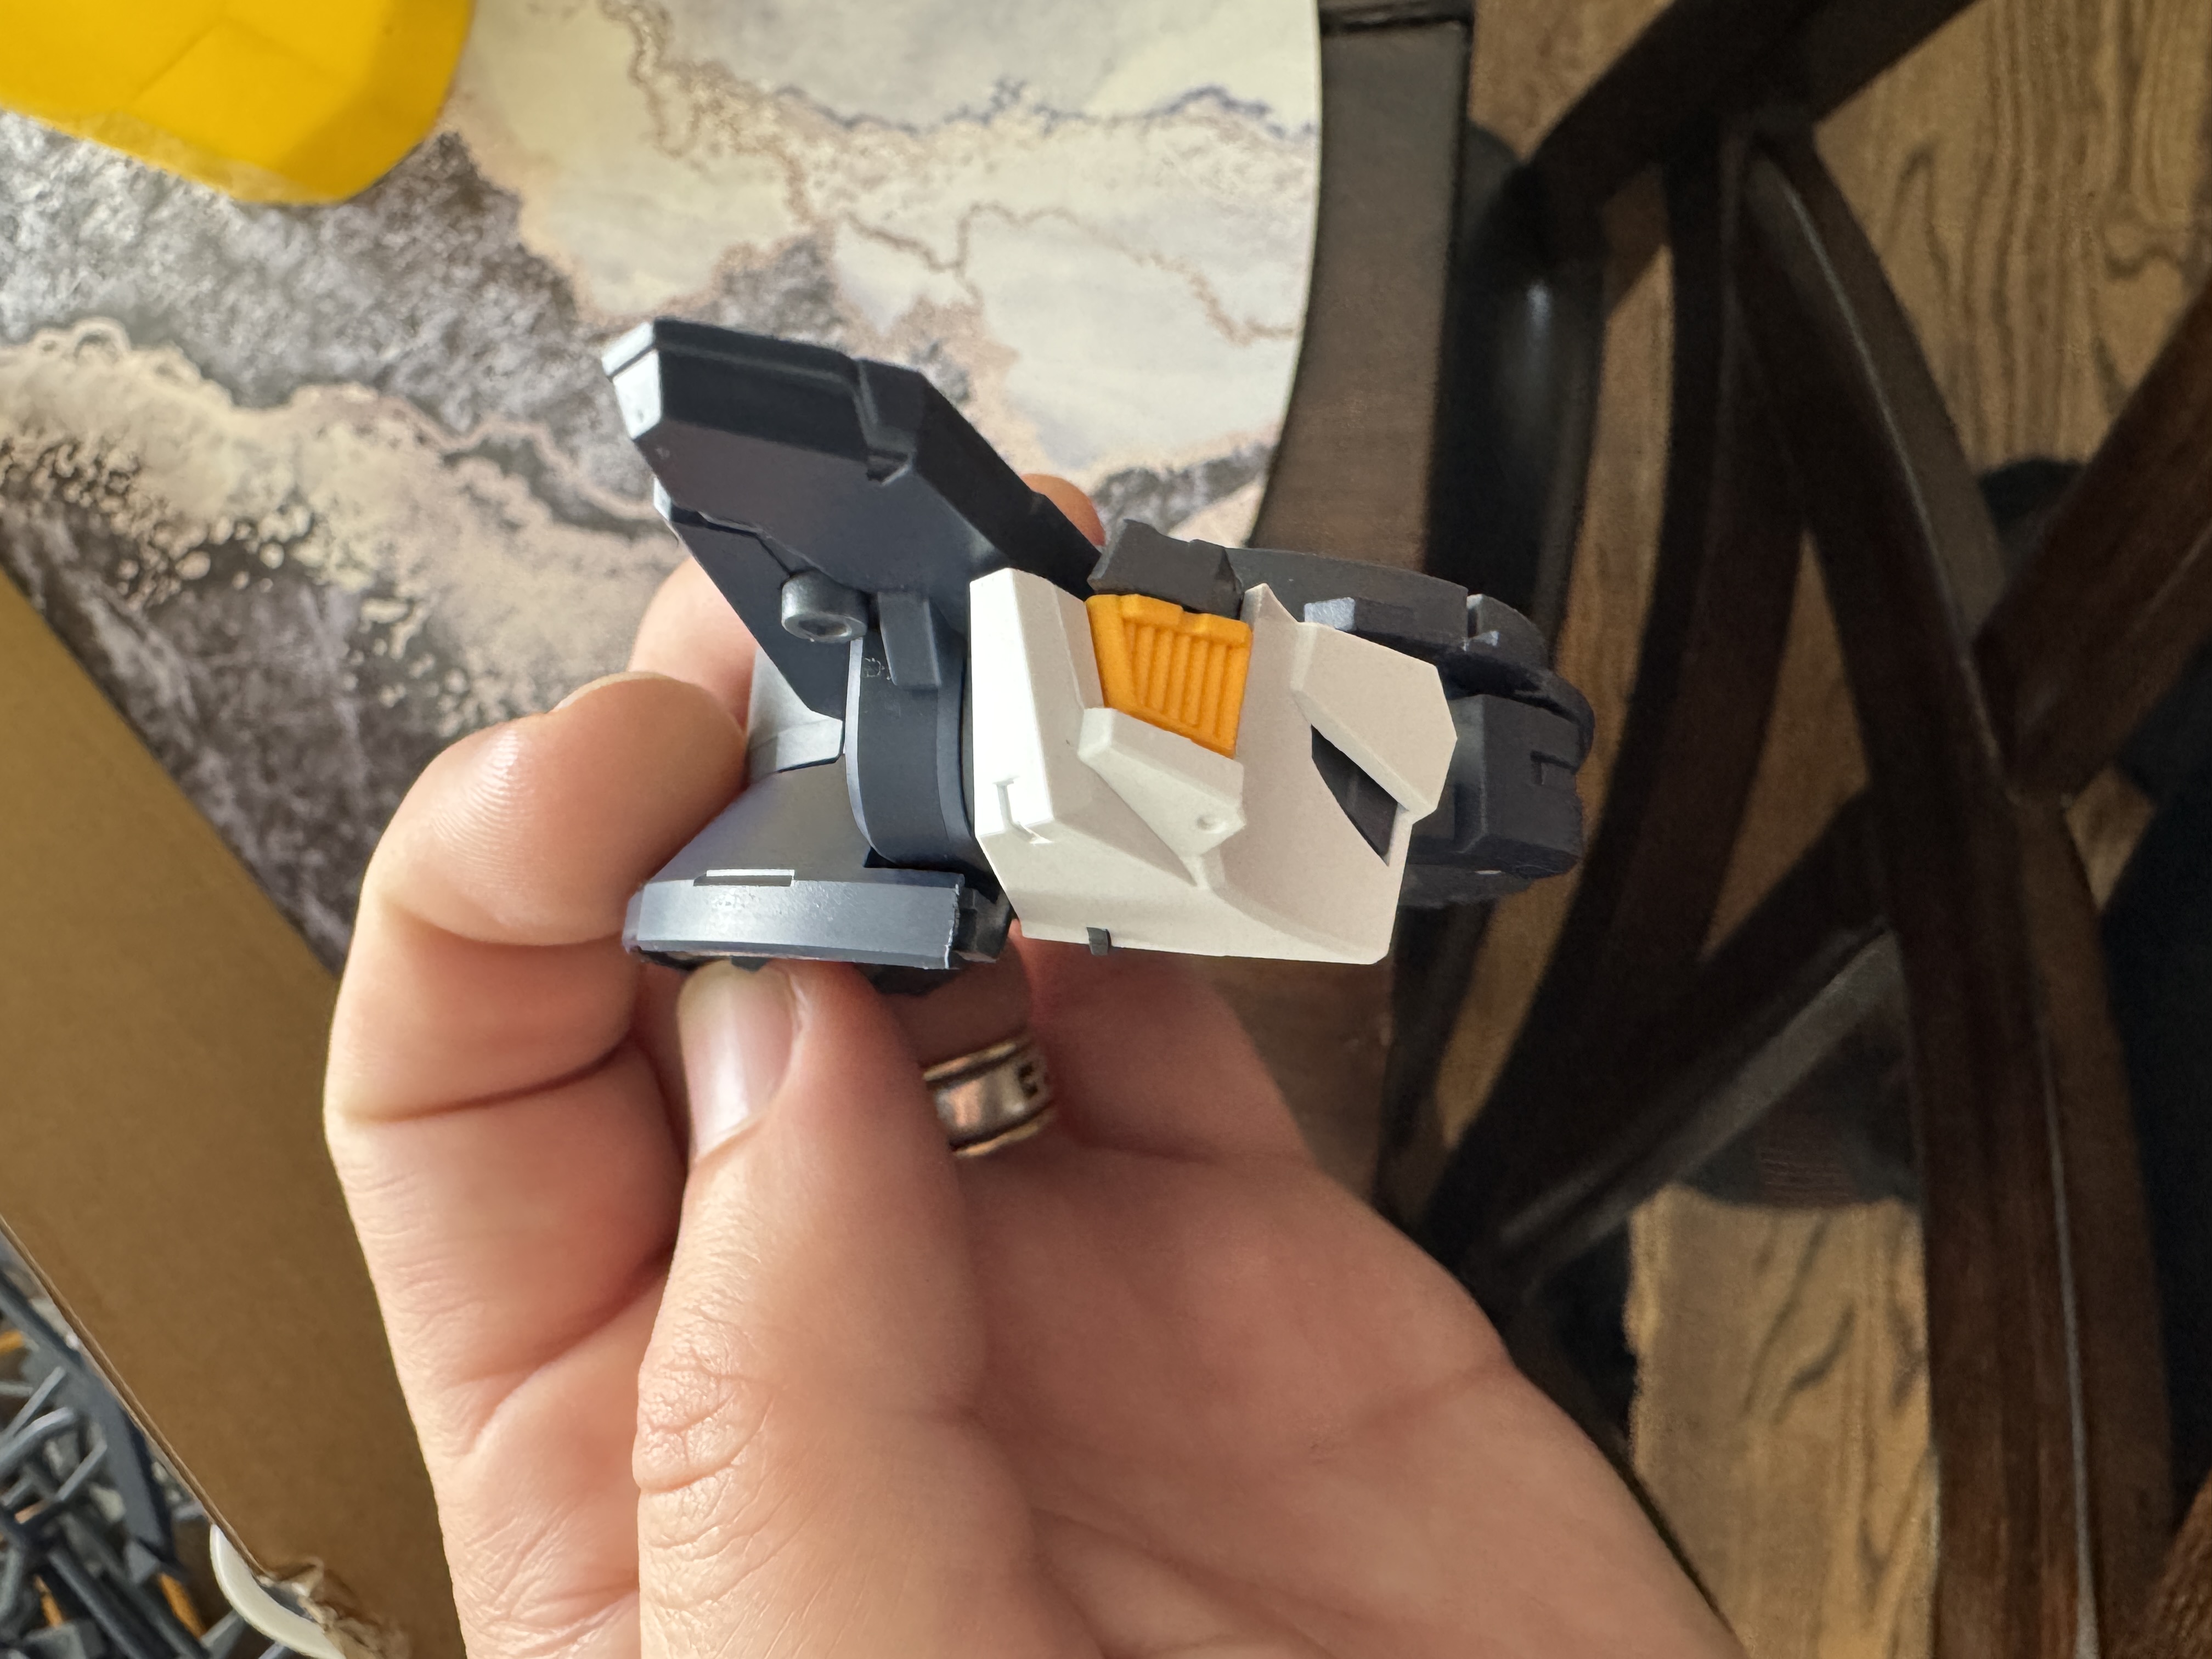
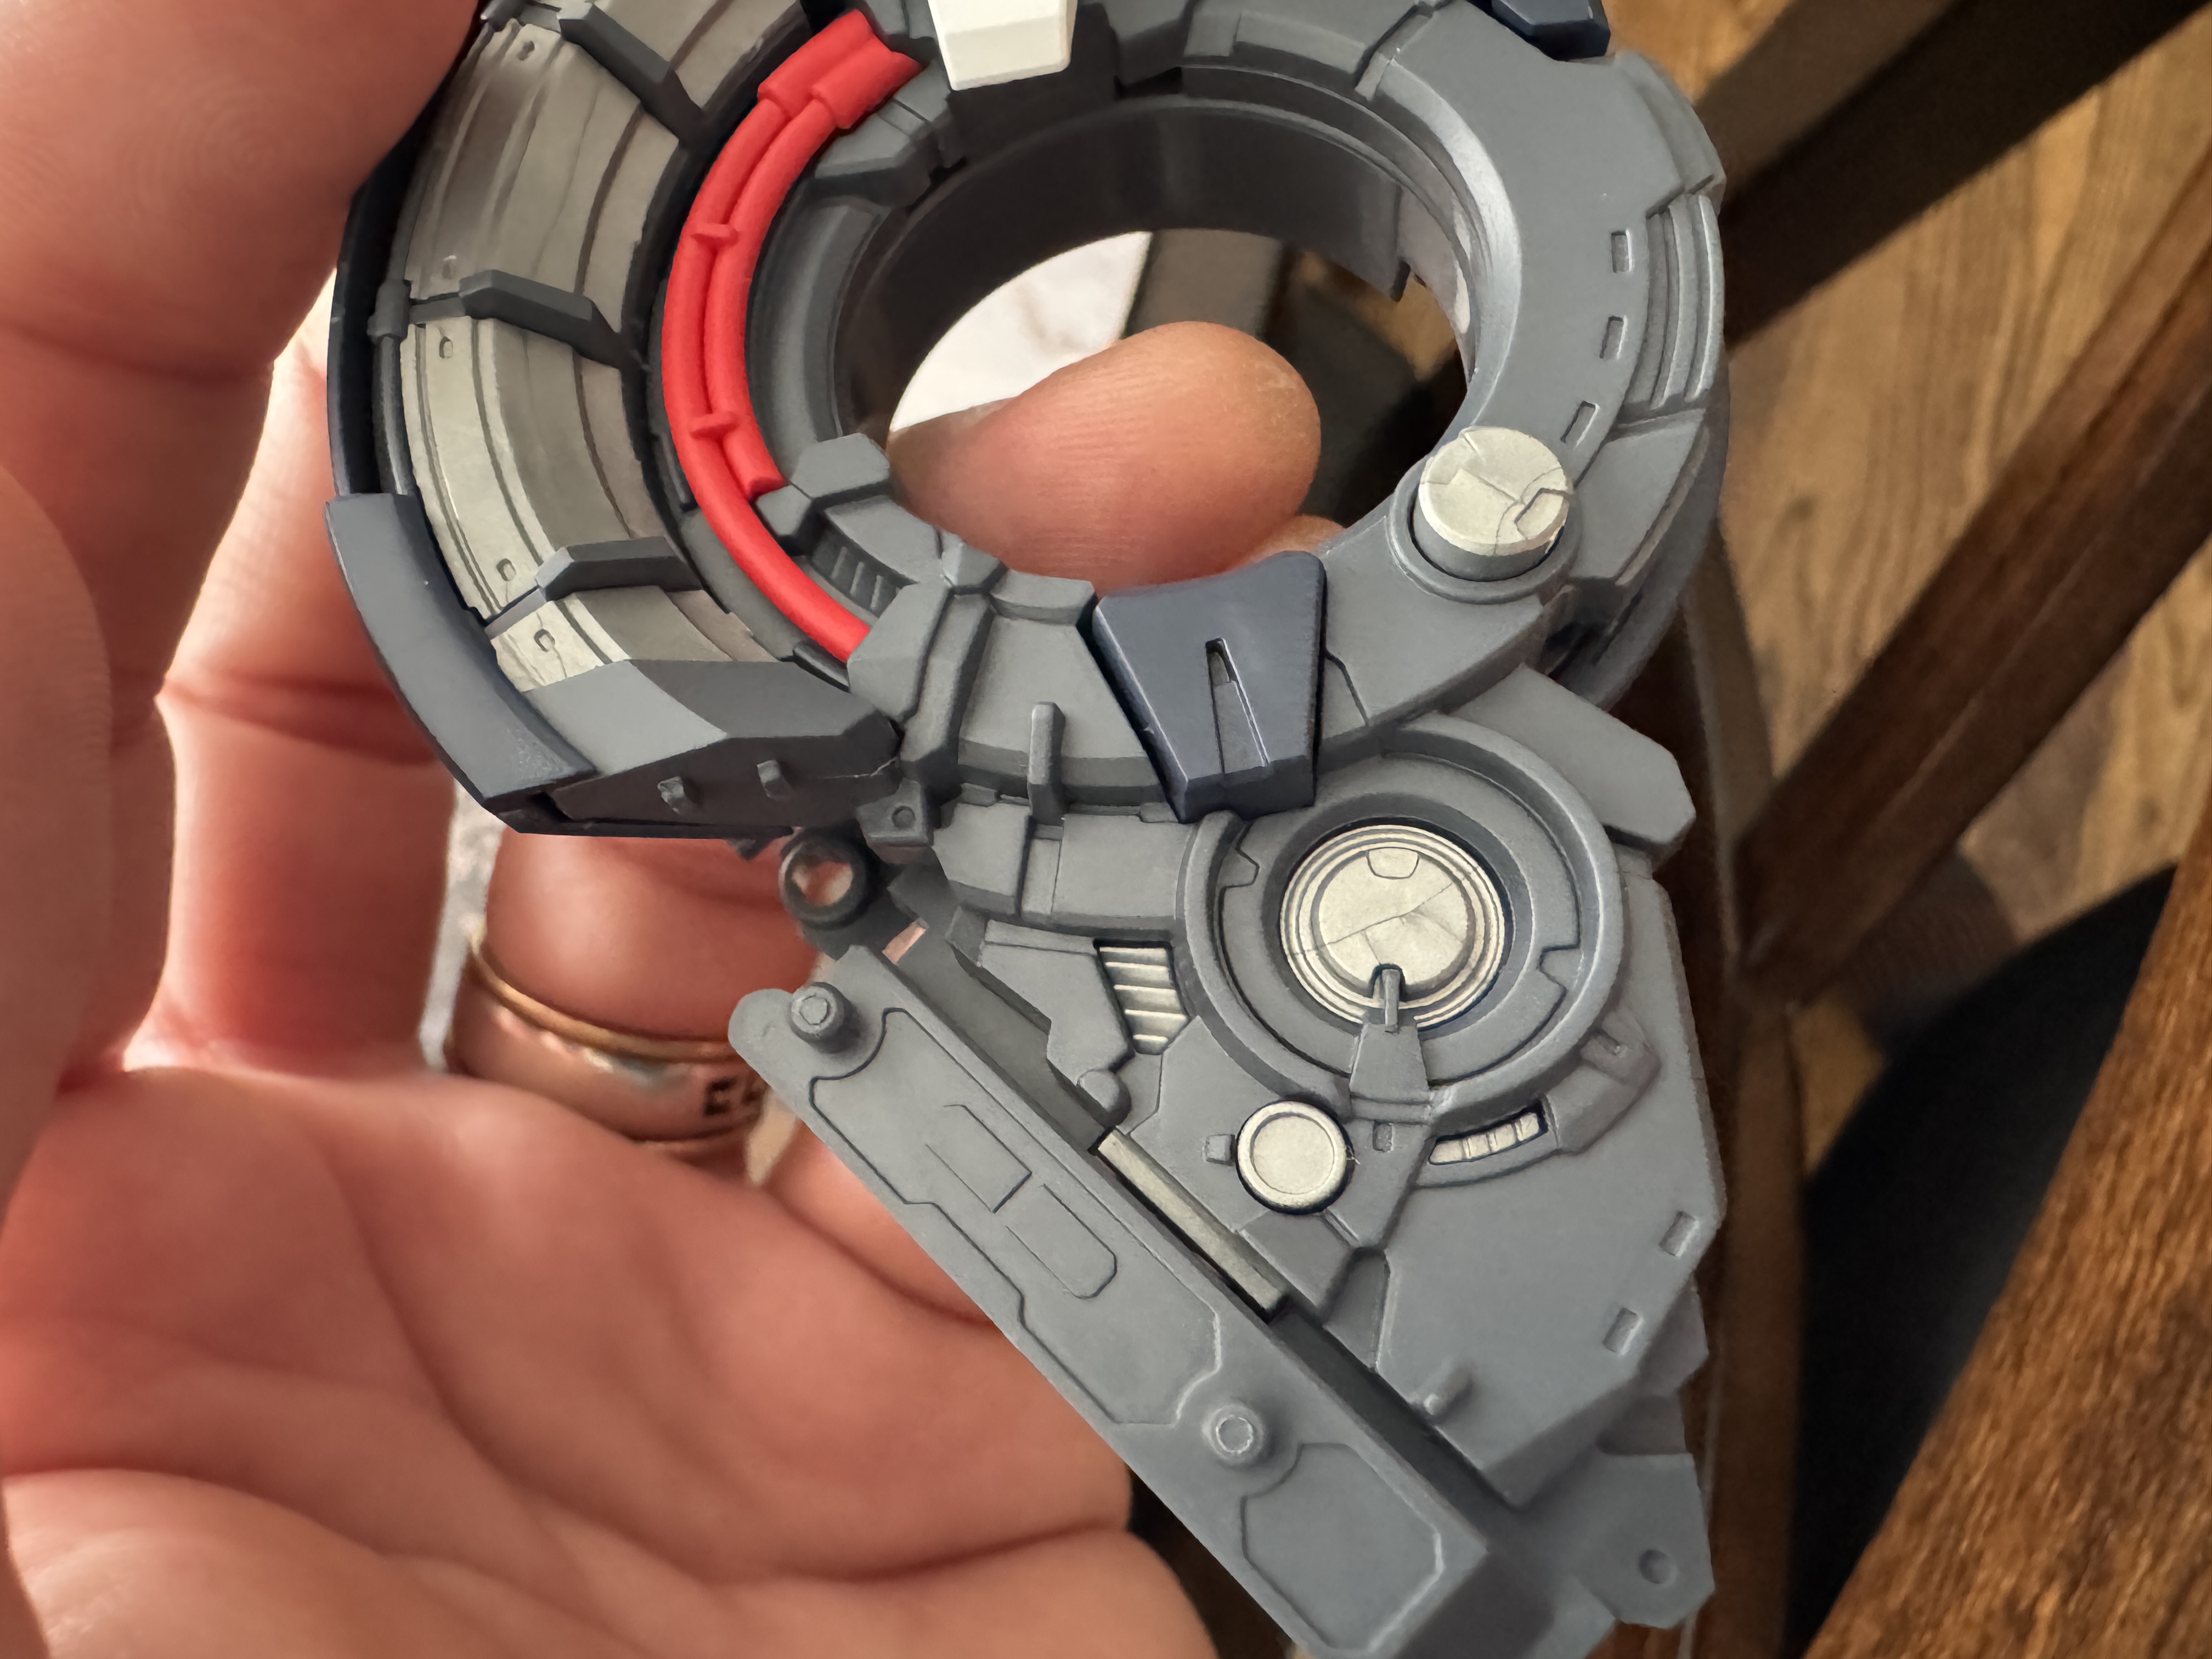
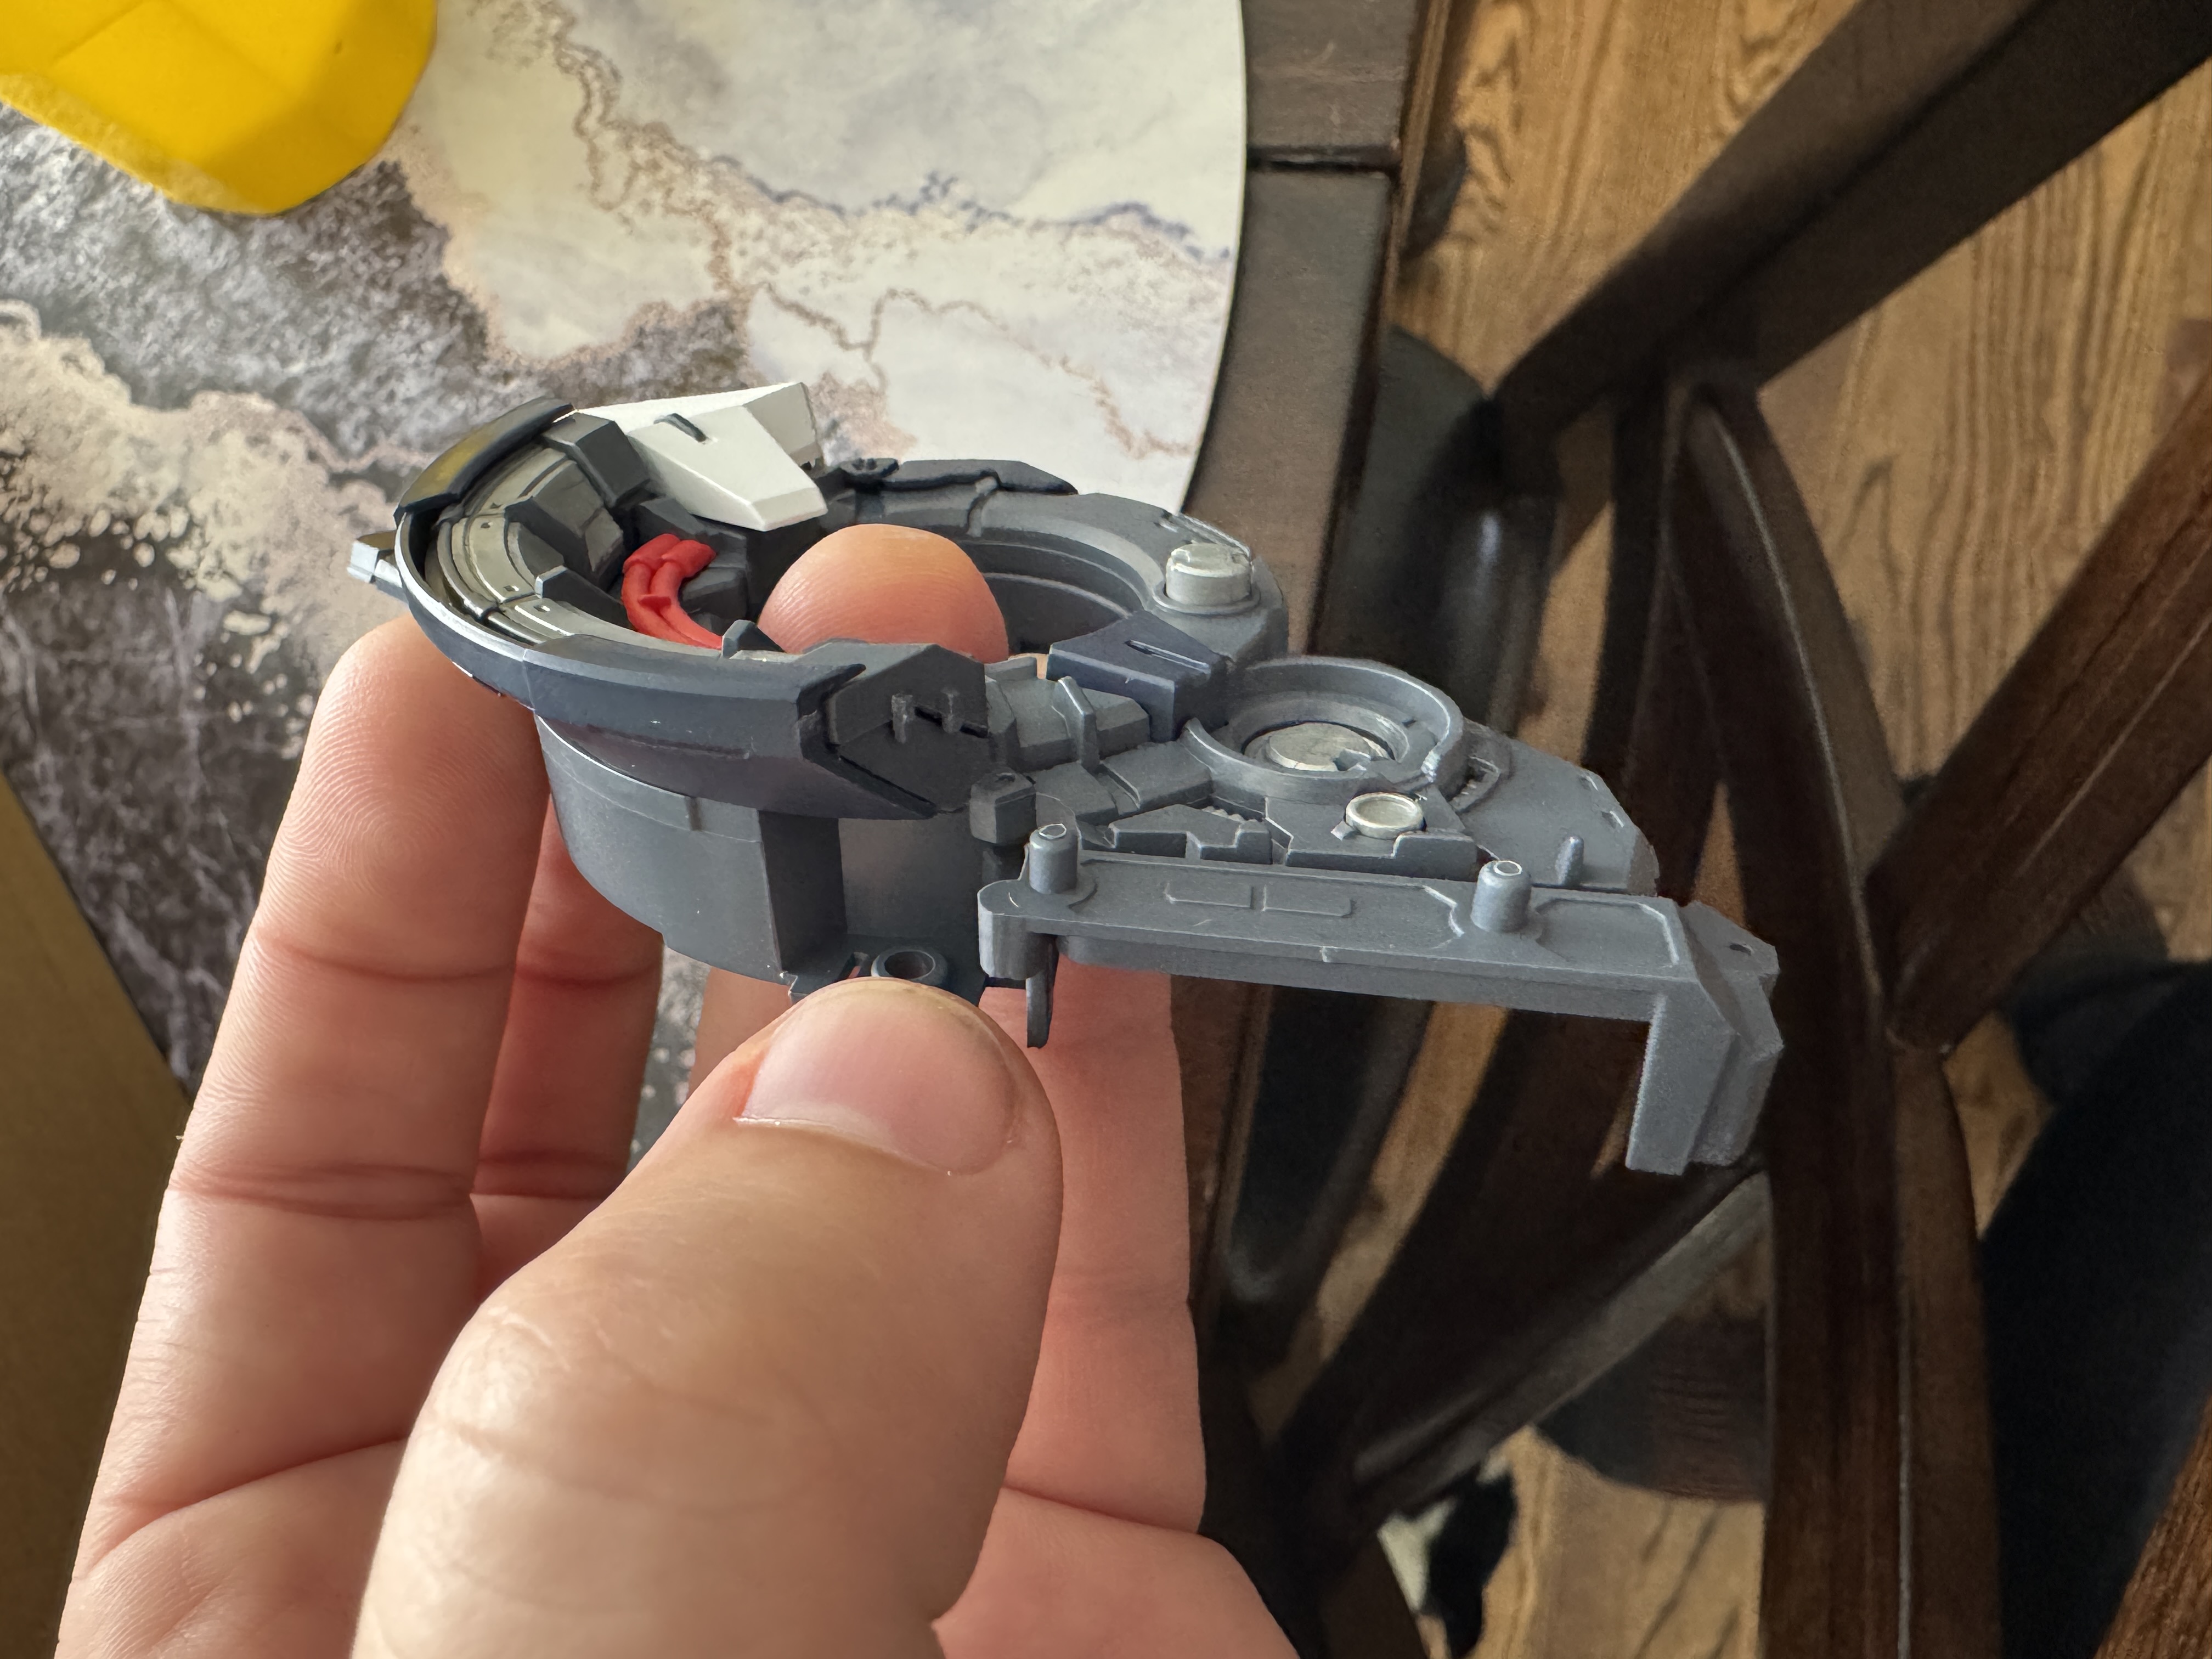
We got about an hour in today, which felt about right, and worked through the first several steps of the manual. A few early impressions: the plastic quality is excellent, and the design is genuinely well thought out — color separation is crisp right out of the box and it’s already clear this is going to look great as it comes together.
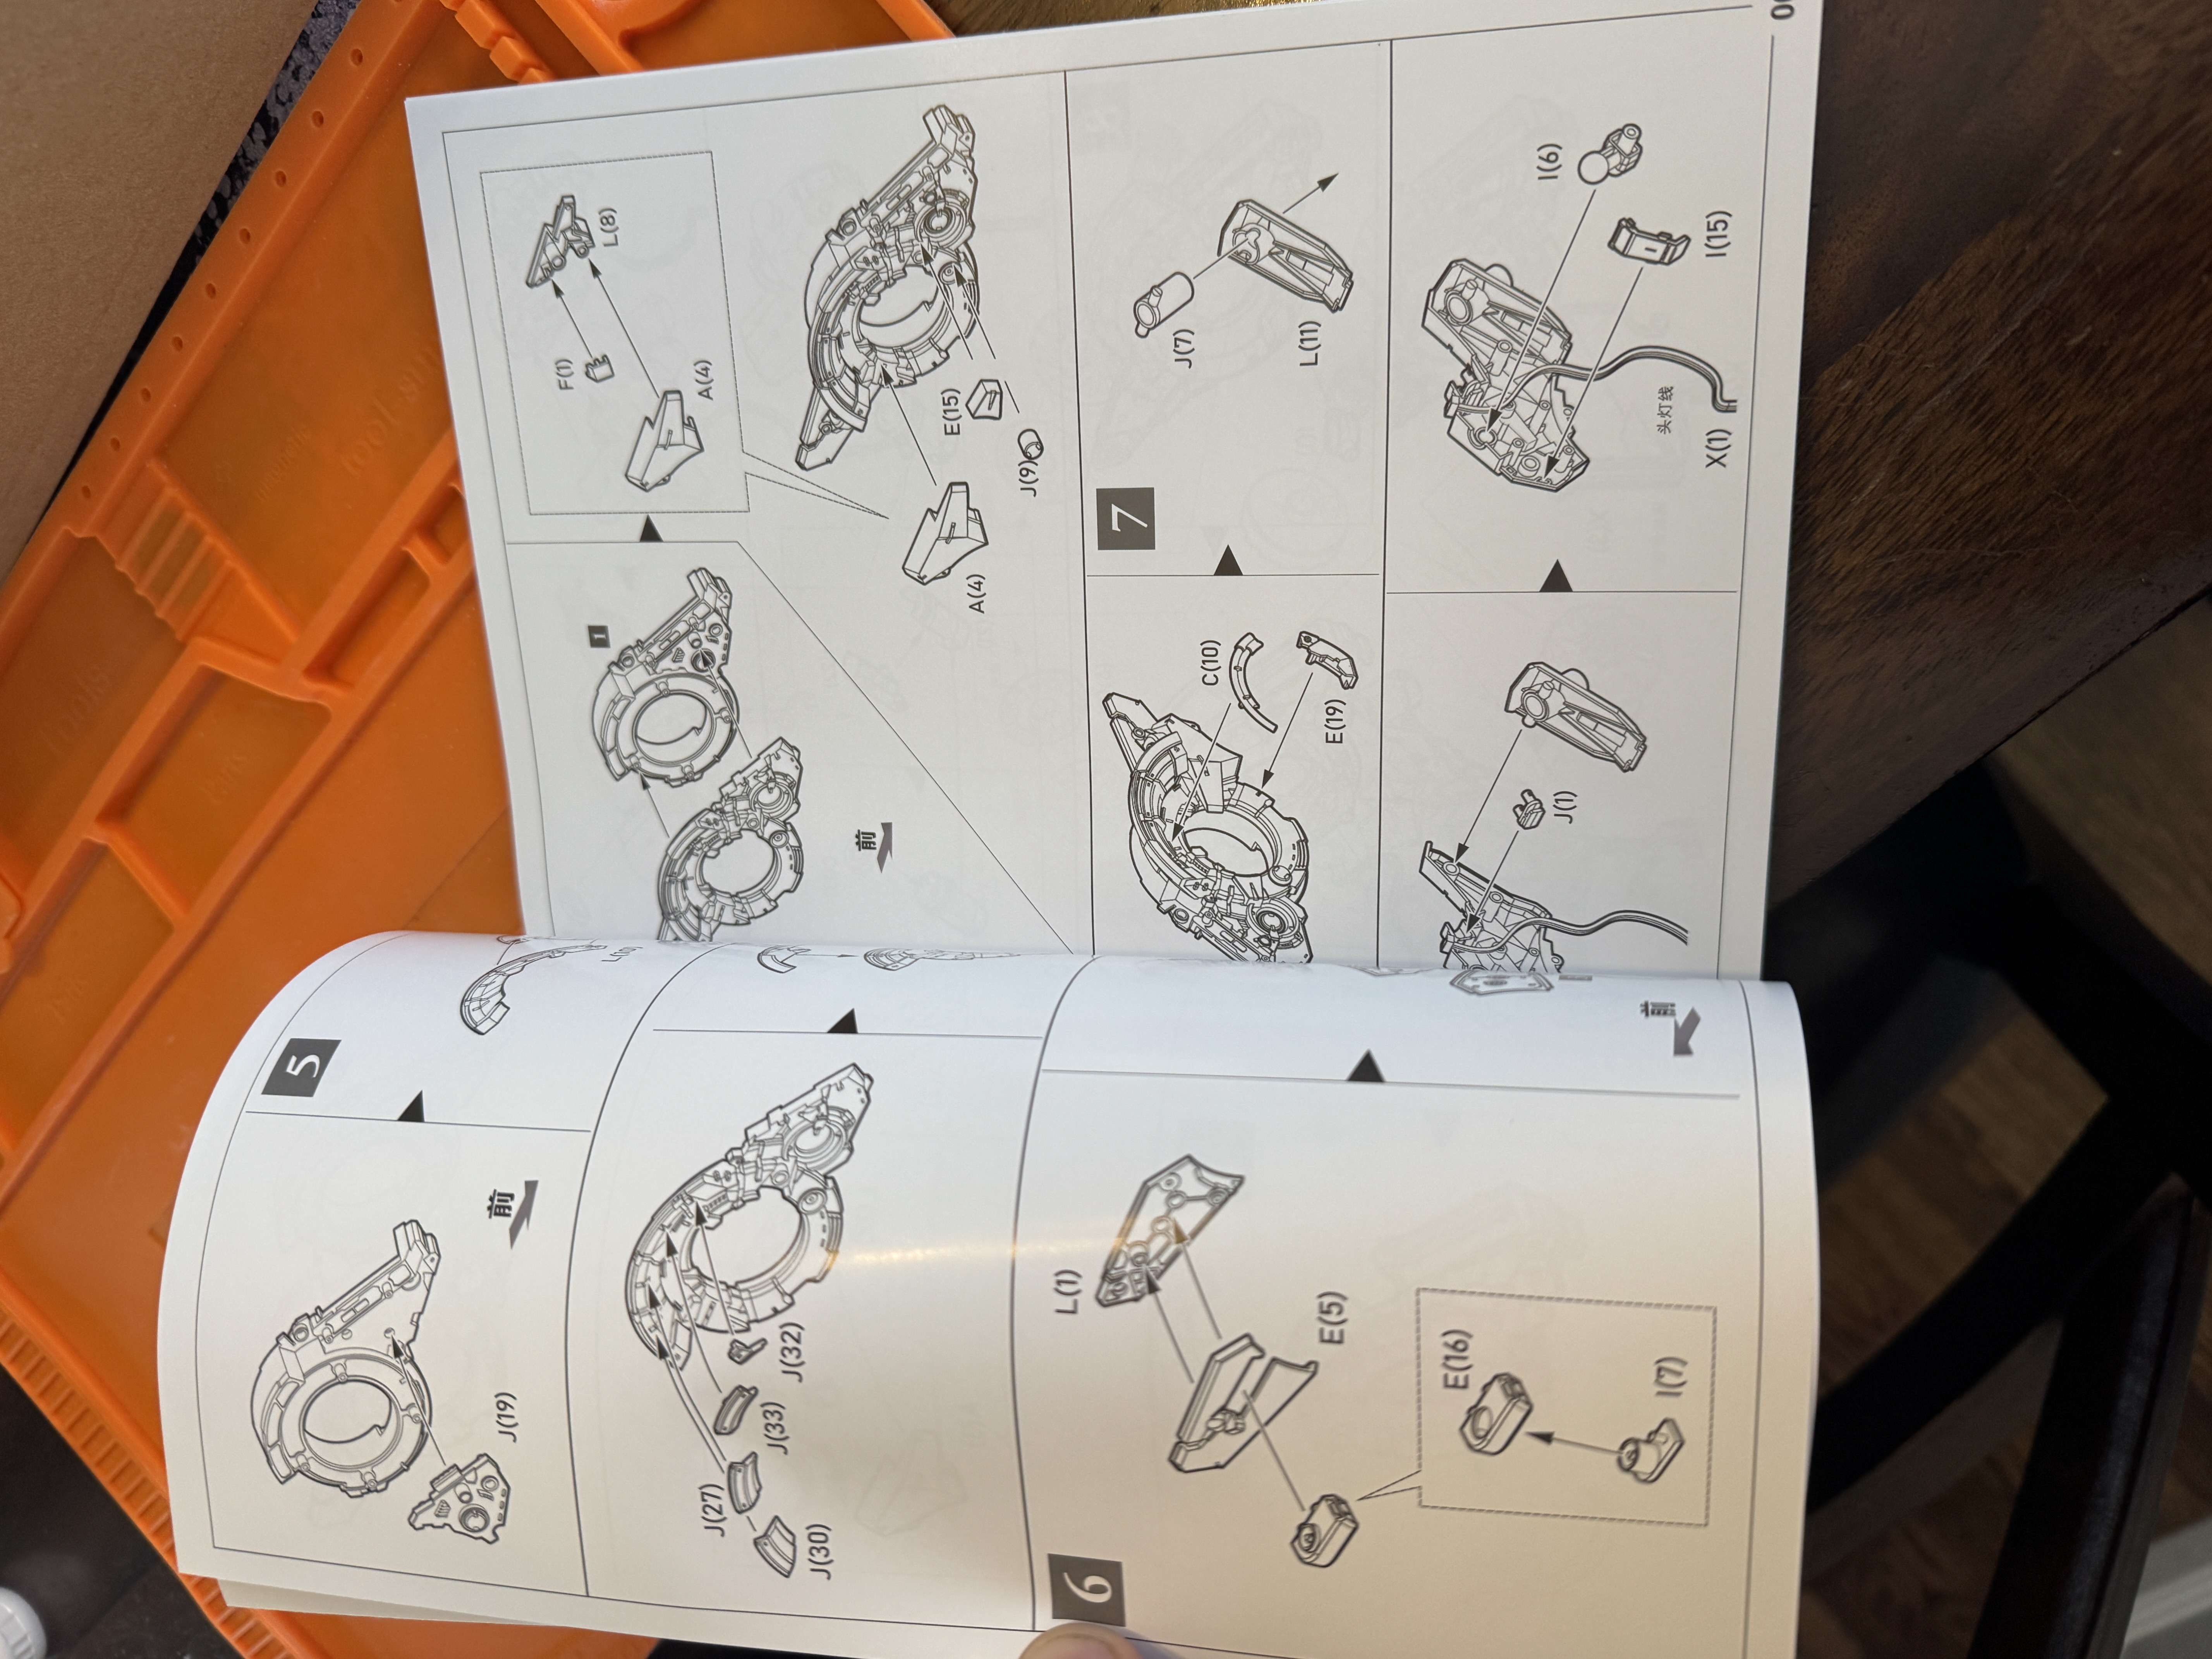
This is also one of my first builds with a kit not made by Bandai, and there are some interesting construction techniques I haven’t run into before. A lot of parts attach with slots instead of round pegs, which takes a little getting used to but feels intentional. Different, not worse. I think this one’s going to be a really fun build — worth every one of those runners.